How to Make Christmas Bag for Gifts: Festive DIY Guide
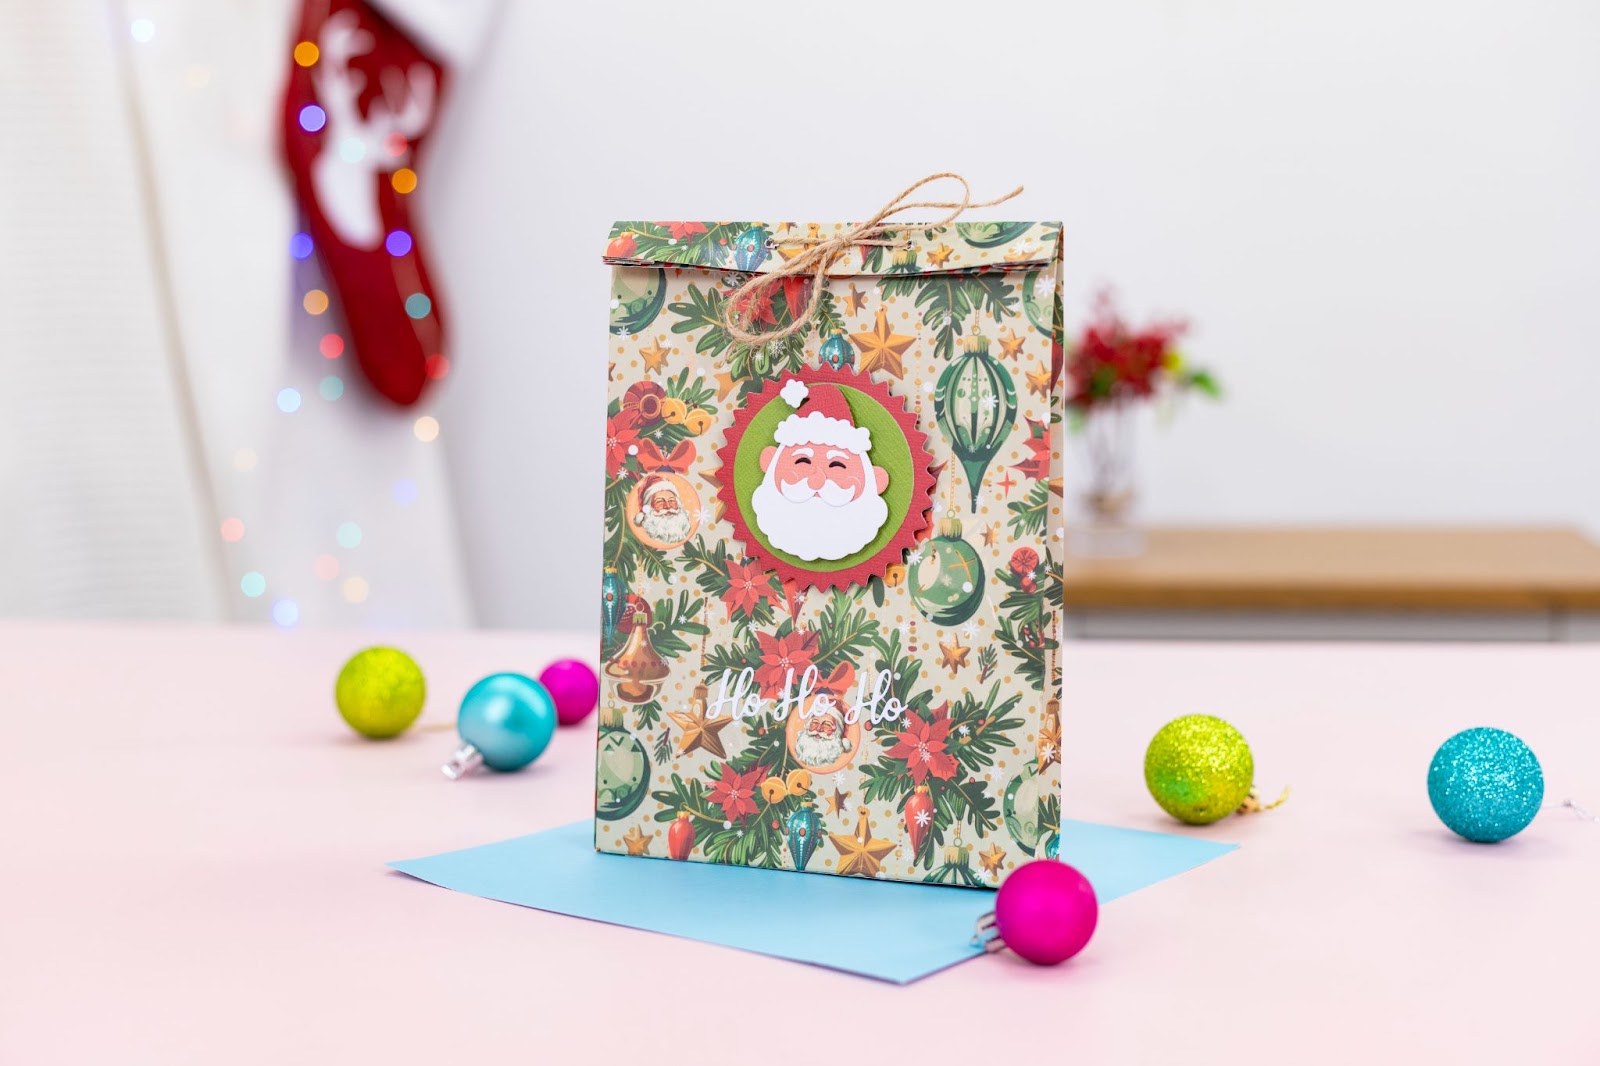
Are you looking for a special way to wrap your Christmas gifts this year? Making your own Christmas bag for gifts is simple, fun, and adds a personal touch that store-bought wrapping can’t match.
Imagine your loved ones’ smiles when they receive a beautifully crafted bag made just for them. In this guide, you’ll discover easy steps and creative ideas to make your own festive gift bags. Keep reading—you’ll be surprised how quickly you can create something unique that makes your presents stand out under the tree.

Credit: www.bakerross.co.uk
Choosing Materials
Choosing the right materials for your Christmas gift bag sets the tone for your entire project. It affects not only the look but also the durability and feel of the finished bag. Have you ever picked a fabric that was too stiff or decorations that didn’t stick well? Avoid that by planning your materials carefully.
Fabric Options
Think about what kind of fabric suits your style and purpose. Cotton is soft, easy to sew, and washable, making it a practical choice for reusable bags. Felt offers a cozy, festive look and doesn’t fray, which saves you time on finishing edges.
If you want something with sparkle, try metallic or glitter fabrics, but keep in mind they might be harder to sew. For a rustic feel, burlap works well, although it can shed and might be rough to touch. Which fabric will fit your gift and your sewing skills?
Decorative Elements
Adding decoration is where your Christmas bag becomes unique. Buttons, ribbons, and lace can add charm and texture. Think about using holiday-themed fabric paints or iron-on patches for quick personalization.
Don’t overlook natural elements like pinecones or small sprigs of holly attached with glue or thread—they add a lovely touch. But remember, decoration should complement the fabric and not overwhelm it. What special detail will make your bag stand out?
Tools Needed
Gathering the right tools makes crafting smoother. Basic supplies include scissors, pins, needles, and thread matching your fabric. If you have a sewing machine, it speeds up the process, but hand-sewing works fine for small bags.
Consider fabric glue for attaching decorations without sewing, especially for delicate or tricky items. A ruler or measuring tape ensures your bag is the perfect size. Do you have everything ready to start creating?
Cutting And Preparing Fabric
Cutting and preparing fabric is a key step in making a Christmas gift bag. This step ensures your bag has the right size and shape. Taking time here helps the bag look neat and hold gifts well. Use fabric that feels sturdy and pretty for best results. Follow these tips to measure, mark, and cut your fabric perfectly.
Measuring Dimensions
Start by deciding how big your bag should be. Think about the gifts you want to put inside. Measure the height, width, and depth carefully. Remember to add extra fabric for seams and hems. Use a ruler or measuring tape for accuracy. Write down your measurements to avoid mistakes.
Marking And Cutting
Lay your fabric flat on a clean surface. Use tailor’s chalk or a fabric marker to draw your shapes. Mark clearly so lines are easy to follow. Cut slowly with sharp fabric scissors. Keep your hand steady to get smooth edges. Cutting precisely helps your bag pieces fit well together.
Creating A Pattern
Patterns guide your cutting and sewing. Make a paper pattern using your measurements. Draw the shapes on paper and cut them out. Pin the paper pattern to the fabric before cutting. This keeps the fabric steady and prevents mistakes. A good pattern saves time and helps your bag look even.
Sewing The Bag
Sewing the Christmas gift bag is where your project starts to take shape. This part requires attention to detail but doesn’t have to be complicated. With a few sewing basics, you’ll create a sturdy and charming bag ready to hold your holiday surprises.
Stitching The Sides
Begin by folding your fabric with the right sides facing each other. Pin the edges to keep them aligned and ready for sewing. Use a straight stitch to sew along the two side edges, leaving the top open.
Keep your seam allowance consistent—usually about half an inch. This ensures the bag will look neat and hold its shape well. If you’re new to sewing, try sewing slowly to maintain a straight line, or use a sewing guide on your machine.
Adding A Base
To give your bag a flat bottom, pinch the bottom corners of the sewn bag into triangles. Measure about two inches from the corner and sew straight across.
Trim the excess fabric from the corners to reduce bulk. This simple step transforms the bag from a flat pouch into a boxy shape perfect for holding gifts upright. Would you like your bag to stand on its own? Adding a base is the key.
Finishing Seams
Raw edges can fray, especially with certain fabrics. To keep your bag durable, finish the seams with a zigzag stitch or use pinking shears to trim the edges.
If you have a serger, it’s a perfect tool for this job. Otherwise, a neat zigzag stitch prevents fraying and gives your bag a professional look. Don’t skip this step—your bag will last longer and look better with finished seams.
Adding Drawstrings Or Handles
Adding drawstrings or handles to your Christmas gift bag not only makes it easier to carry but also adds a charming finishing touch. These features can be simple or decorative, depending on your style and the materials you have on hand. Think about how you want the bag to feel in your hands and how sturdy it needs to be for the gifts inside.
Choosing Drawstring Materials
Pick materials that match the look and strength you want. Common choices include:
- Ribbon:Soft and colorful, ribbons add a festive look but may not hold heavy gifts well.
- Cord:Thicker cords provide durability and a rustic feel, perfect for natural or handmade bags.
- Twine:Ideal for a simple, earthy style and easy to find in craft stores.
Consider the gift’s weight and your bag’s fabric—heavy items need stronger materials to avoid breakage.
Attaching Drawstrings
Attach drawstrings by creating a small channel or casing at the bag’s top edge. Fold the fabric over about an inch and sew it down, leaving an opening to thread the string through.
You can use a safety pin to help pull the drawstring through the casing smoothly. Tie knots at the ends or add beads to prevent the string from slipping out.
Test the drawstring by pulling it tight. Does it close the bag well without damaging the fabric? Adjust if needed to ensure a neat closure.
Making Handles
Handles can be made from the same material as your bag or something different for a contrasting effect. Cut two strips of fabric, ribbon, or sturdy cord, each about 12–15 inches long.
Sew each end securely to the bag’s top edges, making sure they can support the bag’s weight. Double stitching adds strength and durability.
Think about comfort—wider handles are easier to hold if the bag is heavy. Have you tried padded handles? They add a surprising level of comfort for larger gifts.
Decorating The Bag
Decorating your Christmas gift bag is where your creativity truly shines. This step lets you personalize each bag to match the spirit of the season and the personality of the gift recipient. Whether you prefer bold colors, delicate details, or a bit of sparkle, there are plenty of ways to make your bag stand out.
Painting And Stenciling
Using paint lets you create unique designs directly on your bag. You can go for simple shapes like stars or snowflakes, or try lettering names or festive messages. Stencils help if you want crisp, clean edges without the stress of freehand painting.
Try combining different colors to add depth and interest. Acrylic paint works well on fabric bags, while fabric markers are great for precise lines. Have you ever noticed how a few well-placed dots or stripes can completely change the look? Experiment with patterns until you find what feels right.
Adding Embellishments
Embellishments like ribbons, buttons, and glitter add texture and sparkle. You could glue or sew on small ornaments or tie a festive bow around the bag’s handle. Think about layering elements to create a rich, festive feel.
Try mixing materials—felt stars paired with shiny beads can catch the light beautifully. Don’t hesitate to use items you already have at home; old holiday cards cut into shapes make charming decorations. What small touch could make your bag unforgettable to the person receiving it?
Using Iron-on Transfers
Iron-on transfers are a quick way to add detailed images or text without needing artistic skills. You can print your own designs at home or buy ready-made transfers with Christmas themes. Just place the transfer on your bag, iron it on, and you’re done.
This method works best on cotton or canvas bags. Make sure you follow the instructions on the transfer paper to avoid ruining your fabric. Have you ever tried customizing gifts with transfers? It’s a fun way to give your presents a professional look with minimal effort.
Personalizing Your Gift Bag
Personalizing your Christmas gift bag adds a special touch that shows care. It makes the gift feel unique and thoughtful. Simple ideas can make a big difference. Personal touches create excitement and joy for the receiver.
Monogramming
Monogramming is a classic way to personalize gift bags. Use fabric paint or embroidery to add initials. Choose colors that match the bag or theme. This makes the bag feel custom-made and elegant. Monogrammed bags also look neat and stylish on any gift table.
Gift Tags And Labels
Gift tags and labels help identify the recipient with a personal note. Use colorful paper or cardstock to cut shapes like stars or trees. Write a short message or the person’s name clearly. Attach tags with ribbons or twine for a charming look. These small additions make the bag feel warm and friendly.
Incorporating Themes
Choose a theme to decorate your gift bag. Themes like winter wonderland, rustic, or vintage add character. Use stickers, ribbons, or small ornaments that match the theme. For example, pinecones and burlap create a rustic feel. A themed bag stands out and tells a story about the gift inside.
Care And Storage Tips
Taking good care of your Christmas gift bags ensures they stay beautiful and ready for many holiday seasons. Proper care and storage protect your handiwork from damage and keep the colors fresh. Let’s explore some simple tips to maintain your Christmas bags so you can reuse them without worry.
Cleaning Instructions
Before cleaning, check the fabric type of your Christmas bag. Most cloth bags can be hand washed gently with mild soap and cold water. Avoid harsh detergents that may fade colors or weaken the fabric.
If your bag has delicate decorations like sequins or glitter, spot cleaning works best. Use a soft cloth dipped in soapy water and dab carefully. Rinse with a clean damp cloth and let the bag air dry completely before storing.
Have you ever washed a fabric bag only to see the colors bleed? Testing a small hidden area first saves you from this surprise and preserves your bag’s festive look.
Storing Between Holidays
Storing your Christmas bags properly keeps them from getting crushed or dusty. Fold the bags gently and place them in a breathable fabric storage box or a cotton pillowcase. Avoid plastic bags that trap moisture and can cause mildew.
Keep your storage in a cool, dry place away from direct sunlight. Sunlight can fade colors and weaken fabric fibers over time. Label your storage container so you can easily find your holiday bags next year without rummaging.
Do you have a dedicated spot for your holiday decorations? Creating a special home for your gift bags helps you stay organized and reduces the risk of damage.
Repairing Wear And Tear
Small tears or loose seams on your Christmas bag don’t mean it’s time to toss it. Use a needle and thread to carefully stitch up any holes or rips. Matching thread color keeps repairs invisible and your bag looking neat.
For frayed edges, apply a small amount of fabric glue or use an iron-on patch inside the bag to reinforce weak spots. These quick fixes extend your bag’s life and save you money on replacements.
Have you checked your bags for damage after the holiday rush? Repairing them right away avoids bigger issues and keeps your bags ready for next season’s gift-giving.

Credit: www.youtube.com

Credit: www.youtube.com
Frequently Asked Questions
How Do I Start Making A Christmas Gift Bag?
Begin by choosing festive fabric or paper. Cut it into a rectangle, fold, and sew or glue edges. Add a drawstring or ribbon at the top to close. Personalize with decorations like ribbons, stickers, or stamps.
What Materials Are Best For Christmas Gift Bags?
Use cotton, felt, or burlap fabric for durability and a festive look. Alternatively, thick wrapping paper or reusable craft paper works well. Choose materials that are easy to sew or glue and match your holiday theme.
Can I Reuse Christmas Gift Bags?
Yes, homemade Christmas gift bags are reusable. Durable fabric bags can be used year after year. Paper bags can be carefully stored and reused if handled gently. Reusing saves money and reduces waste.
How To Add Personal Touches To Gift Bags?
Decorate with fabric paint, glitter, or iron-on patches. Attach name tags, bells, or small ornaments for uniqueness. Handwritten messages or stamps add a personal feel. Customizing makes the gift bag special and memorable.
Conclusion
Making a Christmas bag for gifts is simple and fun. You can use materials you have at home. Personalize each bag with colors and designs you like. Handmade bags add a special touch to your presents. They also help reduce waste and save money.
Try this craft to bring joy to your holiday. Your gifts will look warm and thoughtful. Start today and enjoy the creative process. This small effort makes Christmas more memorable.

Similar Posts