Crystals You Should Never Pair With Moldavite
Figuring out what crystals should not be paired with moldavite is tricky because this tektite acts as an energetic amplifier. It doesn’t just add to your practice; it accelerates whatever is already present in your field. If you’re unstable, it speeds up the chaos.
If you’re grounded, it boosts your clarity. Most guides treat pairings as static rules, but that’s a mistake. Your current mental state dictates compatibility more than the stone itself.
We’ve seen countless practitioners struggle with “Moldavite flu,” a mix of fatigue and anxiety lasting days or weeks. As of 2026, community consensus suggests avoiding high-volatility stones when you lack a solid grounding foundation. The goal isn’t to restrict your toolkit but to prevent burnout.
Let’s break down exactly which combinations risk destabilizing you and how to adjust your workflow for safer, more effective results.
Why Moldavite Pairings Are Not One-Size-Fits-All
Moldavite is unique among healing stones because of its origin. Formed from meteorite impact glass in Bavaria roughly 15 million years ago, it carries a distinct geological history. Unlike quartz or amethyst, which are mined from stable earth deposits, Moldavite is extraterrestrial debris fused by extreme heat.
This background contributes to its reputation for intense, rapid transformation.
The core issue with pairing advice is context dependency. A crystal that helps one person might harm another. For example, Labradorite is often called a "stone of transformation." Paired with Moldavite, it can double the intensity of psychic shifts.
For someone ready for deep shadow work, this synergy is powerful. For a beginner dealing with mild stress, it triggers overwhelming dissociation.
You must assess your baseline stability before combining stones. Ask yourself if you feel rooted in your daily life. Do you have healthy boundaries?
If the answer is no, avoid amplifiers entirely. Start with solitary use or pair only with heavy, stabilizing earth elements like Hematite. The decision tree begins with your emotional resilience, not the crystal’s label.
The Three Danger Zones: When to Avoid Specific Crystals
We categorize risky pairings into three specific zones based on energetic interaction. These aren't arbitrary bans but functional warnings derived from user reports and practitioner logs. Understanding these zones helps you diagnose potential issues before they escalate.
First is the Amplification Zone. Here, two high-frequency stones compete for dominance. Second is the Saturation Zone, where porous stones absorb too much energy quickly.
Third is the Instability Zone, involving stones known to trigger mood swings or confusion. Each zone requires a different mitigation strategy.
| Danger Zone | Primary Risk | Example Stones | Mitigation Strategy |
|---|---|---|---|
| Amplification | Energetic Burnout | Libyan Glass, Super Seven | Reduce session time to 5 mins |
| Saturation | Energy Drain | Selenite, Moonstone | Cleanse companion stones daily |
| Instability | Anxiety/Dissociation | Larimar, Angelite | Add Black Tourmaline anchor |
If you fall into the Amplification Zone, your nervous system may overheat. You’ll feel jittery or unable to sleep. In the Saturation Zone, you might feel drained because the companion stone becomes a burden rather than a support.
The Instability Zone manifests as brain fog or emotional volatility. Recognizing which zone you’re entering allows you to pivot your practice immediately.
High-Voltage Amplifiers That Risk Energetic Burnout
Certain crystals share Moldavite’s high-vibrational signature. Combining them creates a feedback loop that can overwhelm the human biofield. We call these "high-voltage amplifiers." They don’t necessarily clash energetically, but their combined output exceeds most users' processing capacity.
Libyan Desert Glass is the most common offender. Like Moldavite, it is an impact tektite. Using both simultaneously doubles the frequency of transformation without adding necessary grounding.
Aggregate reviews report severe headaches and insomnia within hours of such pairings. Similarly, Super Seven (or Melody Stone) contains multiple high-frequency minerals including Herkimer Diamond. Adding Moldavite to this blend turns a gentle uplift into a chaotic surge.
Other risky amplifiers include Shungite in raw form and certain varieties of Phenacite. These stones accelerate spiritual awakening rapidly. If you are already undergoing significant life changes, adding another accelerator removes the buffer needed for integration.
The result is often "spiritual bypassing," where you float above problems instead of resolving them. Stick to one major transformer at a time. Let Moldavite do the heavy lifting while other stones provide support, not competition.
Porous Stones That Drain Your Energy Instead of Supporting It
Not all crystals handle high-energy inputs well. Some are structurally porous or energetically "soft," meaning they absorb negativity and vibration readily. When paired with Moldavite, these stones become saturated quickly.
Instead of balancing the energy, they act as sponges, pulling focus away from your intent and creating maintenance burdens.
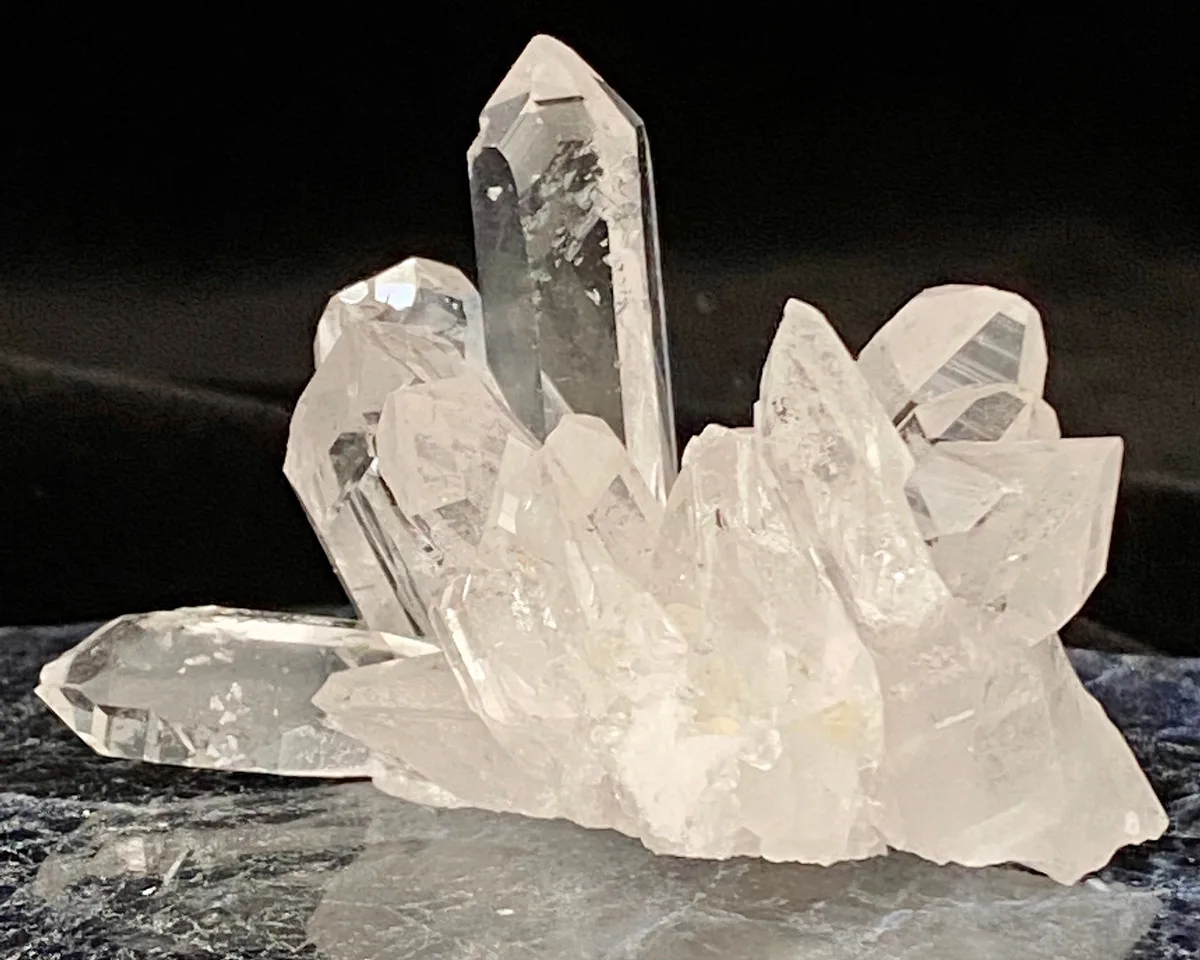
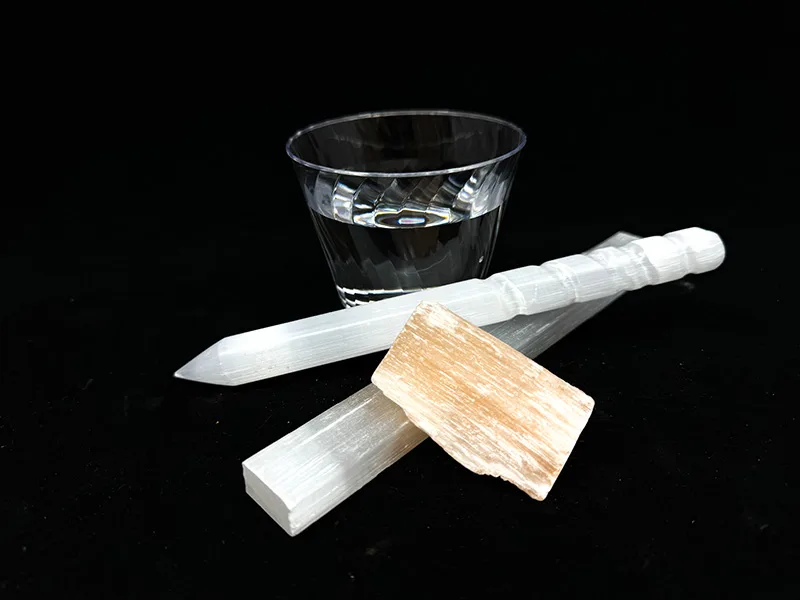
Selenite is the prime example. It is beloved for cleansing, but it dissolves in water and absorbs ambient energy aggressively. Placing Selenite next to Moldavite during meditation means the Selenite takes the brunt of the charge.
You end up spending more time cleansing the Selenite than working with the Moldavite. This dynamic drains your attention and disrupts flow.
Image source: Bing (Web (fair-use with source credit))
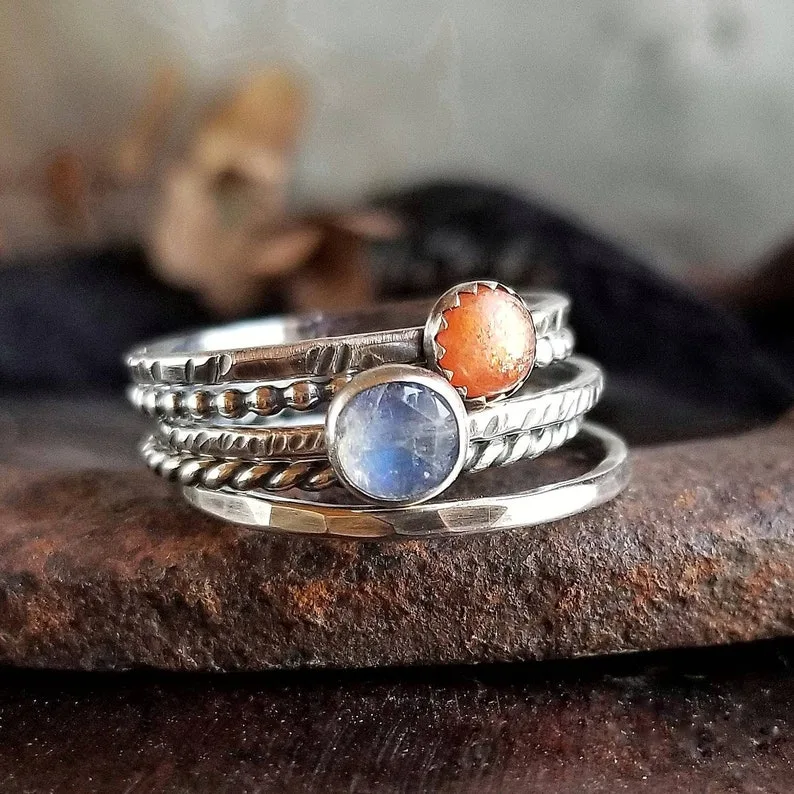
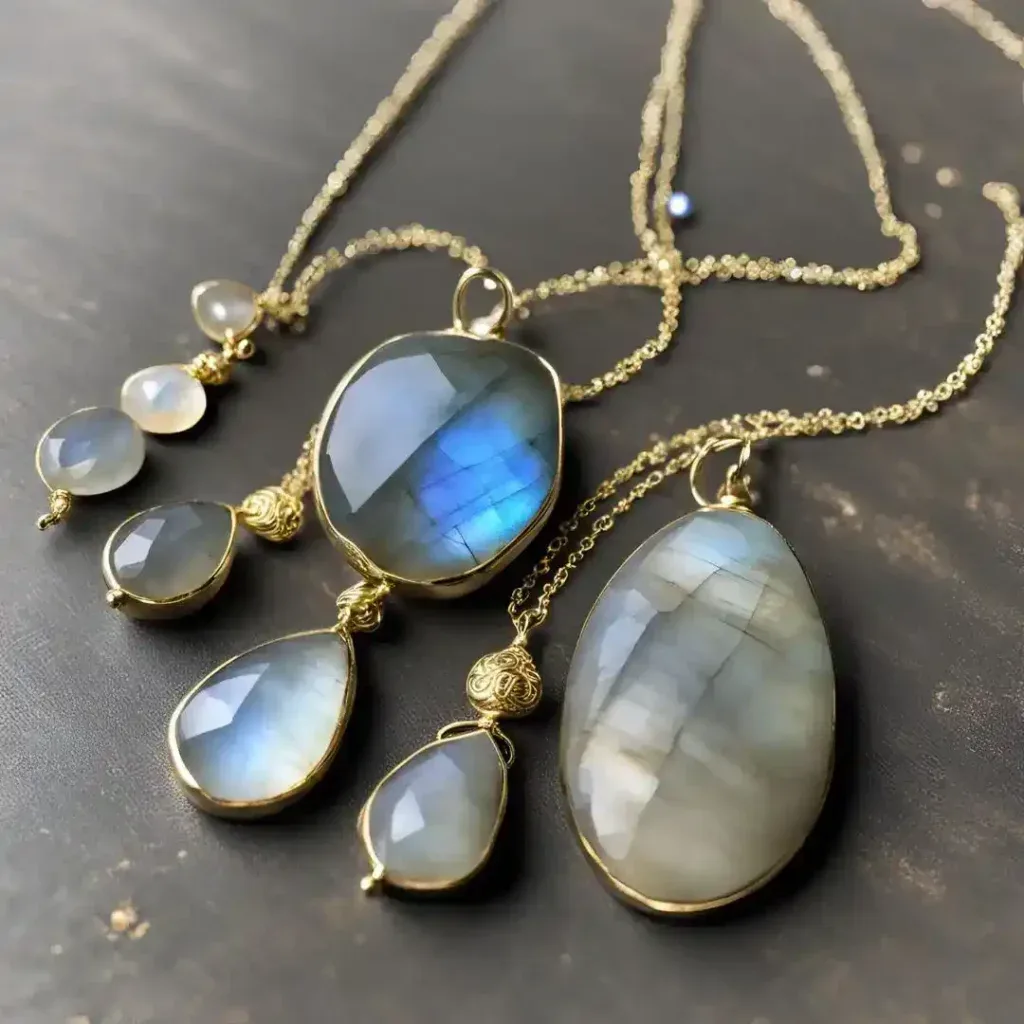
Moonstone presents a similar challenge. While beautiful, it is sensitive to emotional fluctuations. Moldavite stirs up deep-seated emotions.
Moonstone reflects those back amplified, leading to moodiness. Other porous candidates include Charoite and some forms of Opal. These stones require frequent recharging.
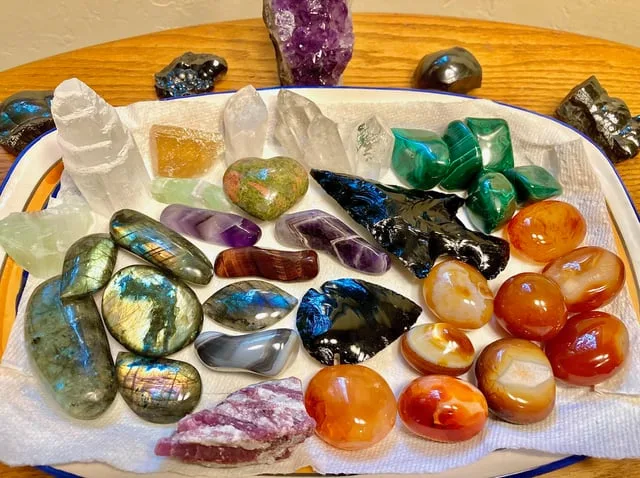
If you choose to use them, limit exposure to under ten minutes. Otherwise, opt for denser, non-porous alternatives like Obsidian or Jasper, which hold their structure better under pressure.
Emotional Volatility Triggers for Sensitive Users
Some crystals are specifically linked to emotional release and psychic sensitivity. For users prone to anxiety, depression, or dissociation, pairing these with Moldavite is hazardous. Moldavite forces subconscious material to the surface.
If the companion stone lowers inhibitions or increases psychic permeability, the result can be psychologically destabilizing.
Larimar is often cited for its calming blue hue, but it opens the throat chakra and encourages truth-telling. Combined with Moldavite’s transformative push, it can lead to impulsive speech or regrettable disclosures. Angelite connects to higher realms but thins the veil between consciousness and unconsciousness.
For sensitive individuals, this thinning causes confusion and difficulty distinguishing intuition from fantasy.
Other triggers include Lepidolite and Kunzite, which soothe via lithium content. While generally safe, their sedative nature conflicts with Moldavite’s activating force. This tug-of-war leaves the user feeling neither awake nor rested, but stuck in a limbo of irritability.
If you have a history of mental health challenges, consult a professional before experimenting. Prioritize stones that offer protection and clarity, such as Black Onyx, over those that encourage vulnerability.
The Safe List: Grounding and Stabilizing Companions
If you’re worried about overload, lean on heavy earth elements. These stones act as anchors, keeping your feet on the ground while Moldavite works above. Black Tourmaline is the gold standard here.
It repels negative energy and provides a dense, protective shield. You’ll feel safer exploring deeper truths without losing your grip on reality.
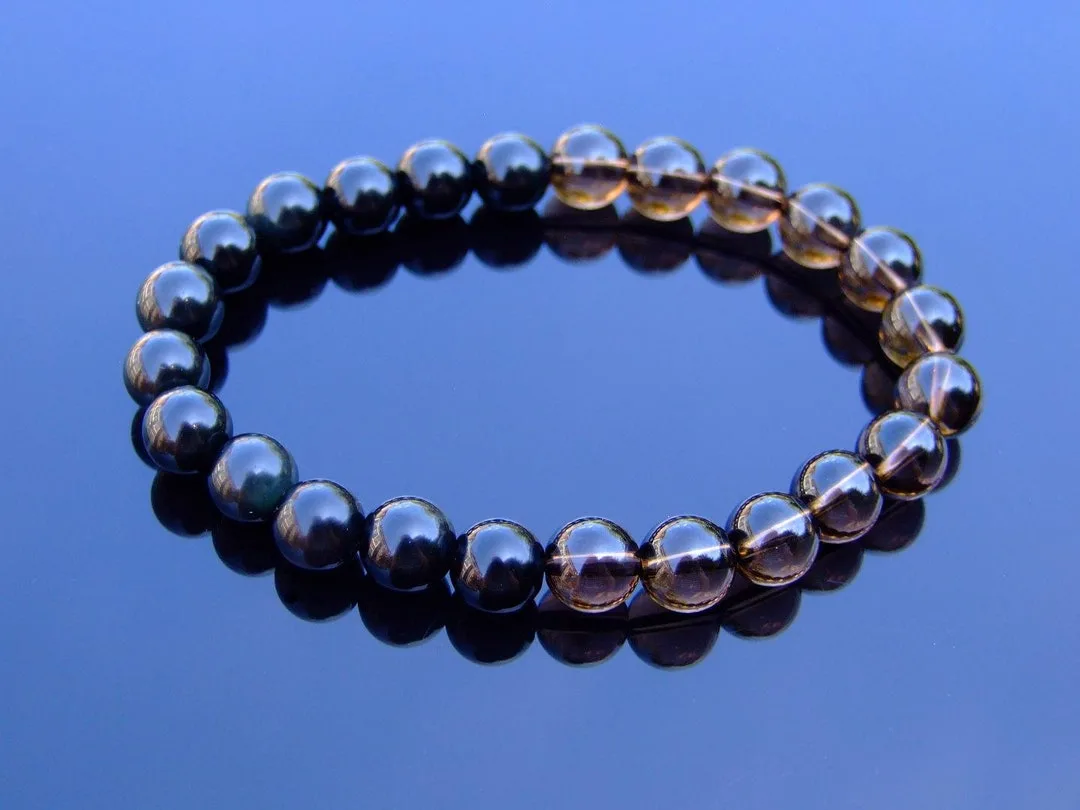
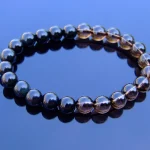
Smoky Quartz offers a gentler alternative. It transmutes fear into practical action. Unlike Tourmaline’s blunt force, Smoky Quartz dissolves anxiety slowly.
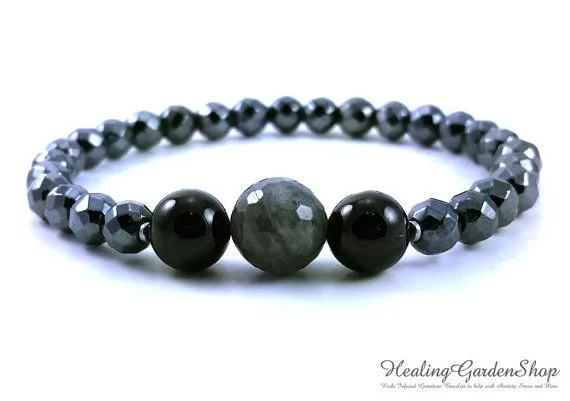
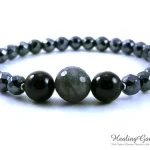
This makes it ideal for sensitive users who need gradual adjustment. Hematite adds physical stability, helping with dizziness or lightheadedness often reported during intense sessions.
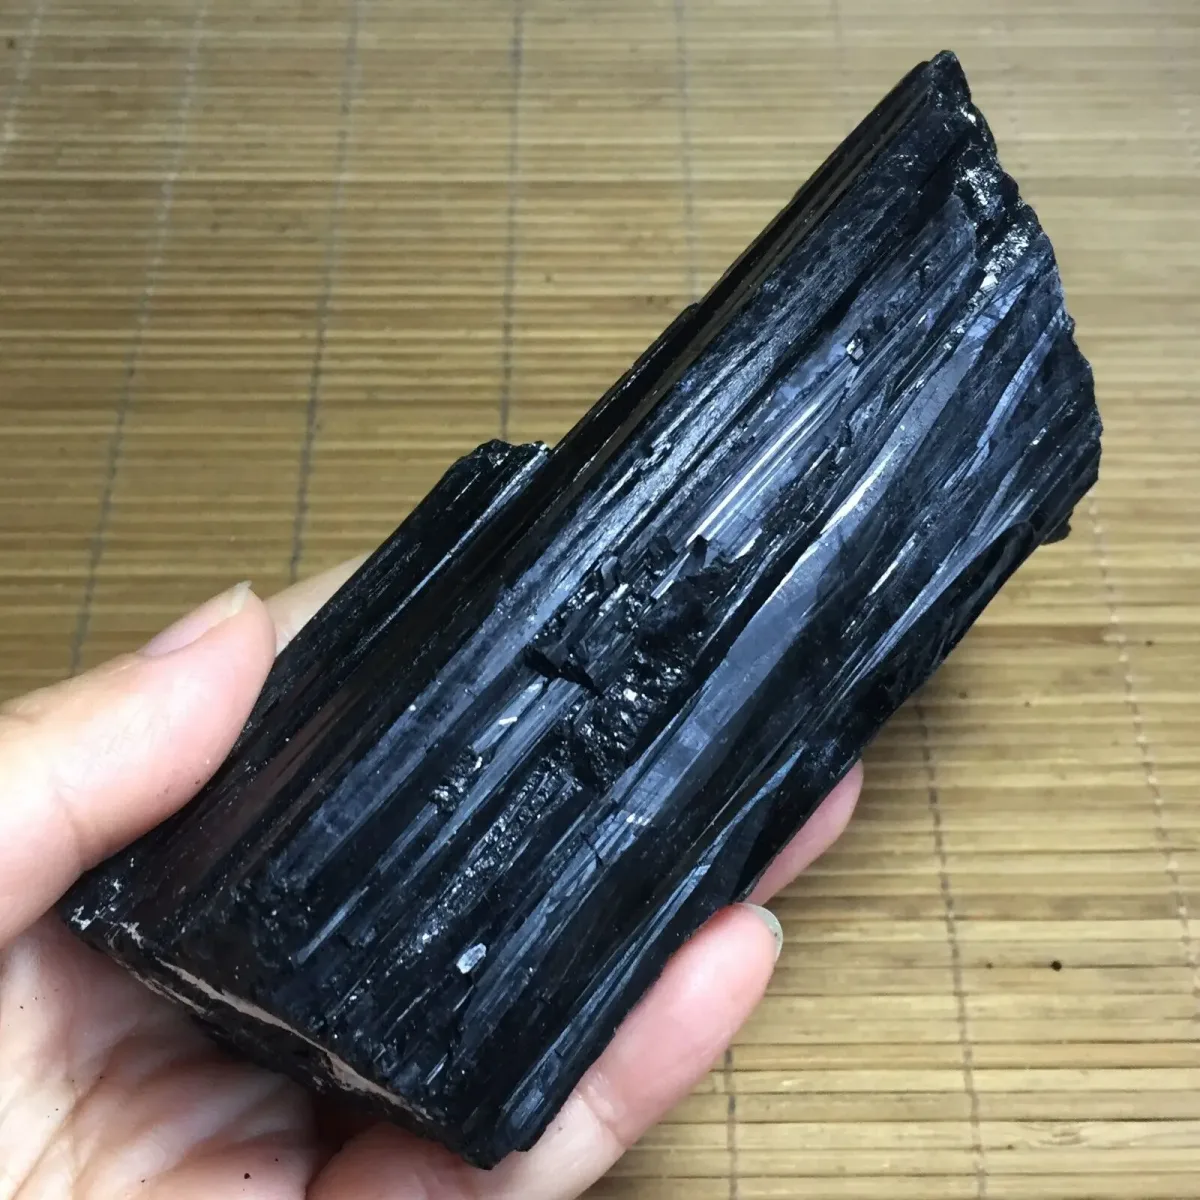
Image source: Bing (Web (fair-use with source credit))
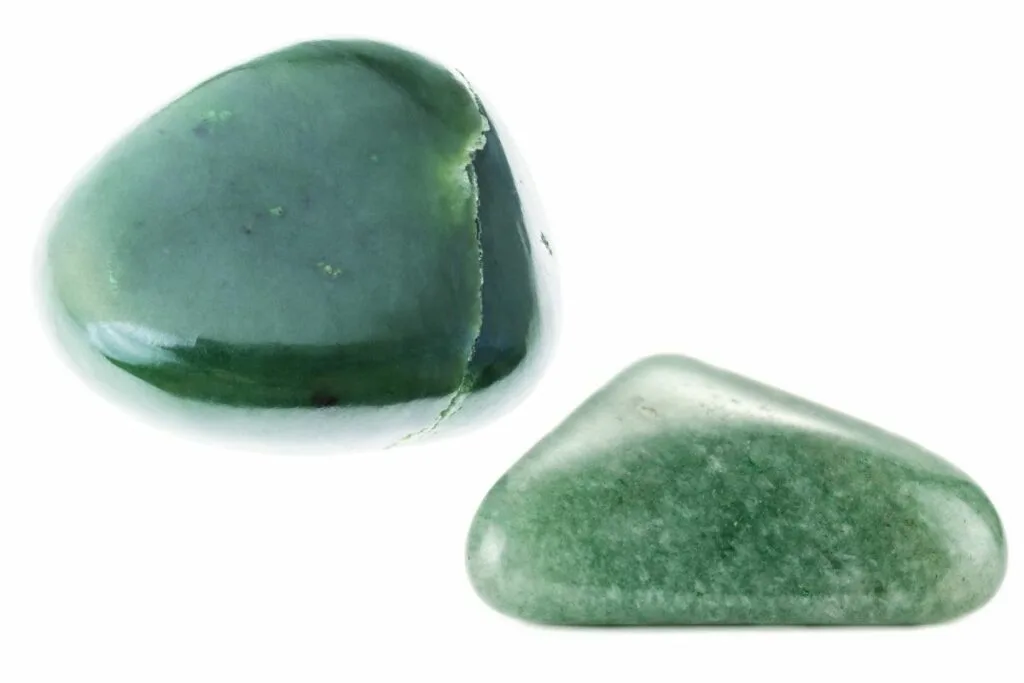
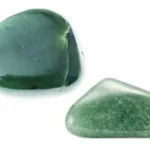
Green Aventurine balances the heart chakra without high voltage. It invites joy and optimism, counteracting the heaviness of shadow work. Clear Quartz can also serve as a neutral amplifier if set with strict intent.
However, beginners should stick to opaque, dark stones first. They provide clearer sensory feedback. If you feel scattered, reach for these grounding partners immediately.
They reset your baseline quickly.
A Practical Workflow for Testing Your Personal Compatibility
Start small. Don’t jump into hour-long meditations with new pairings. Our research suggests a five-minute initial test.
Hold the Moldavite in one hand and the companion stone in the other. Close your eyes. Notice any immediate shifts in temperature or tingling.
Pay attention to your breath. Does it become shallow? Do your shoulders tense up?
These are red flags. If you feel calm and expanded, proceed. Extend the session by two minutes every day.
Track your sleep quality and mood changes for three days after each increase.
Stop immediately if symptoms worsen. "Moldavite flu" shouldn't last more than 72 hours with proper grounding. If it does, remove the companion stone entirely.
Return to solo use until stability returns. Keep a simple journal noting dates, durations, and sensations. This data helps you identify patterns.
You might find that certain times of day work better for specific pairs. Trust your body’s signals over theoretical compatibility charts.
Frequently Asked Questions About Moldavite Synergy
Can I wear Moldavite jewelry with other crystal bracelets?
Yes, but be cautious with stacking. Multiple high-vibration stones on one wrist create concentrated intensity. We recommend wearing Moldavite alone or paired only with a single grounding bead like Hematite.
Avoid mixing it with Amethyst or Rose Quartz in close proximity unless you are experienced. Space them out on opposite wrists to prevent energetic crowding. Monitor your skin for irritation, which sometimes mirrors internal stress.
Is it safe to put Moldavite in a crystal grid with Selenite?
Generally, no. As discussed earlier, Selenite absorbs too much charge from Moldavite. The grid becomes unstable because the Selenite depletes rapidly.
Use Black Obsidian or Smoky Quartz at the base instead. These materials handle high frequencies without breaking down. If you must use Selenite, place it far from the center.
Cleanse it daily to maintain integrity. The risk isn't danger, but inefficiency and wasted effort.
How long should I wait before trying a new pairing?
Wait at least two weeks between introducing new companions. Your system needs time to integrate previous changes. Rushing leads to cumulative overwhelm.
During this gap, focus on self-care and hydration. Observe how your current setup feels. Only add a new stone when you feel completely stable.
Patience yields better results than experimentation. Listen to your intuition; it knows when you're ready.
What if I accidentally paired Moldavite with a volatile stone?
Remove both stones from your space immediately. Take a hot bath with Epsom salts to ground yourself. Eat root vegetables like potatoes or carrots.
Rest for 24 hours without spiritual practice. Drink plenty of water to flush toxins associated with detox symptoms. Once calm, reintroduce only grounding stones.
Do not punish yourself. Mistakes happen. Learn from the reaction and adjust your future choices accordingly.
Safety comes first.

Similar Posts