How to Tie Ribbon on Gift Box: Easy Steps for Perfect Bows
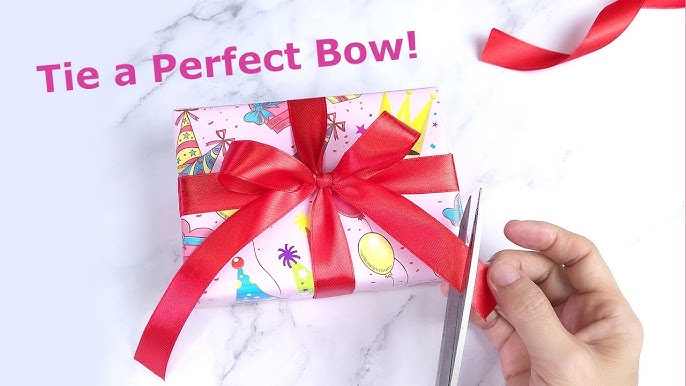
Giving a gift is special, but the way you wrap it can make all the difference. Imagine your gift box standing out with a perfectly tied ribbon that shows you care.
If you’ve ever struggled with messy bows or tangled ribbons, you’re not alone. But don’t worry—this guide will help you learn exactly how to tie ribbon on a gift box with ease. By the end, you’ll have the skills to create beautiful, eye-catching wraps that make your gifts unforgettable.
Ready to impress your friends and family? Let’s get started!

Credit: food52.com
Choosing The Right Ribbon
Choosing the right ribbon can change how your gift looks. The ribbon adds a special touch and makes the gift feel more personal. Picking the best ribbon means thinking about the material and the colors. Both affect the style and how easy it is to tie the ribbon beautifully. This section helps you select the perfect ribbon for your gift box.
Types Of Ribbon Materials
Ribbons come in many materials. Each material has a different feel and look.
- Satin:Smooth and shiny. Satin ribbons look elegant and soft.
- Grosgrain:Thick with ridges. It holds shape well and looks classic.
- Organza:Light and see-through. Organza adds a delicate, airy touch.
- Velvet:Soft and rich. Velvet ribbons feel warm and luxurious.
- Jute or Burlap:Rough and natural. These ribbons give a rustic, earthy look.
Choose a material that matches the gift’s style and the wrapping paper. Some ribbons hold bows better than others.
Color And Pattern Selection
Color sets the mood for your gift. Pick colors that fit the occasion or the receiver’s taste.
- Bright Colors:Cheerful and lively. Great for birthdays and celebrations.
- Pastels:Soft and gentle. Perfect for baby showers or spring gifts.
- Metallic:Shiny gold or silver add a festive feel.
- Patterns:Polka dots, stripes, or florals add personality.
Match the ribbon color with the wrapping paper or choose a contrasting color. Patterns can make the gift more interesting but keep them simple to avoid clashing.
Preparing The Gift Box
Preparing the gift box is an important step before tying the ribbon. A neat and secure box helps the ribbon hold better. It also makes the gift look more attractive. Taking time to prepare the box ensures a smooth ribbon-tying process.
Box Size And Shape Considerations
The size of the box affects the type and length of ribbon needed. Small boxes require thinner ribbons for a balanced look. Large boxes look better with wider ribbons to fill the space.
Shape matters too. Square or rectangular boxes are easier to wrap with ribbon. Round or oddly shaped boxes need extra care to keep the ribbon in place. Choose a box with a flat top for best results.
Securing Loose Ends
Loose ends on the box can make ribbon tying tricky. Use tape to secure any flaps or corners that stick out. Smooth surfaces help the ribbon slide evenly without bunching.
Check for any dust or dirt on the box surface. Clean it with a dry cloth for better ribbon grip. A clean box looks polished and enhances the gift’s presentation.
Basic Ribbon Tying Techniques
Tying a ribbon on a gift box adds a special touch to any present. Basic ribbon tying techniques make your gift look neat and pretty. These simple styles work well for all occasions. You can learn them quickly and use any ribbon type. Start with these easy methods to decorate your gift beautifully.
Simple Wrap Method
This technique is quick and clean. Place the ribbon under the box lengthwise. Bring both ends up and cross them on top. Pull the ends down along the sides. Tie a bow or knot at the bottom. Adjust the loops to make them even. This wrap keeps the ribbon tight and neat.
Cross Wrap Technique
This style looks elegant and secure. Lay the ribbon under the box horizontally. Bring the ends up and cross them in the center. Twist the ribbon and wrap it vertically around the box. Tie a bow on top at the crossing point. This method adds a nice design and holds the ribbon firmly.
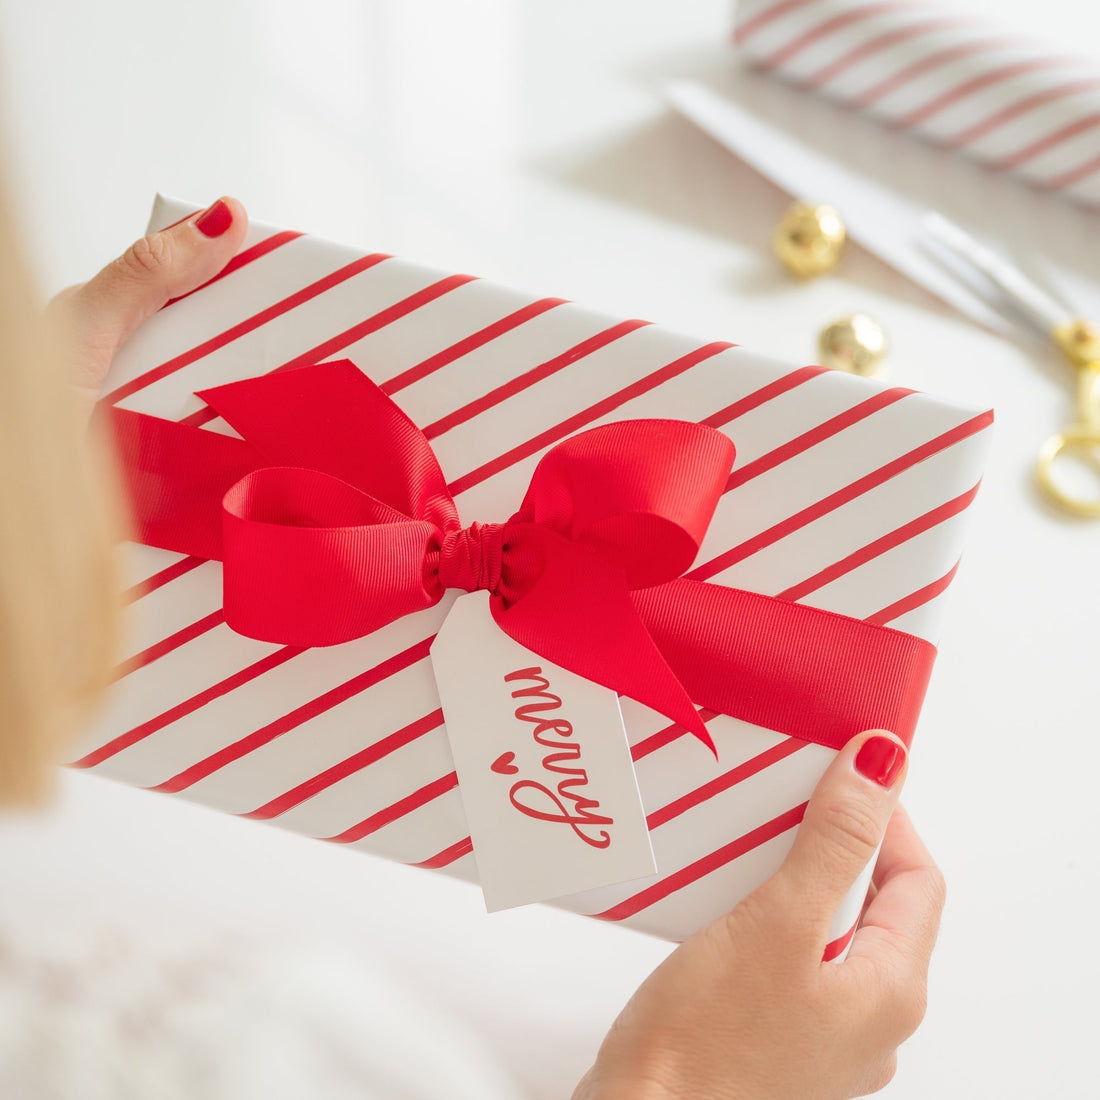
Credit: sugarpaper.com
Creating The Perfect Bow
Creating the perfect bow adds charm to any gift box. A well-made bow looks neat and elegant. It shows care and effort in gift wrapping. The key is to make loops even and adjust the size properly. Follow simple steps to craft a bow that stands out.
Looping The Ribbon
Start by making a small loop with the ribbon. Hold it firmly between your fingers. Wrap the ribbon around your fingers to form more loops. Each loop should be about the same size. Keep the loops tight to avoid loose ends. The number of loops depends on how full you want the bow. Tie the center tightly to hold all loops in place.
Adjusting Bow Size
After making loops, check the bow size. Pull loops gently to make them bigger or smaller. Spread the loops evenly around the center knot. Fluff the loops to add volume and shape. Trim ribbon ends to match the bow size. Cut ends at an angle for a clean finish. Proper adjustment makes the bow look balanced and pretty.
Adding Decorative Touches
Adding decorative touches to your gift box ribbon can completely transform its look. Small details make your present stand out and feel more personal. You don’t need to be an expert to add flair—just a few simple extras can impress anyone.
Using Additional Ribbons
Layering different ribbons adds depth and color contrast to your gift. Try pairing a wide satin ribbon with a thin velvet or grosgrain ribbon on top. This mix of textures creates a rich, interesting look that draws attention.
Think about matching or contrasting colors based on the occasion. For a birthday, bright and bold ribbons work well. For weddings, soft pastels or metallic shades add elegance.
- Twist thinner ribbons around the main bow for a playful effect.
- Use curling ribbon to add curls that bounce and catch light.
- Secure multiple ribbons with a knot or glue for a neat finish.
Incorporating Accessories
Accessories like small ornaments or natural elements can add charm and personality. A sprig of dried lavender or a tiny pinecone can make your gift feel thoughtful and seasonal.
Try attaching charms, buttons, or even handmade tags to the knot of your ribbon. These small touches show you put extra care into wrapping.
- Clip on mini clothespins to hold a handwritten note.
- Glue on faux flowers or beads for a delicate finish.
- Use festive bells or stars for holiday gifts.
What simple accessory could you add to your next gift to surprise the recipient? Sometimes, the smallest addition makes the biggest impression.
Troubleshooting Common Issues
Tying a ribbon on a gift box can sometimes be trickier than it looks. You might find the ribbon slipping off or the bow looking uneven despite your best efforts. These common issues can be frustrating, but simple adjustments can make a big difference in achieving a polished, beautiful finish.
Preventing Ribbon Slippage
Ribbon slippage happens when the ribbon slides around the box, making it hard to keep everything in place. To stop this, try wrapping the ribbon tightly, but not so tight that it damages the box or the ribbon itself.
If the ribbon still slips, add a small piece of double-sided tape or a glue dot underneath where the ribbon crosses. This holds the ribbon firmly without ruining the look. Another tip is to choose ribbons with a bit of texture, like grosgrain, instead of smooth satin ribbons, as they grip better.
Fixing Uneven Bows
Uneven bows can make a gift look rushed or messy. To fix this, first, pull the loops gently to balance their size. Make sure each loop is the same length before tightening the knot.
If one loop still looks bigger, trim the longer side carefully, then fluff the bow by separating the loops and tails. Sometimes, twisting the ribbon a little before tying helps create more volume and evenness. Have you tried adjusting the bow after tying it, rather than before? This small step can change everything.
Tips For A Professional Finish
Getting a professional finish on your gift box ribbon can transform a simple present into something truly special. Paying attention to small details not only enhances the look but also shows the care you put into wrapping. Here are some practical tips to help you achieve a polished, elegant ribbon finish that stands out.
Cutting Ribbon Ends Neatly
Neatly cut ribbon ends make a huge difference in how your gift looks. Avoid just snipping straight across; instead, try cutting the ends at an angle or in a “V” shape. This small change prevents fraying and adds a clean, sharp edge to your ribbon.
Using sharp scissors is key. Dull blades can crush the ribbon fibers, making edges look ragged. Have you noticed how a crisp cut instantly makes the whole package look more refined?
Aligning Ribbon Symmetrically
Symmetry matters when wrapping ribbon around a gift box. Center the ribbon carefully so both sides are equal in length and lay flat against the box. This simple step creates a balanced, visually pleasing effect.
Try placing the box on a flat surface and adjusting the ribbon before tying the knot or bow. Does the ribbon look even from every angle? If not, make small adjustments until it does. A symmetrical ribbon shows attention to detail that anyone will appreciate.
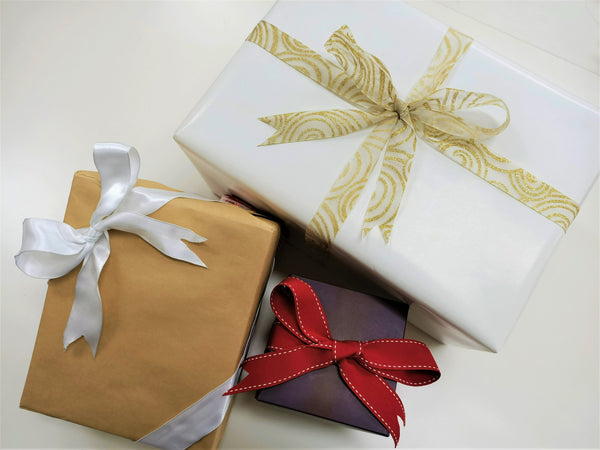
Credit: cherryribbon.com.au
Frequently Asked Questions
How Do You Start Tying A Ribbon On A Gift Box?
Begin by placing the ribbon under the box’s center. Bring both ends up and cross them. This forms the base for a neat bow.
What Type Of Ribbon Is Best For Gift Wrapping?
Satin or grosgrain ribbons work best. They hold shape well and add elegance. Choose width based on box size for balance.
How Can I Make A Perfect Bow On My Gift?
Create two loops with the ribbon ends. Cross one loop over the other. Pull tight to secure a symmetrical bow.
How Long Should The Ribbon Be For Gift Wrapping?
Use a ribbon at least three times the box’s perimeter. This ensures enough length to wrap and tie a bow neatly.
Conclusion
Tying a ribbon on a gift box adds a special touch. It shows care and makes the gift look nice. Practice the steps slowly to get the perfect bow. Choose ribbon colors that match the occasion or wrapping paper. Simple ribbons can make a big difference in presentation.
Enjoy the process and feel proud of your work. Everyone loves a well-wrapped gift with a neat ribbon. Keep trying, and your ribbons will look beautiful every time.

Similar Posts