How to Make a Paper Gift Box: Easy DIY Guide
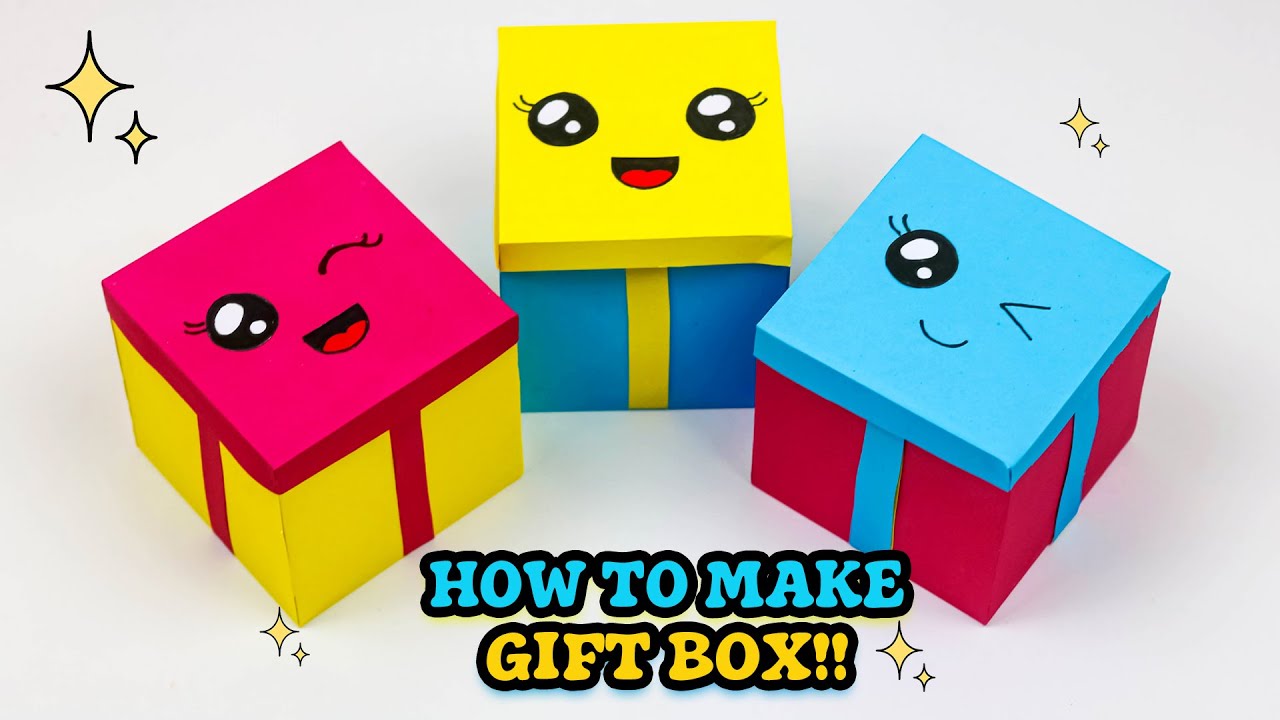
Looking for a simple way to add a personal touch to your gifts? Making a paper gift box is easier than you think, and it’s a fun craft you can do anytime.
Imagine giving a present wrapped in a box you made yourself—your friends and family will love the extra effort. In this guide, you’ll learn step-by-step how to create a beautiful, sturdy paper gift box with just a few supplies. Ready to impress everyone with your creativity?
Let’s get started!
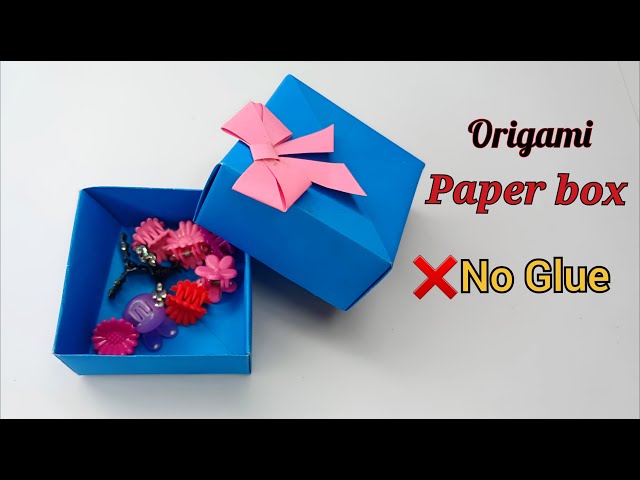
Credit: m.youtube.com
Gathering Materials
Gathering materials is the first important step to make a paper gift box. Having the right supplies makes the process easier and more fun. You need to prepare all items before starting to avoid interruptions. This ensures a smooth crafting experience and a beautiful final product.
Choosing The Right Paper
Pick paper that is sturdy but easy to fold. Cardstock works well because it holds shape and looks nice. Avoid thin or flimsy paper that tears easily. You can use patterned or plain paper depending on your style. Bright colors add a festive touch. Make sure the paper size fits the box dimensions you want to create.
Measuring And Cutting Tools
Accurate measuring tools help create neat edges and proper box size. Use a ruler with clear markings for precise measurements. A pencil is useful to mark cutting lines lightly. Choose sharp scissors or a craft knife for clean cuts. A cutting mat protects surfaces and makes cutting safer. These tools keep your work tidy and professional.
Basic Box Structure
Understanding the basic structure of a paper gift box is essential before diving into decoration or customization. The box must be sturdy enough to hold your gift securely, yet simple enough to fold and assemble without frustration. Starting with a solid foundation makes the entire process smoother and more enjoyable.
Creating The Base
The base is the heart of your paper gift box. Begin by cutting a square or rectangle from your chosen paper, ensuring the size fits your gift comfortably. Score the paper along the edges to create clean folds—this helps the box keep its shape.
Use a ruler and a bone folder or the back of a butter knife to make precise creases. This small step will save you time and make your box look professional. Have you noticed how a well-scored fold changes the whole feel of a paper craft?
Adding Sides And Bottom
Once the base is ready, focus on building the sides and bottom to give your box depth and stability. Fold up the sides along the scored lines, and secure them using glue, double-sided tape, or small tabs tucked inside.
Make sure the corners are sharp and aligned; this prevents your box from looking sloppy. If you want, reinforce the bottom by adding an extra layer of paper inside for strength. Ever tried holding a box that collapses? Avoid that by reinforcing early.
Designing The Box
Designing the box shapes the final look of your paper gift box. This step helps to make the box both practical and pretty. A well-designed box fits the gift perfectly and looks inviting. Pay attention to size and style for a neat finish.
Adding A Lid
The lid should fit snugly on the box base. Cut the lid slightly bigger than the box sides. Use a fold line to create a small lip around the edge. This lip helps the lid stay in place. Make sure the lid is not too tight or too loose.
- Measure the box width and length carefully.
- Add ¼ inch to each side for the lid’s outer edge.
- Score fold lines to form the lid’s walls.
- Fold the edges up and glue the corners securely.
A good lid protects the gift and adds charm to the box.
Decorating The Box
Decorations make the box unique and attractive. Use simple materials for easy design. Stickers, ribbons, and colored paper work well. You can also draw patterns or write messages.
- Choose colors that match the gift or occasion.
- Add texture with ribbons or fabric strips.
- Use stamps or markers for creative designs.
- Attach small ornaments like buttons or dried flowers.
Keep decorations balanced, not too crowded or plain. The right design makes your box special and memorable.

Credit: www.youtube.com
Finishing Touches
Finishing touches bring life and charm to your paper gift box. These final details help the box look neat and special. Small efforts make a big difference. The box becomes ready to impress and protect the gift inside.
Attaching A Closure
A secure closure keeps the box shut tight. Choose a simple way to close your gift box. Use ribbons, buttons, or stickers to hold the lid in place.
- Ribbon: Tie a bow around the box for a classic look.
- Button and String: Punch holes and loop string around a button.
- Sticker Seal: Use a pretty sticker to keep the lid closed.
- Velcro Dots: Attach small Velcro dots for easy open and close.
Make sure the closure fits well. It should be easy to open but not loose.
Adding A Personal Touch
Personalize your paper gift box to make it unique. Add a name, message, or small decorations that show care.
- Write a short note on the lid or inside the box.
- Use stamps or stickers with shapes like hearts or stars.
- Attach a small tag with the recipient’s name.
- Draw simple patterns with colored pens or markers.
Personal touches show thoughtfulness and make your gift box memorable.
Tips And Variations
Adding your personal touch to a paper gift box makes the process more rewarding. Small changes in materials or designs can turn a simple box into a memorable keepsake. Let’s look at some tips and variations that will help you customize your paper gift box and make it truly unique.
Using Different Paper Types
Choosing the right paper can change the look and feel of your gift box dramatically. Thick cardstock offers sturdiness and a professional finish, while patterned scrapbook paper adds color and personality. Have you tried using textured paper like linen or metallic sheets? They catch light differently and add a luxurious effect.
Don’t hesitate to mix papers. Using a plain color for the box base and a patterned paper for the lid creates a stylish contrast. If you want an eco-friendly option, recycled or kraft paper can give your box a charming rustic vibe. Remember, the weight and flexibility of the paper affect how easy it is to fold and assemble.
Experimenting With Designs
Design variations let you express creativity beyond the basic shape. Adding cut-out patterns or using a punch tool can create intricate windows that reveal the gift inside. Have you thought about folding the edges differently to add decorative flaps or scalloped borders?
Try incorporating ribbons, stickers, or stamps for extra flair. You could also paint or draw on the paper before folding to make a one-of-a-kind design. Think about the occasion and personalize the design accordingly—adding hearts for Valentine’s Day or snowflakes for Christmas makes your gift box more special.

Credit: m.youtube.com
Frequently Asked Questions
What Materials Are Needed To Make A Paper Gift Box?
You need sturdy paper, scissors, ruler, pencil, glue, and decorative items. Using thick paper ensures the box holds its shape well.
How Long Does It Take To Make A Paper Gift Box?
Making a paper gift box usually takes 15 to 30 minutes. Time varies depending on the box size and decoration complexity.
Can I Customize The Size Of The Paper Gift Box?
Yes, you can customize size by adjusting paper dimensions and fold lines. Measure your gift first for a perfect fit.
What Type Of Paper Is Best For Gift Boxes?
Cardstock or craft paper is best for durability and easy folding. Avoid thin paper as it may tear easily.
Conclusion
Making a paper gift box is simple and fun. You only need a few materials and some patience. This craft adds a personal touch to your gifts. It also saves money and reduces waste. Try different colors and designs for variety.
Practice a few times to get better. Soon, you will create beautiful boxes with ease. Enjoy giving gifts wrapped with your own hands. Creativity makes every present special. Keep crafting and sharing joy!

Similar Posts































