How to Place Tissue Paper in a Gift Box: Step-by-Step Guide
Have you ever struggled with making your gift look as special on the outside as it feels on the inside? The secret often lies in how you place tissue paper inside your gift box.
A simple touch like this can turn an ordinary present into an unforgettable experience. If you want your gift to stand out, grab your tissue paper and keep reading—because mastering this small detail can make a big impact on the person receiving your gift.
Let’s dive into easy steps that will help you wrap your gift with style and care.
Credit: www.amazon.com
Preparing The Gift Box
Preparing the gift box is the first step to creating a beautiful present. It helps protect the gift and makes the unboxing special. Taking time to prepare shows care and attention to detail.
Choosing The Right Tissue Paper
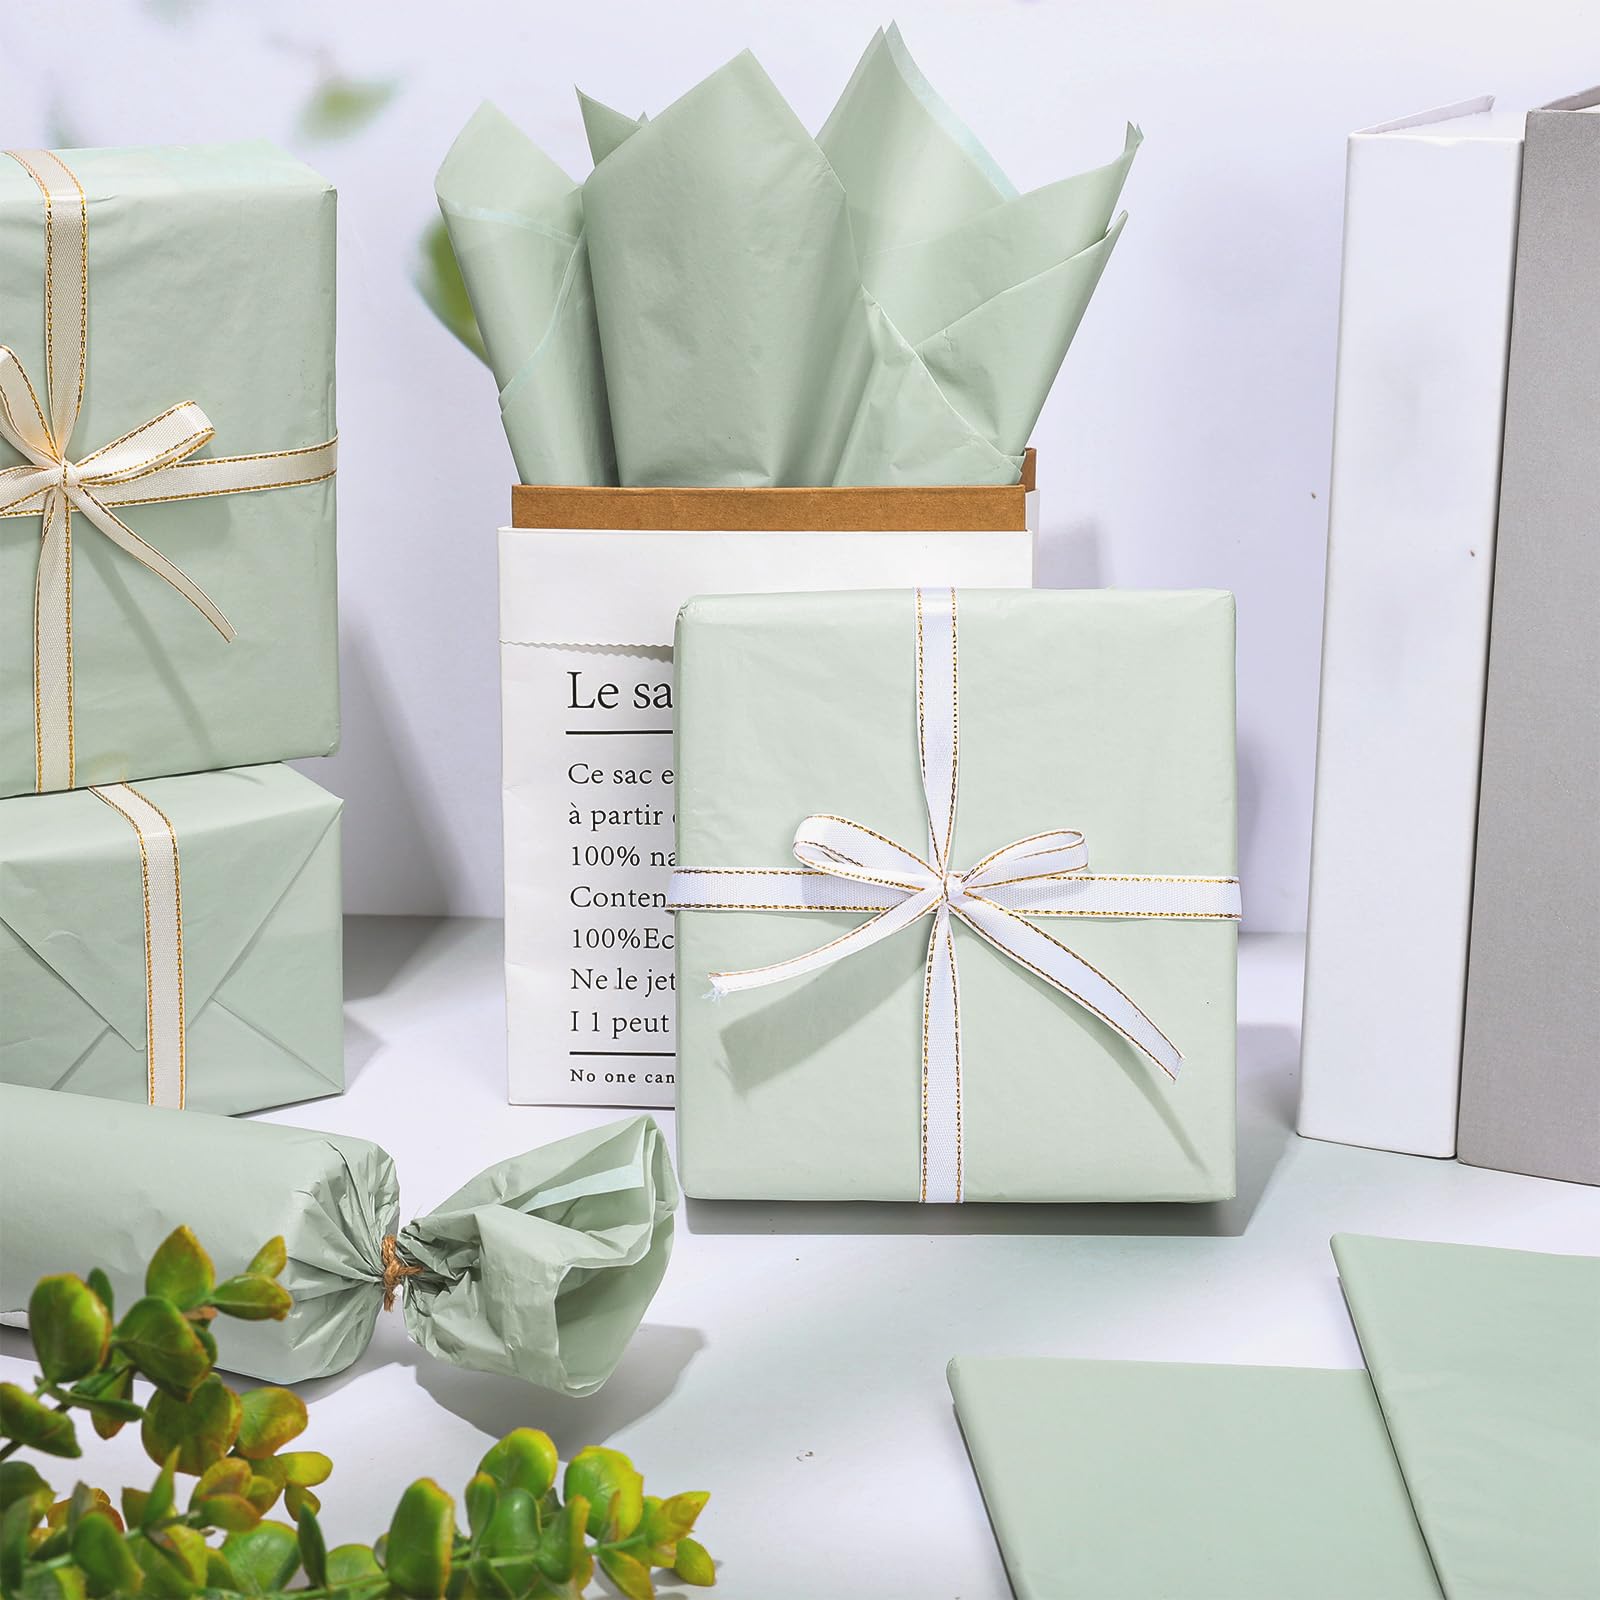
Pick tissue paper that matches the occasion and gift. Soft, thin paper works best. Avoid thick or rough sheets that might damage delicate items. Choose colors that complement the gift box or the gift inside. White or pastel shades are safe choices for most gifts.
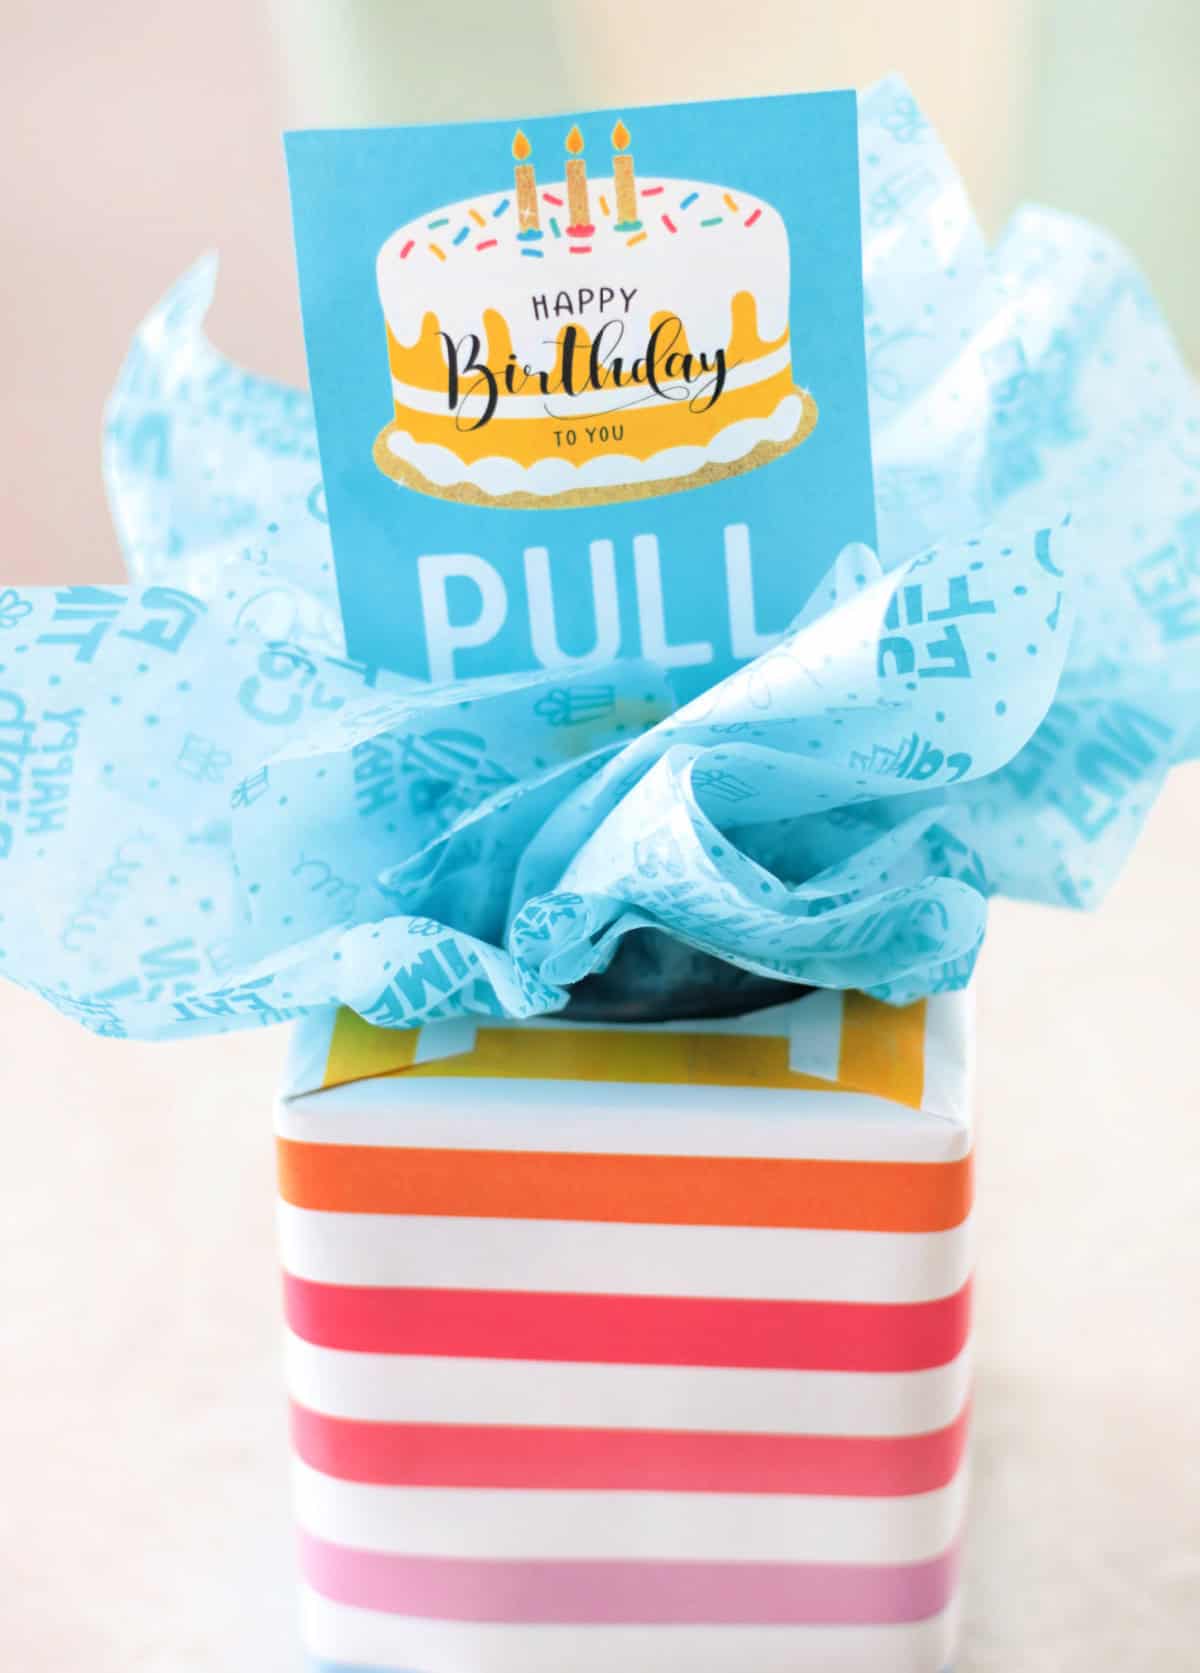
Consider patterned tissue paper for a fun or festive look. Keep the number of sheets to two or three. Too many layers can make the gift bulky. Too few can leave the gift unprotected.
Selecting The Perfect Gift Box Size
Choose a box that fits the gift snugly. A box too large makes the gift move around. A box too small can squash or damage the gift. Measure the gift’s height, width, and depth before buying a box.
Leave enough room for tissue paper padding. This helps keep the gift secure and adds style. Square or rectangular boxes are easier to fill neatly. Boxes with lids are best to keep everything in place.
Step 1: Measuring The Gift Box
Measuring the gift box is the first and most important task. It sets the base for a neat and elegant tissue paper arrangement. Without accurate measurements, tissue paper can look messy or may not fit well.
Start by checking the box’s length, width, and height. Use a ruler or measuring tape for precise numbers. Write down these dimensions before moving forward.
Calculating The Tissue Paper Size
To cover the inside of the box, you need tissue paper larger than the box itself. Add extra to the length and width for folding and coverage. For example, add 4 to 6 inches to each side.
Calculate the size like this:
- Length of box + 8 to 12 inches
- Width of box + 8 to 12 inches
This ensures the tissue paper fully covers the box inside and edges.
Accounting For Overlap And Tucking
Overlap means folding tissue paper over the edges inside the box. It hides rough edges and keeps the paper neat. Plan for enough tissue paper to tuck under gifts.
Measure extra paper for overlap, about 2 to 4 inches on each side. This allows you to fold tissue paper smoothly inside the box corners.
Remember, small folds and tucks make the gift look clean and polished. Proper measurement helps you achieve this easily.
Step 2: Cutting The Tissue Paper
Cutting tissue paper correctly shapes the gift box’s final look. This step prepares the paper to fit neatly inside the box. Precise cutting avoids wrinkles and tears. Take your time to measure and cut carefully. Use the right tools for a clean edge. Proper cutting sets a tidy foundation for the next steps.
Using A Craft Knife Or Scissors
A craft knife offers sharp, precise cuts. It works well on thin tissue paper. Place the paper on a flat surface. Use a ruler to guide your cuts. Cut slowly to avoid ripping.
Scissors are easy and safe for many users. Choose sharp scissors for clean edges. Cut along marked lines gently. Avoid jagged cuts by moving steadily.
Creating A Clean And Straight Cut
Measure the tissue paper to fit the box size. Mark the paper with a pencil or light pen. Use a ruler to keep lines straight. Cut along the lines carefully without rushing.
A clean cut prevents uneven edges and tears. Straight edges fold better inside the box. Keep the paper flat while cutting. Smooth cuts enhance the gift’s appearance.

Credit: www.tsa.gov
Step 3: Folding And Placing The Tissue Paper
Folding and placing the tissue paper correctly gives the gift a neat, polished look. It helps protect the gift and adds a touch of elegance. Follow these simple tips to fold and place tissue paper perfectly in your gift box.
Creating A Folded Edge
Start with a square sheet of tissue paper. Fold the paper in half gently to create a clean edge. Make sure the edges line up evenly. This fold helps the paper fit smoothly inside the box. It also prevents wrinkles and tears.
Next, fold the paper again if needed to match the size of the box. Keep the folds light and crisp. Avoid making the paper too thick or bulky.
Securing The Tissue Paper With Tape
Place the folded tissue paper inside the box carefully. Adjust the edges so they cover the box sides. Use small pieces of clear tape to hold the tissue paper in place. Tape the paper under the box edges or corners.
Do not use too much tape. A few small pieces are enough to keep the tissue paper secure. This keeps the paper neat and ready for your gift.
Step 4: Adding A Final Touch
Adding the final touch to your gift box elevates the entire presentation. This step is where you transform a simple wrapped gift into a memorable experience. Small details here show your thoughtfulness and attention to care, making the recipient feel truly special.
Adding A Decorative Ribbon Or Bow
A ribbon or bow instantly enhances the look of your gift box. Choose a color that complements the tissue paper and the occasion. Satin ribbons offer a sleek finish, while burlap ribbons add a rustic charm.
Wrap the ribbon around the box either horizontally or vertically, or both for a classic look. Tie a neat bow on top to keep it secure and visually appealing. You can even mix textures by layering a thin ribbon over a wider one for added depth.
Have you tried curling ribbon with scissors? It adds a playful touch that’s perfect for birthday gifts. Experiment with different styles until you find one that feels right for your gift’s personality.
Finishing With A Personal Touch
Personal touches make your gift unforgettable. Attach a handwritten note or a small tag with the recipient’s name. This simple act shows you invested time and thought beyond just wrapping.
Consider adding a tiny charm, dried flower, or even a sprig of fresh herbs like rosemary. These little elements can evoke emotions and memories, making your gift stand out.
What unique item could you add that reflects your relationship with the recipient? Sometimes, the smallest additions create the biggest smiles.
Tips And Variations
Tissue paper can change the entire look of your gift box. Simple tweaks create fresh, eye-catching presentations. Explore colors, patterns, and shapes to add flair and charm. These tips make gift wrapping fun and personal.
Using Different Tissue Paper Colors And Patterns
Colors set the mood and theme for your gift. Choose soft pastels for a calm, gentle vibe. Bright hues bring energy and excitement. Patterns add texture and interest without extra effort.
- Mix solid colors with patterned sheets for contrast.
- Use metallic or glitter tissue for a festive touch.
- Match colors to the event or recipient’s favorite shades.
- Layer different tissue papers for a rich, multi-dimensional look.
Try folding or crumpling tissue for various textures. Remember, less can be more to avoid overwhelming the gift.
Experimenting With Unconventional Gift Box Shapes
Not all gift boxes are square or rectangular. Round, heart-shaped, or hexagonal boxes need special care with tissue placement. Adjust tissue paper to fit unique contours smoothly.
- Cut tissue paper into smaller pieces for better fit.
- Use soft tissue to prevent tearing on curves.
- Layer tissue to cushion delicate items inside irregular boxes.
- Try stuffing tissue loosely for volume in oddly shaped boxes.
Creative folding can highlight unusual box shapes. This approach makes your gift look thoughtful and special.
Credit: gluesticksblog.com
Frequently Asked Questions
How Do You Choose Tissue Paper For Gift Boxes?
Select tissue paper that complements the gift and box colors. Opt for soft, durable, and wrinkle-resistant paper. Consider the occasion and recipient’s taste for a personalized touch. Quality tissue enhances presentation and protects the gift inside.
What Is The Best Way To Layer Tissue Paper In A Gift Box?
Use multiple sheets of tissue paper for cushioning and style. Fold or crumple sheets gently to create volume. Layer colors or patterns to add visual interest. Ensure the gift is fully covered and secure before closing the box.
Can Tissue Paper Protect Fragile Items In Gift Boxes?
Yes, tissue paper cushions delicate items effectively. Wrap fragile gifts individually and add extra layers inside the box. This prevents movement and reduces the risk of damage during transport or handling.
How Do You Arrange Tissue Paper For A Neat Gift Presentation?
Place tissue paper flat inside the box first. Gently lift and fold edges over the gift for a polished look. Tuck excess paper neatly under the gift or box edges. Avoid overstuffing to maintain a clean appearance.
Conclusion
Placing tissue paper in a gift box adds a special touch. It protects the gift and makes it look nice. Choose colors that match the occasion or the gift itself. Fold or fluff the tissue paper to create a soft base.
Arrange it carefully to avoid wrinkles and tears. This simple step shows you care and makes gift-giving more fun. Try different styles to find what looks best. Small details like this make gifts feel more thoughtful and personal. Keep practicing, and you will get better each time.

Similar Posts