How to Tie a Bow on a Christmas Gift: Expert Tips
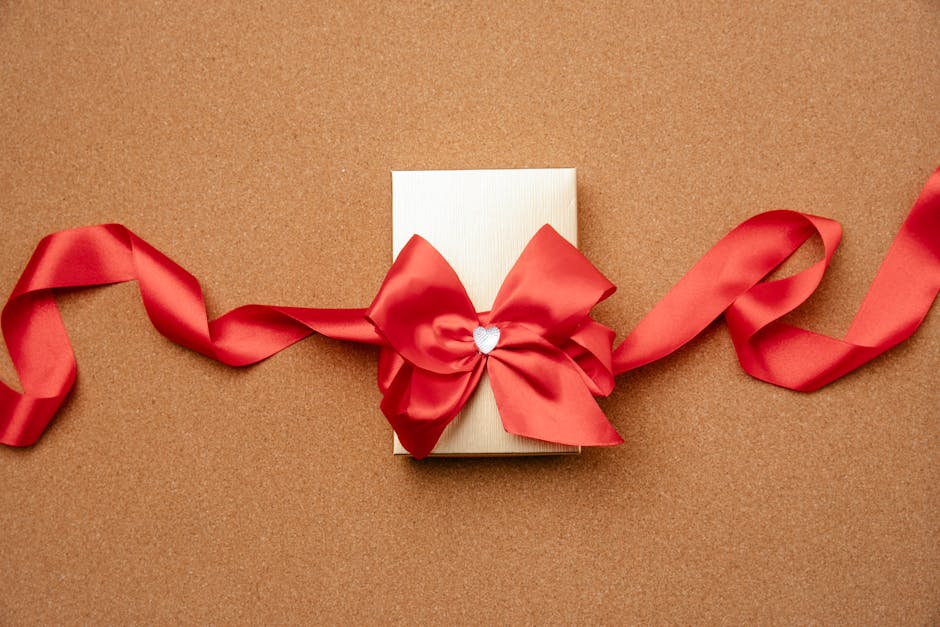
Giving a Christmas gift is special, but the way you wrap it makes all the difference. Imagine your loved one’s eyes lighting up the moment they see a perfect bow on their gift.
You want your present to look just as thoughtful as what’s inside. But tying a beautiful bow can feel tricky if you’ve never done it before. Don’t worry—you’re about to learn a simple, step-by-step way to tie a bow that will make your gift stand out under the tree.
Keep reading, and you’ll master this skill quickly, making your Christmas giving even more memorable.
Choosing The Right Ribbon
Choosing the right ribbon can completely change the look of your Christmas gift. It’s more than just a finishing touch; it sets the mood and shows the care you put into wrapping. Picking the perfect ribbon involves thinking about style, color, and size to make your gift stand out.
Types Of Ribbons
There are many types of ribbons to pick from, each giving a different feel to your gift.
- Satin ribbonsare smooth and shiny, perfect for an elegant look.
- Grosgrain ribbonshave a ribbed texture that adds a bit of rustic charm.
- Organza ribbonsare sheer and light, giving a delicate, airy effect.
- Velvet ribbonsfeel soft and plush, ideal for a cozy, luxurious vibe.
Think about the message you want your gift to send. Are you aiming for classic, playful, or sophisticated? Choosing the right texture can help you express that.
Color And Texture Tips
Color choice is key. Bright reds and greens shout Christmas cheer, but don’t be afraid to try deep blues, golds, or silvers for a modern twist.
Texture works hand in hand with color. For instance, a shiny gold satin ribbon on matte wrapping paper creates a striking contrast that draws the eye.
Ask yourself: Does the ribbon complement or clash with your wrapping paper? Matching tones can create harmony, while contrasting colors add excitement.
Ribbon Width Matters
Width affects both appearance and ease of tying. Narrow ribbons (around 1/4 inch) are great for delicate packages or adding subtle accents.
Medium widths (1 to 2 inches) are the most versatile and work well on most gift sizes.
Wide ribbons (over 2 inches) make a bold statement but can be tricky to tie neatly. Use them for large boxes or when you want the bow to be the star of the show.
Have you ever struggled with a too-wide ribbon slipping off a small box? Picking the right width for your gift size saves frustration and looks better.
Preparing Your Materials
Preparing your materials is the foundation of tying a perfect bow on your Christmas gift. Without the right tools and accurate measurements, even the most beautiful ribbon can end up looking messy. Taking a few moments to get everything ready will save you frustration and help your gift stand out.
Measuring Ribbon Length
Start by estimating how much ribbon you’ll need. A good rule of thumb is to wrap the ribbon around the gift twice, then add extra length for tying the bow. This usually means adding about 12 to 18 inches beyond the wrapping length.
Are you wrapping a large box or a small gift? Adjust the ribbon length accordingly. Too short, and your bow will look tight and cramped. Too long, and it might look sloppy or require trimming.
Cutting Techniques
Cutting ribbon cleanly is essential for a polished look. Use sharp scissors to avoid frayed edges that can ruin the presentation. Hold the ribbon taut and cut in one smooth motion.
Have you noticed how some ribbons unravel easily? To prevent this, try cutting at a slight angle or using pinking shears if you have them. This small step keeps your ribbon looking fresh and tidy.
Tools You’ll Need
- Sharp scissors:For clean, precise cuts.
- Measuring tape or ruler:To get accurate ribbon length.
- Double-sided tape or glue dots (optional):To secure the bow in place.
- Gift box or wrapping paper:To test your ribbon length before cutting.
Having these tools ready before you start makes the process smoother. Do you keep your gift-wrapping supplies organized? A little preparation helps you avoid last-minute scrambles and keeps your holiday mood joyful.
Basic Bow Tying Steps
Tying a bow on a Christmas gift is a simple way to add a personal touch that shows you care. The basic steps focus on creating neat loops, securing the center tightly, and making sure the tails look just right. Each part of the process builds on the last, making it easier than you might expect to achieve a beautiful finish.
Forming The Loops
Start by taking your ribbon and creating two loops, one in each hand. These loops should be about the same size to keep the bow balanced. Don’t worry if they look uneven at first — you can always adjust them later.
Try to keep the ribbon flat as you form the loops to avoid wrinkles. This keeps the bow looking smooth and polished. Have you noticed how even the smallest wrinkle can distract from an otherwise perfect gift wrap?
Securing The Center
Once your loops are ready, pinch them together at the center. Use a small piece of ribbon or even a twist tie to hold them tightly in place. The tighter you secure the center, the more your bow will hold its shape.
If you’re using the same ribbon to tie the center, make sure you pull it snug but not so tight that it damages the ribbon. This step is crucial because a loose center can make your bow fall apart quickly.
Adjusting The Tails
After securing the center, arrange the ribbon tails to your liking. You can cut the ends at an angle or into a “V” shape for a polished look. Make sure the tails hang down evenly or spread out nicely to frame your bow.
Check the overall balance of your bow by holding it up to the gift. Does it sit well? Adjust the loops and tails until you’re happy with the shape. Remember, a well-adjusted bow turns a simple gift into something special.

Credit: www.youtube.com
Advanced Bow Styles
Advanced bow styles add extra charm to Christmas gifts. They create a wow effect on presents. These bows look elegant and show special care.
Using different ribbons and techniques can make unique bows. These styles take a little practice but are worth the effort. They make your gift stand out under the tree.
Double Loop Bow
The double loop bow is fuller and more eye-catching. It has two sets of loops on each side. Use a long ribbon to create enough loops.
- Make one loop on one side and hold it.
- Create a second loop next to the first.
- Repeat on the other side for four loops total.
- Pinch the center tightly and tie with a thin wire or ribbon.
- Fluff each loop to make the bow round and full.
Floral Bow
The floral bow looks like a flower on the gift. It uses multiple small loops or petals made from ribbon. Use wired ribbon for better shape hold.
- Cut several short ribbon pieces of the same length.
- Fold each piece into a loop and pinch the center.
- Attach all loops side by side on a central wire or string.
- Shape the loops outward like petals.
- Secure the center tightly and place on the gift.
Layered Ribbon Bow
The layered ribbon bow combines ribbons of different colors and widths. It adds depth and texture to your gift wrap. Use ribbons that match your gift wrap colors.
- Select two or three ribbons with different widths.
- Make loops with the widest ribbon first.
- Add smaller loops on top using the narrower ribbons.
- Pinch all ribbon loops together in the center.
- Tie with a thin ribbon or wire to hold the shape.
Attaching The Bow To Your Gift
Attaching the bow to your Christmas gift is an important step. It keeps the bow secure and adds a polished look. This step can be simple or creative, depending on your style. Use the right technique to make your gift stand out.
Using Tape And Glue
Double-sided tape works well for a clean hold. Place small pieces under the bow’s center. Press firmly on the gift’s surface. Avoid visible tape for a neat look.
Glue dots are another option. They stick quickly and hold strong. Use a few dots under the bow’s loops. Wait a moment before placing it on the gift. This prevents sliding or falling.
Tying Directly On The Box
Wrap ribbon around the gift box first. Tie a knot to secure the ribbon tightly. Attach the bow by tying it into the knot. This method keeps the bow stable and elegant.
For extra security, use a small piece of tape under the knot. It stops the ribbon from loosening. This technique works best with soft ribbons and lightweight bows.
Adding Decorative Elements
Add small ornaments or greenery under the bow. Use thin wire or floral tape to attach them. This creates a festive and unique appearance.
Try adding bells, pine cones, or candy canes. Place these elements around or inside the bow. Secure them well to avoid falling during transport.
Maintaining Your Bow’s Shape
Keeping your Christmas bow looking fresh and full adds charm to your gift. A well-shaped bow shows care and attention. Bows can lose their form during storage or transport. Small efforts keep ribbons crisp and lively for your special wrapping.
Storing Bows Before Use
Store bows in a cool, dry place away from sunlight. Use small boxes or plastic containers to protect them. Avoid crushing or squashing bows under heavy items. Place tissue paper around bows to hold their shape. Hanging bows on hooks also helps maintain volume.
Fixing Flattened Ribbons
Gently fluff flattened ribbons by shaking them lightly. Use your fingers to reshape loops and tails. For stubborn creases, try a low heat iron with a cloth over the ribbon. Steam from a kettle can soften ribbons, making them easier to reshape. Avoid harsh pulling to prevent damage.
Weatherproofing Tips
Keep bows dry to avoid wrinkles and color fading. Spray a light coat of clear hairspray for added stiffness. Avoid using water-based sprays that may stain or weaken the ribbon. Wrap bows in plastic wrap if exposed to moisture. This protects them during cold or wet weather.
Creative Bow Alternatives
Looking beyond the classic ribbon bow can make your Christmas gifts stand out in a delightful way. Creative bow alternatives add a personal touch that shows extra care and thoughtfulness. They also invite you to experiment with textures, colors, and meaningful details that a simple bow might miss.
Using Fabric Strips
Try using strips of fabric instead of traditional ribbon. Old scarves, leftover cloth, or even strips cut from festive pajamas can create a soft, cozy look. You can tie them in loose knots or simple bows that feel more casual and inviting.
Fabric strips give you endless color and pattern options that match your wrapping paper perfectly. Plus, the recipient can reuse the fabric, making it a gift that keeps on giving. Have you ever noticed how a piece of fabric feels more personal than plastic ribbon?
Incorporating Natural Elements
Adding natural touches like pine sprigs, cinnamon sticks, or dried orange slices can turn your gift into a mini holiday centerpiece. These elements add texture and a fresh scent that lifts the whole package.
Secure them with twine or thin ribbon for a rustic yet elegant vibe. You could even pick a small pinecone or a sprig of holly from your backyard to make it truly unique. What natural item around your home could become the perfect accent for your gift?
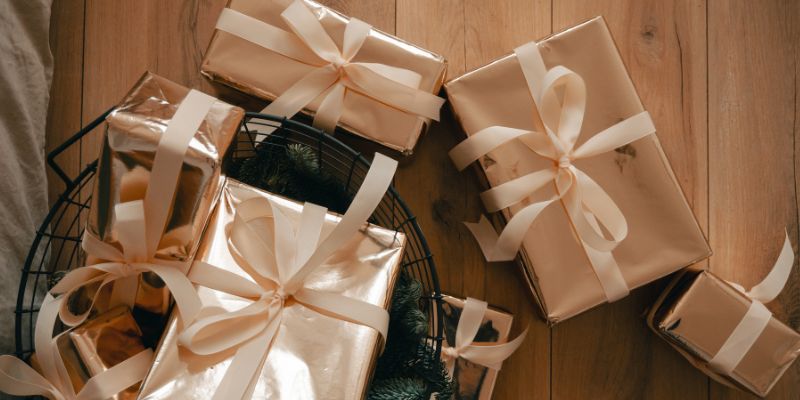
Personalized Tags And Charms
Attach a small charm or a handmade tag to your gift as a bow alternative. This could be a tiny ornament, a wooden initial, or a photo tag that tells a story about the recipient.
These little additions turn your gift wrap into a keepsake. You can write a short message or the recipient’s name to make the gift feel extra special. How could a simple tag change the way your gift is remembered?

Credit: in.pinterest.com
Credit: hampers.com.au
Frequently Asked Questions
How Do You Start Tying A Bow On A Christmas Gift?
Begin by wrapping the ribbon around the gift box. Cross the ends and tie a simple knot in the center. This creates a stable base to form the bow.
What Type Of Ribbon Works Best For Gift Bows?
Use wired ribbons for easy shaping and a fuller look. Satin and grosgrain ribbons also hold their shape well and add elegance.
How Can I Make A Perfect Bow Loop?
Create two equal loops with the ribbon ends. Cross one loop over the other, then pull it through the hole. Tighten gently for a neat bow.
How Do You Secure A Bow So It Stays Tied?
After forming the bow, pull the loops tight but not too hard. Tie an extra knot underneath if needed to keep it secure.
Conclusion
Tying a bow on a Christmas gift adds a special, personal touch. It makes your present look neat and thoughtful. Practice a few times to get the loops even and tight. Use ribbon colors that match your wrapping paper for a nice look.
Simple steps create a beautiful bow every time. Your gift will stand out under the tree. Enjoy giving and sharing joy this holiday season. A little effort makes a big difference in gift wrapping.

Similar Posts































