How to Tie a Bow on a Gift Box: Easy Steps for Perfect Presentation
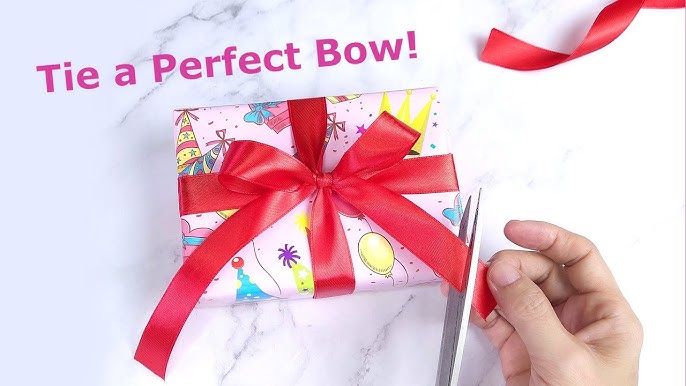
Giving a gift is special, but the way you present it makes all the difference. Imagine your loved one’s eyes lighting up when they see a beautifully tied bow on your gift box.
You want your present to look perfect, but tying a bow can feel tricky. Don’t worry—this guide will show you simple, step-by-step tips to create a stunning bow every time. Keep reading, and you’ll learn how to make your gift look as thoughtful on the outside as it is inside.
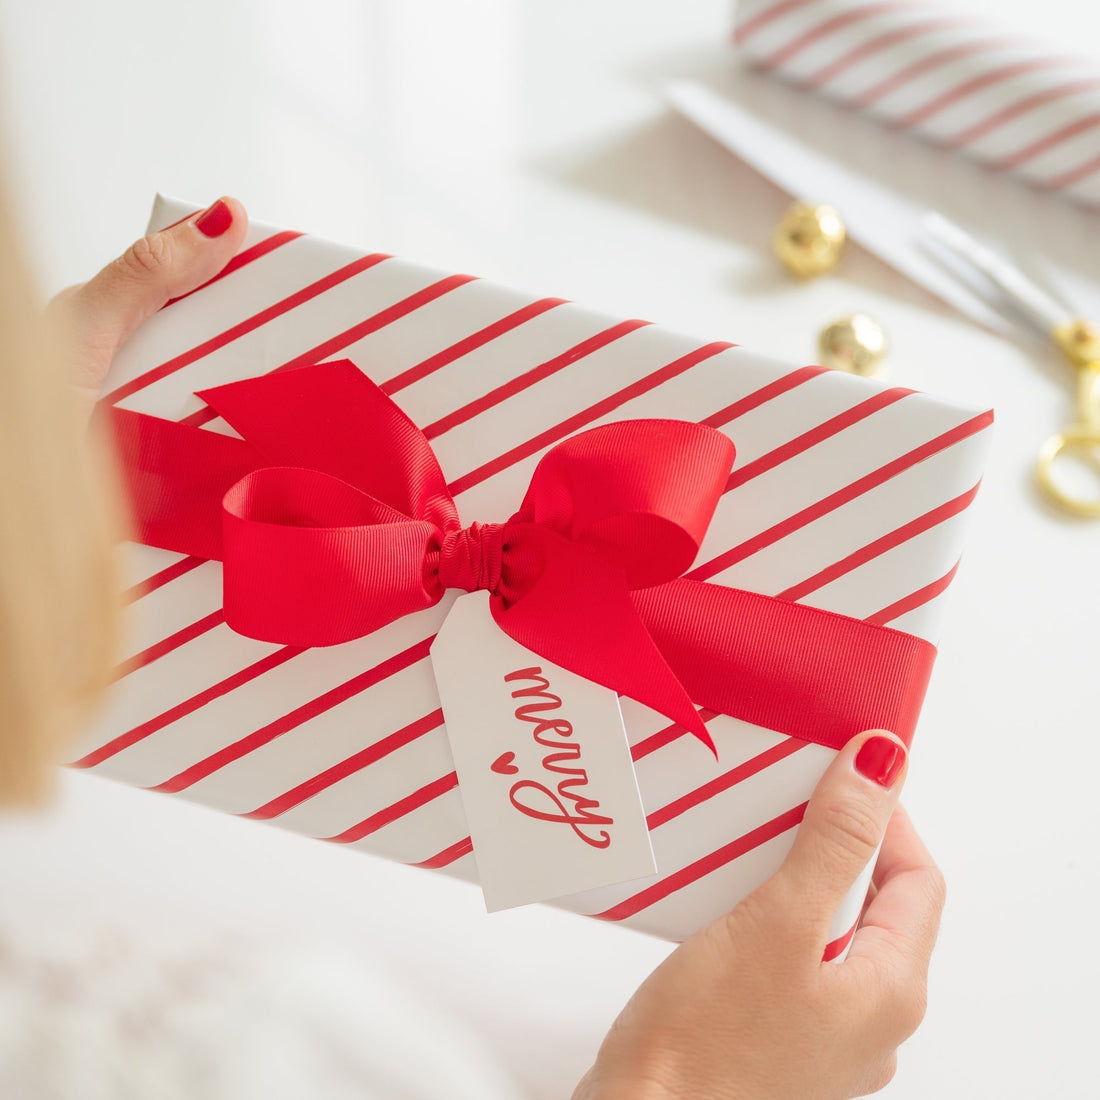
Credit: sugarpaper.com
Choosing The Right Ribbon
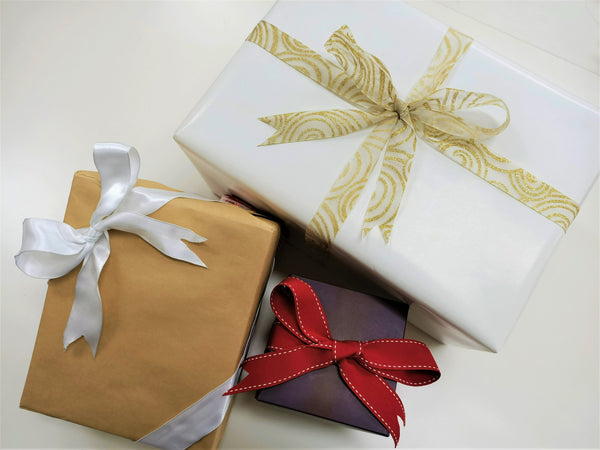
Choosing the right ribbon sets the tone for your gift. It can make a simple box look special and thoughtful. The ribbon should match the gift’s size, shape, and occasion. Picking the right style helps the bow hold its shape and look neat. Consider the ribbon’s type, width, length, color, and texture before tying your bow.
Types Of Ribbons
Ribbons come in many materials, each giving a different look and feel.
- Satin:Smooth and shiny. Gives a classic and elegant look.
- Grosgrain:Ribbed texture. Strong and holds shape well.
- Organza:Sheer and lightweight. Adds a delicate touch.
- Velvet:Soft and rich. Great for festive or luxurious gifts.
- Curling Ribbon:Thin and shiny. Perfect for casual or fun wrapping.
Ribbon Width And Length
Width affects how bold or delicate your bow looks.
- Narrow ribbons (under 1 inch) suit small boxes or fine details.
- Medium ribbons (1 to 2 inches) work for most gift sizes.
- Wide ribbons (over 2 inches) create big, dramatic bows for large gifts.
Length depends on the box size and bow style. Cut extra length to allow for tying and loops.
Color And Texture Options
Color sets the mood of your gift. Choose colors that match the occasion or recipient’s taste.
- Bright colors bring energy and fun.
- Pastels offer a soft and gentle feel.
- Metallic shades add sparkle and luxury.
- Neutral tones fit any style or wrapping paper.
Texture adds interest and contrast. Mixing smooth ribbons with textured ones can make the bow stand out more.
Preparing The Gift Box
Preparing the gift box is the first step to a beautiful present. A well-prepared box makes tying the bow easier and gives a neat finish. Pay attention to the box size, how you wrap it, and how you keep the paper secure. These details create a polished look that impresses the receiver.
Selecting The Box Size
Choose a box that fits the gift snugly. Avoid boxes that are too big or too small. A proper fit stops the gift from moving inside. It also helps the bow sit well on top. Pick a box that shows off the gift without extra space.
Wrapping The Box Neatly
Use smooth, clean wrapping paper. Cut enough paper to cover the entire box with some overlap. Fold the paper sharply at the edges for a crisp look. Smooth out wrinkles and air bubbles as you wrap. Neat wrapping makes the bow stand out more.
Securing The Wrapping Paper
Use double-sided tape to hide the sticky parts. Place tape at the edges and center for a tight hold. Avoid too much tape to keep the paper flat. Press the tape firmly to stop it from peeling. Secure paper keeps the bow tied perfectly.
Basic Bow Tying Techniques
Tying a bow on a gift box may seem simple, but mastering basic bow tying techniques can instantly elevate your gift’s presentation. A well-tied bow adds charm and thoughtfulness that your recipient will notice right away. Let’s break down some easy-to-learn styles that you can practice and perfect.
Single Loop Bow
The single loop bow is the easiest bow to tie, yet it looks neat and elegant. Start by making a simple loop with your ribbon, then wrap the other end around it and pull through to form a knot. Adjust the size of the loop to match the gift box—it should be proportional and balanced.
Try using a wired ribbon for this bow; it holds its shape better and makes the bow look fuller. Have you noticed how even a small bow can make a plain box look special? This technique is perfect when you want a quick, polished finish.
Double Loop Bow
The double loop bow adds extra fullness and flair without being complicated. Make two loops on each side of the ribbon instead of just one, then tie the center tightly. This creates a layered look that feels more festive and eye-catching.
When you’re working with wider ribbons, this bow style really shines. You can experiment with different ribbon textures too—like satin or velvet—to see how it changes the overall look. What kind of ribbon do you think would make your gift pop?
Layered Bow Styles
Layered bows take creativity up a notch by combining multiple ribbons and loops of varying sizes. Start with a base of wide ribbon loops, then add smaller loops or contrasting colors on top. Secure everything in the center and fluff the loops to give depth and dimension.
This style works great for special occasions where you want your gift to stand out on a crowded table. Playing with colors and textures can make your layered bow uniquely yours. Have you tried mixing ribbons before? It might be time to experiment and find your signature bow style.
Step-by-step Bow Tying
Tying a bow on a gift box adds a lovely, personal touch. The process is simple and rewarding. Follow these steps to create a neat, beautiful bow that enhances your gift’s appearance.
Measuring Ribbon Length
Start by choosing a ribbon that suits your gift box size. Cut a length of ribbon about three times the box’s perimeter. This allows enough ribbon to wrap around and form a bow with loops and tails.
Keep extra ribbon handy to adjust the bow’s size later. Too little ribbon can make tying difficult.
Making The Initial Knot
Wrap the ribbon around the gift box horizontally. Bring both ends to the top center of the box. Cross the ribbons, then pull one end under the other to create a knot.
Pull the knot tight but not too tight. This keeps the ribbon snug and ready for the bow.
Creating Loops And Tails
Make a loop with one ribbon end by folding it back toward the knot. Hold the loop between your thumb and finger. Then, make a second loop with the other ribbon end.
Cross the loops over each other, then pull one loop through the space under the other. This forms the bow’s shape.
Adjusting And Tightening The Bow
Hold the bow’s center and gently pull the loops to tighten. Adjust the loops to make them even. Pull the tails down straight for a clean finish.
Trim the ribbon tails at an angle for a polished look. Fluff the loops to add volume and charm.
Adding Finishing Touches
Adding finishing touches to your gift bow transforms it from simple to stunning. These small details show you care about presentation and make your gift feel extra special. Let’s look at how to perfect your bow with a few easy tricks.
Trimming Ribbon Ends
Neatly trimmed ribbon ends give your bow a polished look. Use sharp scissors to cut the ribbon at an angle or into a “V” shape, which prevents fraying and adds style. Try cutting both ends evenly or making one slightly longer for a dynamic effect.
Have you noticed how a rough cut can make a bow look messy, even if the rest is perfect? Take an extra moment to trim carefully and see how much cleaner your gift appears.
Curling Ribbon Tips
Curling ribbon adds movement and fun to your gift decoration. Use the edge of a pair of scissors or a butter knife to pull the ribbon tightly, causing it to curl naturally. This works best on thinner curling ribbons made of plastic.
Experiment with different amounts of curl to find what looks best. Sometimes a few tight curls add just the right touch without overwhelming the bow.
Securing The Bow To The Box
A loose bow can ruin the whole presentation. Use double-sided tape or a glue dot to firmly attach the bow to the box so it stays in place. Alternatively, tie the ribbon securely around the box before making the bow.
Think about the material of your box. If it’s smooth or slippery, stronger adhesive might be needed. Your goal is a bow that holds steady from the moment it’s gifted until the ribbon is untied.

Credit: food52.com
Troubleshooting Common Issues
Tying a perfect bow can be tricky. Small problems can spoil the look. This section helps fix common bow-tying issues. Clear tips make your gift look neat and pretty. Troubleshoot these problems for a flawless finish.
Loose Bows
A loose bow looks sloppy and can fall apart. To tighten it:
- Hold the center knot firmly while pulling the loops.
- Pull the ribbon ends gently to tighten the knot.
- Use a double knot for extra security.
- Choose a ribbon with some stiffness to hold shape.
Uneven Loops
Uneven loops make the bow look unbalanced. Fix it by:
- Measuring ribbon lengths before tying.
- Adjusting each loop carefully before tightening.
- Using your fingers to shape loops evenly.
- Re-tying if loops still look uneven.
Ribbon Twisting
Twisted ribbon hides the ribbon’s smooth side. To avoid this:
- Lay the ribbon flat before tying.
- Keep the ribbon’s shiny side facing up.
- Turn the ribbon gently while making loops.
- Practice smooth movements to prevent twists.
Creative Bow Variations
Creative bow variations can make a gift box stand out. They add charm and personality to your wrapping. Simple bows look nice, but creative bows feel special. They show extra care and effort.
Using Multiple Ribbons
Combine different ribbon colors and textures for a unique bow. Layer thin ribbons over wide ones for depth. Twist or curl some ribbons to add movement. Tie them together tightly for a neat finish. This style gives a rich, festive look to any gift.
Incorporating Decorative Elements
Attach small decorations to your bow for extra flair. Use items like tiny flowers, beads, or bells. Glue or tie these onto the ribbon loops or tails. Choose decorations that match the occasion or recipient’s taste. This simple trick creates a personalized and eye-catching bow.
Seasonal And Themed Bows
Create bows that match holidays or special events. Use ribbons with patterns like snowflakes for winter or leaves for fall. Add small themed charms like mini pumpkins or stars. Use colors that represent the season or celebration. These bows make your gift feel timely and thoughtful.
Credit: cherryribbon.com.au
Frequently Asked Questions
How Do I Choose Ribbon For A Gift Box?
Choose a ribbon that complements the gift wrap color and texture. Consider using satin for elegance or grosgrain for durability. Match the ribbon width to the box size for balance. Vibrant colors add a festive touch, while metallics offer a luxurious feel.
Personalize your choice based on the occasion.
What Are The Steps To Tie A Bow?
Start with measuring enough ribbon to wrap around the box twice. Make a knot at the center and form two loops. Cross the loops, tuck one through the gap, and pull tightly to secure. Adjust the loops for symmetry and trim the ends diagonally for a polished look.
How Can I Make My Bow Look Perfect?
Ensure your ribbon is wrinkle-free before starting. Maintain consistent tension while tying the bow for neatness. Adjust the loops and tails evenly for symmetry. Trim the ends to the desired length and angle. Practice makes perfect, so repeat the process until satisfied with the result.
Why Is Bow Placement Important?
Bow placement enhances the gift’s aesthetic appeal. Position the bow centrally for a classic look. For a modern touch, place it off-center or at a corner. Proper placement ensures the bow doesn’t interfere with handling or stacking. It also highlights the gift box design effectively.
Conclusion
Tying a bow on a gift box adds a special touch. It shows you care and makes the gift look nice. Practice a few times to get comfortable with the steps. Use ribbon that matches the occasion for a perfect look.
Simple bows can make any gift feel more exciting. Keep your ribbons neat and tight for the best result. Now, enjoy wrapping and sharing your beautifully tied gifts with others. A little effort goes a long way in gift giving.

Similar Posts