How to Tie Ribbon on a Gift Box: Step-by-Step Guide
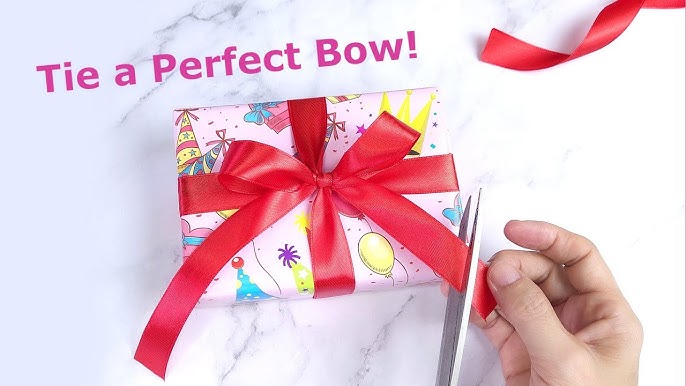
Giving a gift is special, but the way you present it can make all the difference. Imagine your gift box sitting there, plain and simple—until you add a perfectly tied ribbon.
That little touch can turn an ordinary package into something unforgettable. If you’ve ever struggled to make your ribbon look just right, you’re not alone. In this guide, you’ll learn easy steps to tie a beautiful ribbon on your gift box every time.
Ready to make your presents stand out and bring a smile before they’re even opened? Let’s get started!
Choosing The Perfect Ribbon
Choosing the perfect ribbon for your gift box can elevate your presentation from simple to stunning. The right ribbon not only secures the wrapping but also adds a personal touch that shows you care. Let’s break down how to pick a ribbon that fits your gift’s style and size perfectly.
Types Of Ribbons: Satin, Grosgrain, And Velvet
Each ribbon type brings its own texture and look. Satin ribbons offer a smooth, shiny finish that feels delicate and elegant. Grosgrain ribbons have a ribbed texture, making them sturdy and great for a casual or rustic vibe.
Velvet ribbons provide a soft, plush feel that adds luxury to your gift. Think about the mood you want to set. A satin ribbon might suit a wedding gift, while grosgrain works well for a birthday present to a friend. Velvet is perfect for holiday gifts that need a rich, festive touch.
Considering The Gift Box Size And Shape
The size and shape of your gift box influence your ribbon choice more than you might expect. Thin ribbons look lost on large boxes but are perfect for small, delicate packages. Wide ribbons can overwhelm small boxes but beautifully complement large or square shapes.
If your box is tall or oddly shaped, consider how the ribbon will wrap around it. You want the ribbon to enhance the form, not hide it. Ask yourself: Will the ribbon stay in place, or will it slip off easily?
Selecting The Right Color And Pattern
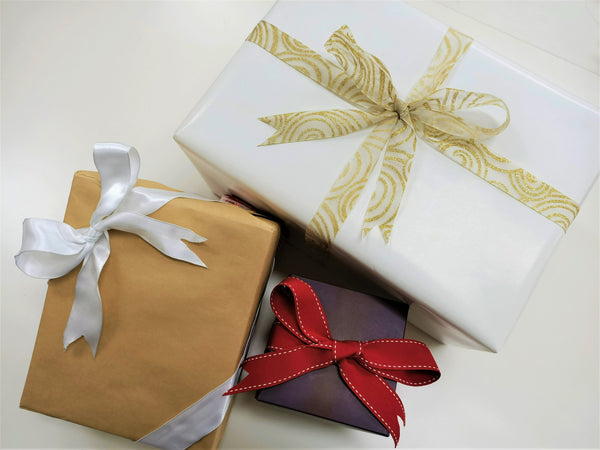
Colors can set the tone of your gift before the recipient even opens it. Solid colors work well for a classic look, while patterns add playfulness or sophistication. Stripes, polka dots, or floral designs can make your gift stand out.
Think about the occasion and the recipient’s personality. A bright red ribbon screams celebration, while a soft pastel suggests something gentle and thoughtful. Don’t be afraid to mix a patterned ribbon with a plain wrapping paper for contrast. What feeling do you want your gift to evoke at first glance?
Credit: cherryribbon.com.au
Preparing The Gift Box And Ribbon
Preparing your gift box and ribbon properly sets the foundation for a beautiful presentation. Taking a few moments to get everything ready helps avoid frustration and ensures your ribbon looks neat and elegant. Let’s dive into how you can prep both the box and ribbon for tying that perfect bow.
Measuring And Cutting The Ribbon To The Right Length
Start by deciding how you want the ribbon to wrap around your gift. Are you aiming for a simple band or a full bow with loops and tails? Knowing this helps you estimate the right length.
A good rule of thumb is to measure the ribbon by wrapping it around the box twice, then add extra length for tying the bow. If your ribbon is stiff or wide, add a few more inches to make sure you have enough to work with.
Try not to guess the length—measuring reduces waste and frustration. Have you ever cut too short and had to start over? Avoid that by using a ruler or measuring tape.
Attaching A Ribbon Base Or Edge If Needed
Some ribbons have raw edges that can fray over time, especially after handling. If your ribbon doesn’t have finished edges, consider sealing them before tying.
You can quickly fix this by running the ribbon edges lightly over a flame or using clear nail polish. This small step keeps your ribbon looking crisp and professional.
If you’re using a thin ribbon, adding a small strip of double-sided tape or glue dots on the back can help secure the ribbon base when wrapping around the box. This makes tying easier and prevents slipping.
Preparing The Gift Box For Ribbon Tying
Make sure your gift box surface is clean and dry. Dust or moisture can make the ribbon slip or not stick properly if you’re using adhesive aids.
Check the box shape—if it has sharp edges or uneven surfaces, placing a small piece of tissue paper or a thin cardboard base can create a smoother surface. This helps the ribbon lie flat and prevents bunching.
Think about where you want the ribbon knot or bow to sit. Marking the spot with a small dot or light pencil line can guide you when wrapping, so your ribbon stays perfectly centered.
Basic Ribbon Tying Techniques
Basic ribbon tying techniques make gift wrapping simple and beautiful. These methods suit different occasions and skill levels. Learning a few easy styles helps create pretty packages quickly. Each technique adds charm and a personal touch to your gift. Here are some popular ways to tie ribbons on gift boxes.
The Simple Bow: A Classic And Easy Method
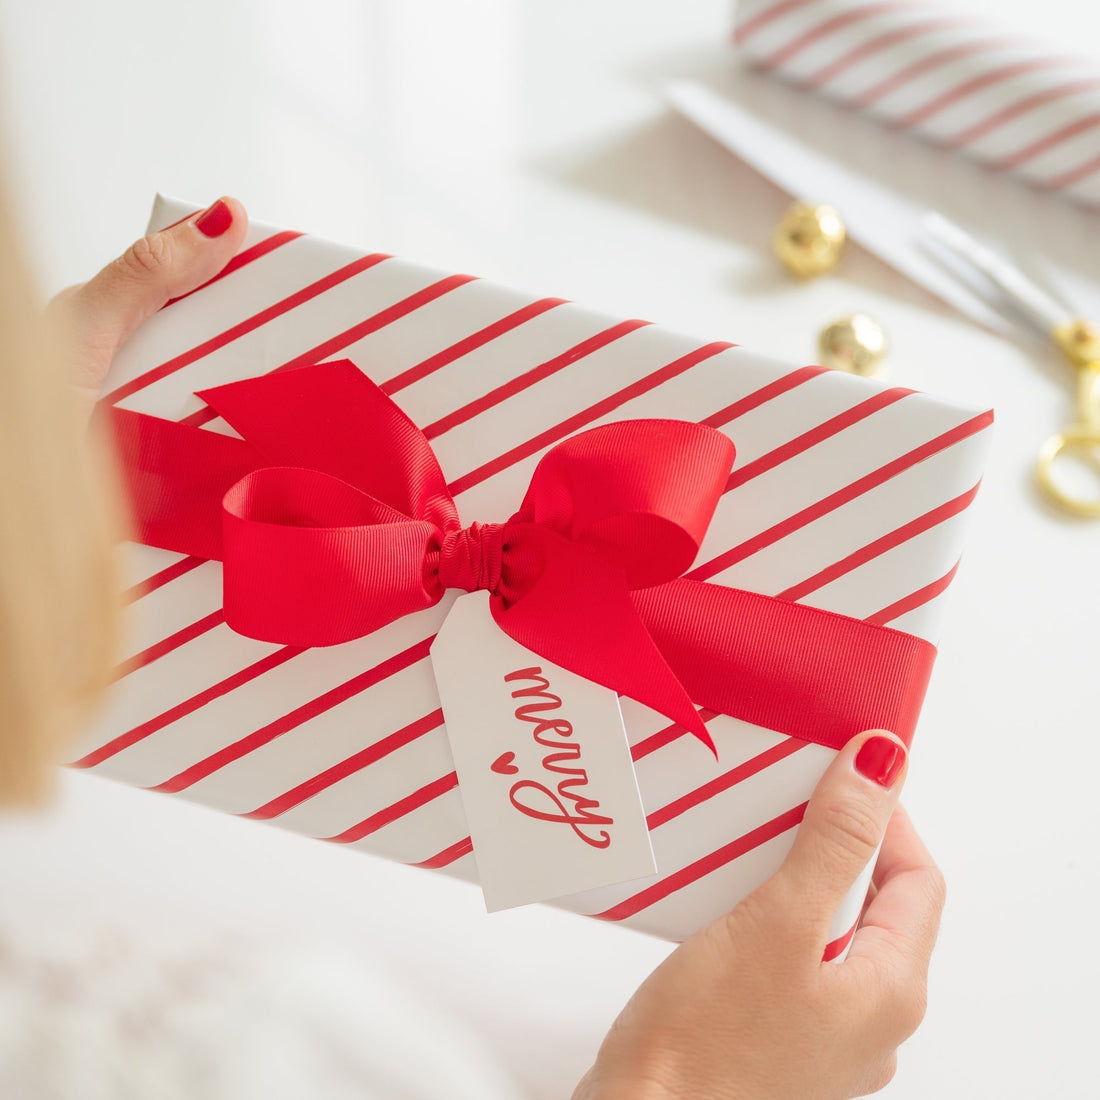
The simple bow is timeless and quick. Wrap the ribbon around the box and cross the ends. Make two loops, one with each end. Tie these loops like shoelaces into a bow. Adjust the loops and tails for balance. This bow looks neat and works with any ribbon size.
The Double Bow: A More Complex But Elegant Option
The double bow adds depth and style. Start with a simple bow base. Make extra loops on each side with the ribbon ends. Layer the loops neatly, stacking them evenly. Tie the center tightly to hold the shape. Fluff the loops to give a full, elegant appearance.
The Loop And Tuck: A Secure And Neat Method
The loop and tuck method keeps ribbons tight and tidy. Wrap the ribbon and cross the ends. Form a loop with one end. Tuck the other end through the loop. Pull gently to secure without slipping. This style stays firm and looks clean on any gift box.
Credit: sugarpaper.com
Tips And Variations For A Professional Finish
Achieving a professional finish when tying ribbon on a gift box is all about the small details and creative touches. These tips and variations can help your gift stand out with a neat, polished look that feels personal and thoughtful. Whether you’re wrapping for a special occasion or just adding flair to a simple present, these ideas will elevate your ribbon-tying skills.
Adding A Personal Touch With Embellishments
Adding embellishments like small flowers, charms, or personalized tags can transform a simple ribbon into a memorable gift feature. You might attach a sprig of greenery or a tiny ornament that matches the occasion. These small extras show you’ve put thought into the presentation and create a lasting impression.
Think about what the recipient loves and reflect that in your embellishments. Do they have a favorite color, hobby, or symbol? Including these details can make your gift feel custom-made and special.
Experimenting With Different Ribbon Styles And Textures
Don’t limit yourself to just one type of ribbon. Mixing satin, burlap, velvet, or sheer ribbons can add depth and interest to your gift wrapping. Try layering ribbons of different widths or textures to create a unique look that catches the eye.
Have you ever tried curling a wired ribbon or using a wide ribbon to make oversized bows? These variations can dramatically change the style and mood of your gift. Play around with color contrasts or complementary shades to see what works best.
Using A Ribbon Tool Or Tying Aid For Perfect Results
If you struggle with getting your bows even and tight, a ribbon tool or tying aid can be a game changer. These tools help you measure, cut, and tie ribbons precisely, saving time and frustration. You’ll get consistent results that look neat and professional every time.
Some ribbon tools even allow you to create multi-loop bows quickly, which can look very impressive. Have you considered investing in one to make your gift wrapping easier and more polished?
Common Mistakes To Avoid And Troubleshooting
Tying a ribbon on a gift box might seem straightforward, but many run into small issues that can spoil the perfect look. These common mistakes are easy to fix once you know what to watch out for. Identifying these pitfalls early saves time and keeps your gifts looking polished and thoughtful.
Common Issues With Ribbon Length And Measurement
One of the biggest problems is using too little or too much ribbon. If the ribbon is too short, you’ll struggle to tie a proper bow, leaving you frustrated and the gift looking incomplete. Too much ribbon can cause bulky loops that overwhelm the box.
Try to measure your ribbon by wrapping it around the box twice, then add about 12 extra inches for tying a neat bow. If you find yourself guessing, cut a bit longer—you can always trim the ends later. Are you measuring your ribbon without any margin for error?
- Measure twice before cutting to avoid waste.
- Consider the thickness of the ribbon; thicker ribbons need more length.
- Keep spare ribbon handy for adjustments.
Troubleshooting Tying Problems And Uneven Bows
Uneven bows happen when one loop is larger than the other, making the gift look lopsided. This often results from pulling one side tighter than the other while tying. To fix this, loosen the knot slightly and adjust the loops to even sizes before tightening again.
If the ribbon slips or the knot comes undone, it might be because the material is too smooth or stiff. Using a double knot or choosing a ribbon with a bit of texture can help keep it secure. Have you tried tying your bow loosely at first and then tightening gradually?
- Practice making symmetrical loops by holding the center firmly.
- Use your fingers to shape the bow before tightening the knot.
- Try a double knot for extra hold, especially on slippery ribbons.

Credit: food52.com
Adding A Final Touch With Ribbon Finishing
Adding a final touch with ribbon finishing transforms a simple gift box into a memorable present. The way you finish the ribbon can show the thought and care behind your gift. Small details make a big impact, and a well-finished ribbon can leave your recipient smiling before they even open the box.
Adding A Ribbon Bow Or Embellishment To The Gift Box
A ribbon bow instantly adds charm and elegance. You can choose from classic loops, fluffy pom-poms, or even layered bows for extra volume. Try using different ribbon textures like satin or burlap to match the occasion or the recipient’s style.
If you want to go beyond a simple bow, consider adding embellishments like small flowers, charms, or festive greenery. These little extras can make your gift stand out and feel personalized. Think about what the person likes and add an element that reflects their personality.
Securing The Ribbon With A Knot Or Tuck
Securing your ribbon properly is key to keeping your finishing neat and intact. A tight knot works well for thicker ribbons and ensures nothing slips. For delicate ribbons, a small tuck under the bow can hold everything in place without damaging the material.
Ask yourself: do you want the ribbon to be easily untied or stay firm? For reusable gifts, a simple knot might be best so the ribbon can be saved. If you want a polished look that lasts, consider using a dab of clear glue or double-sided tape hidden beneath the knot.
Frequently Asked Questions
How Do I Choose The Right Ribbon For A Gift Box?
Choose a ribbon that complements the gift wrap color and texture. Satin, grosgrain, and organza are popular choices. Match ribbon width with box size for balance. Consider the occasion to pick an appropriate style and color.
What Is The Easiest Way To Tie A Ribbon On A Gift Box?
Wrap the ribbon around the box horizontally and vertically. Cross the ribbons at the center and tie a simple knot. Finish with a bow by making loops and securing them tightly. This method is quick and neat for any gift.
How Can I Make A Ribbon Bow Look Fuller?
Use double loops or multiple ribbons layered together. Fluff each loop gently to create volume. Choose wider ribbons for a more dramatic effect. Trim ribbon ends diagonally for a polished finish. Fuller bows enhance the gift’s presentation.
Can I Reuse Ribbons When Wrapping Gifts?
Yes, carefully untie the ribbon to avoid damage. Store ribbons flat or rolled to prevent wrinkles. Reusing ribbons saves money and reduces waste. Check for stains or frays before reusing. Reused ribbons can still look elegant and fresh.
Conclusion
Tying a ribbon on a gift box adds a special touch. It makes your gift look neat and thoughtful. Practice the steps slowly to get a perfect bow. Choose ribbon colors that match the occasion or the gift wrap. Simple techniques bring big smiles to the receiver’s face.
Enjoy the process and have fun with different styles. A well-tied ribbon shows you care. Give your gift with confidence and joy.

Similar Posts