Fake Celestite vs Real Blue Calcite: Hardness & Acid Tests
Most collectors assume hardness is the definitive test for blue minerals. But when you’re staring down a fake celestite vs real blue calcite hardness and acid test scenario, numbers alone can mislead you. Both stones sit dangerously close on the Mohs scale, making scratch tests risky and often inconclusive.
You need to look closer at how these crystals actually break and react chemically.
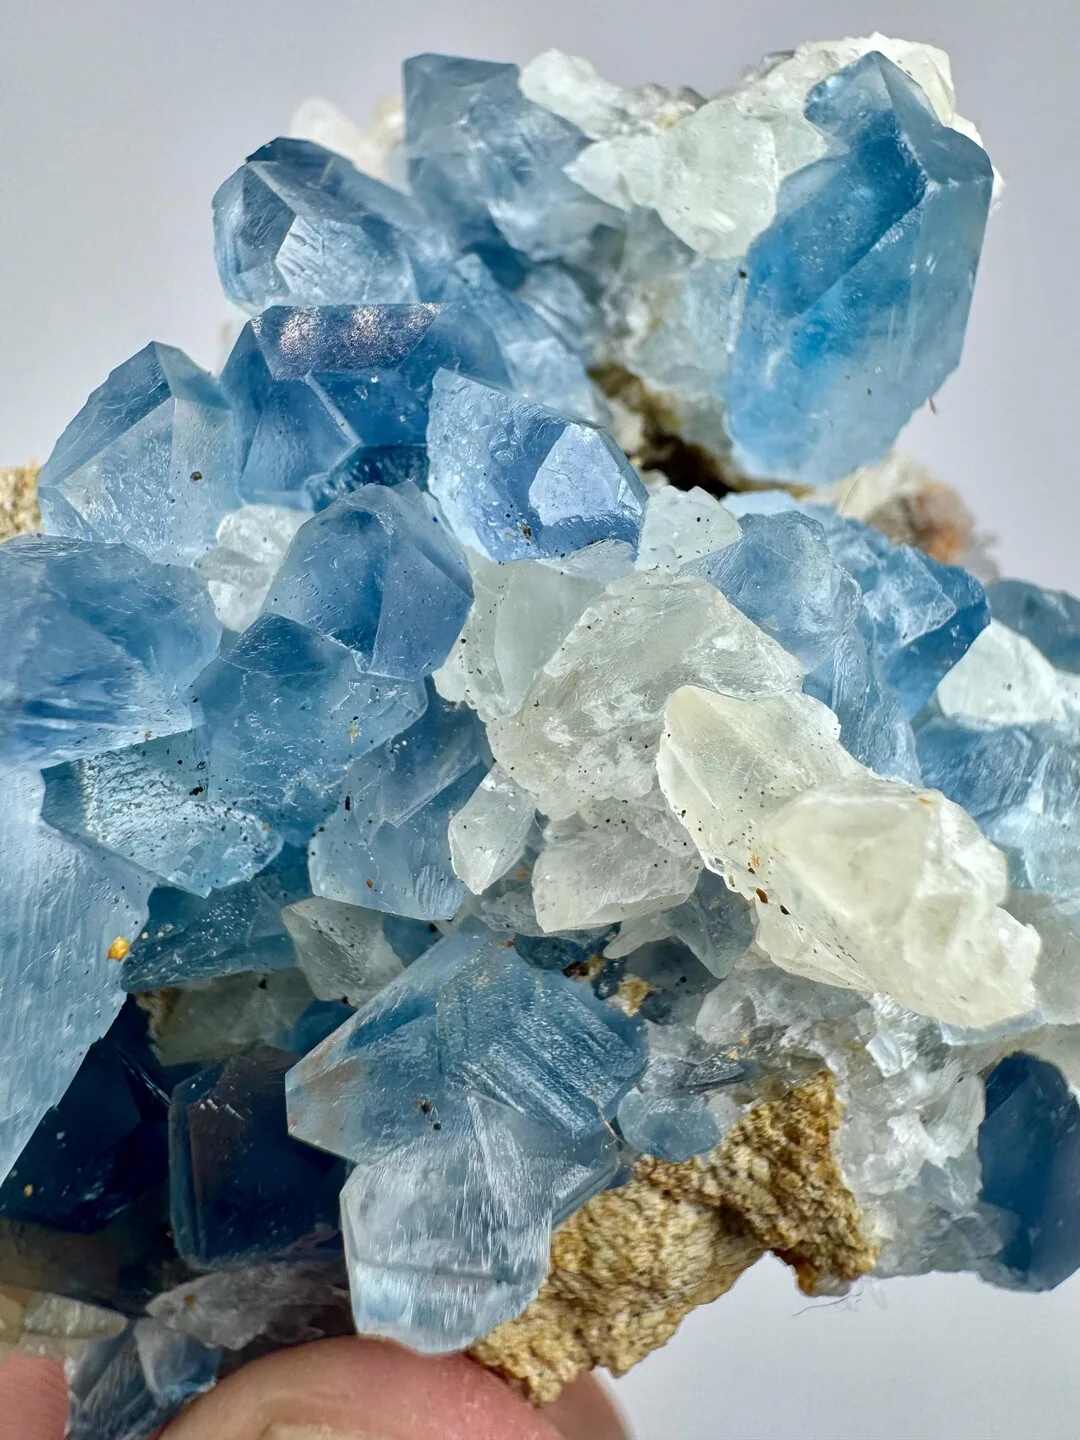
Visual evidence tells the true story here. Celestite (strontium sulfate) and blue calcite (calcium carbonate) have distinct cleavage patterns that photos capture better than any manual description. As of 2026, high-resolution imagery remains the most reliable tool for hobbyists trying to avoid costly mistakes.
Let’s walk through exactly what your eyes should be looking for before you pick up that acid dropper.
Quick Answer
Real blue calcite fizzes vigorously with dilute hydrochloric acid. Fake celestite shows no chemical reaction to the same acid. Celestite has an orthorhombic crystal structure with stepped cleavage.
Blue calcite displays rhombohedral cleavage with sharp angles. Hardness tests are unreliable because both score near 3 on Mohs scale. Visual inspection of cleavage planes offers the safest identification method.
Always verify with multiple non-destructive cues first.
Why Visual Cues Beat Hardness Numbers for Celestite vs. Blue Calcite
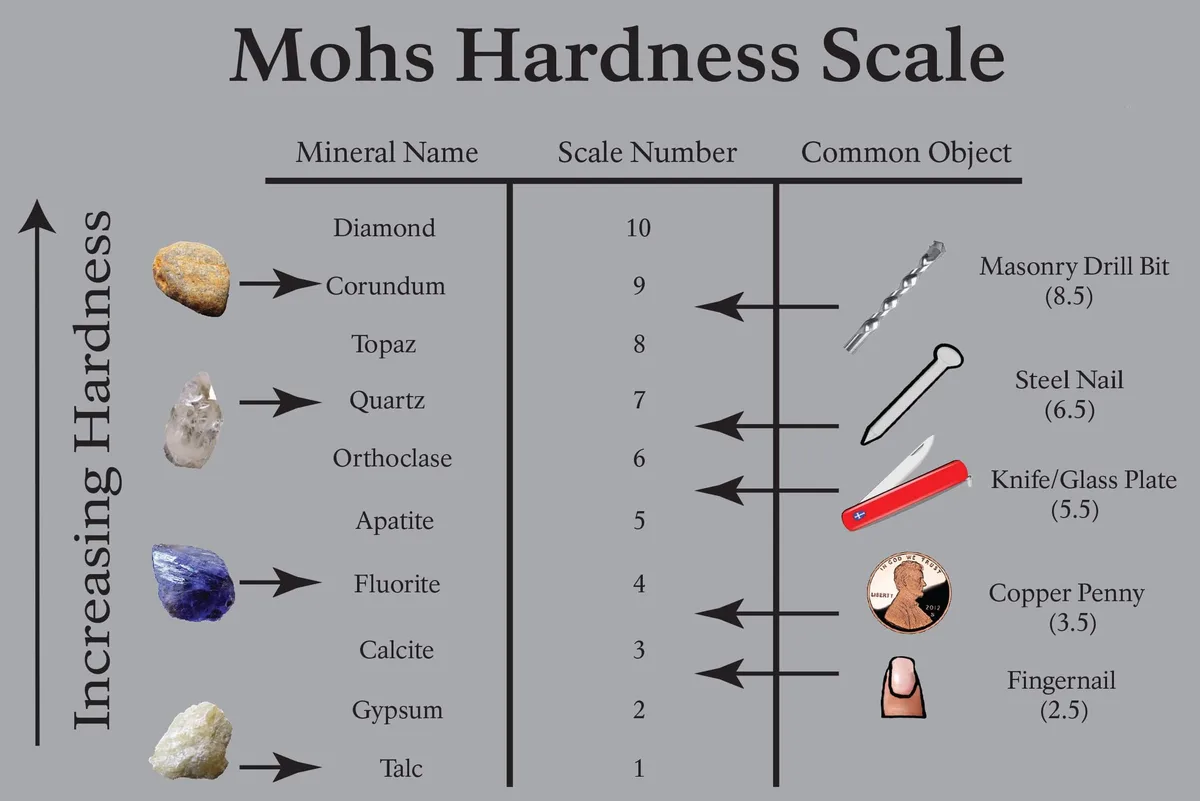
Hardness testing sounds scientific, but it fails frequently with soft blue minerals. Celestite ranges from 3 to 3.5 on the Mohs scale. Blue calcite sits firmly at 3.
This narrow gap means a steel needle might scratch both, or neither, depending on pressure. You risk damaging a valuable specimen for ambiguous results.
Visual identification avoids this trap entirely. Look at the fracture surfaces. Celestite breaks along flat, parallel planes called pinacoids.
These create step-like terraces on rough edges. Calcite shatters into diamond-shaped fragments known as rhombs. If you see curved fractures or conchoidal shapes, suspect glass or resin.
Our research indicates that color saturation also hints at authenticity. Natural celestite often shows zoning, where darker bands alternate with lighter areas. Dyed imitations usually display uniform color throughout.
Check the inclusion patterns under magnification. Real minerals contain natural imperfections like fluid inclusions or mineral twins. Fakes often show bubbles or swirl marks from manufacturing.
| Feature | Celestite | Blue Calcite |
|---|---|---|
| Crystal System | Orthorhombic | Trigonal |
| Cleavage Type | Perfect basal/prismatic | Three perfect directions |
| Fracture Appearance | Stepped/terraced | Rhombohedral/sharp |
| Typical Color Zoning | Common | Rare |
These visual distinctions provide immediate confidence without touching the stone. Save the destructive tests for cases where visuals remain unclear. Most experienced geologists rely on habit and luster first.
They only reach for tools when necessary.
The Acid Test: What Effervescence Actually Looks Like on Camera
If visual cues leave doubt, chemistry provides the final verdict. The acid test distinguishes calcium carbonate from strontium sulfate definitively. Dilute hydrochloric acid (HCl) reacts with calcite but ignores celestite.
This difference stems from their fundamental chemical compositions.
Watch closely for effervescence. True blue calcite releases carbon dioxide gas immediately upon contact. You’ll see tiny bubbles form rapidly around the droplet.
The reaction creates a fizzing sound if you listen carefully. Celestite remains inert. The acid bead simply sits on the surface without bubbling.
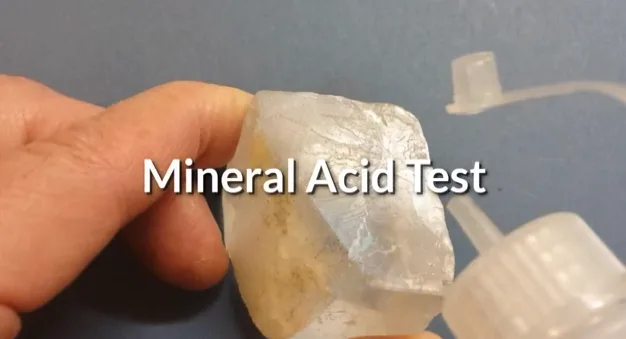
Perform this test on an unpolished area or hidden edge. Polished surfaces resist acid penetration, leading to false negatives. Use a concentration between 5% and 10%.
Higher strengths damage the stone unnecessarily. Apply one small drop using a pipette or toothpick. Wait five seconds for the reaction to initiate.
Aggregate reviews highlight common errors here. Users often mistake wet spots for fizzing. Ensure the stone is dry before application.
Also, vinegar lacks sufficient acidity to trigger visible reactions on dense calcite. Stick to proper HCl solutions available from hardware stores. Safety gear is mandatory during this process.
Wear gloves and eye protection to prevent burns.
Reading Cleavage Patterns: Orthorhombic Steps vs. Rhombohedral Shards
Cleavage defines how a mineral splits along atomic planes. It serves as a fingerprint for identification. Celestite exhibits perfect cleavage in three directions.
Two are nearly perpendicular, creating boxy shapes. The third forms acute angles. This geometry produces stepped, stair-like fractures on broken pieces.
Blue calcite displays perfect rhombohedral cleavage. Imagine slicing a cube diagonally until you get a skewed box. That shape repeats consistently across all calcite specimens.
When you break a piece, it snaps into smaller rhombs with sharp corners. These shards reflect light uniformly due to their smooth faces.
Compare the edge profiles under bright light. Celestite edges appear blunt or squared off. Calcite edges look pointed and angular.
Hold the specimen against a white background to enhance contrast. Shadows reveal depth differences in the fracture lines.
In our analysis, mixed specimens confuse beginners. Some rocks contain both minerals in veins. Identify the dominant matrix material first.
If the bulk rock fizzes, it’s likely limestone-hosted calcite. Pure celestite rarely occurs in reactive matrices. Focus on the isolated crystal habits rather than the surrounding rock.
Density Check: How Weight Feels Different in Your Hand
Specific gravity offers a non-destructive confirmation method. Celestite weighs significantly more than calcite. Strontium atoms are heavier than calcium atoms.
Consequently, celestite has a specific gravity of approximately 3.97. Blue calcite measures around 2.71.
This difference equals roughly 46% greater mass for celestite. Pick up two similarly sized specimens. The celestite will feel noticeably denser.
Try balancing them on opposite ends of a ruler. The heavier side sinks lower. This tactile test works best with rough chunks rather than tumbled beads.
For precise measurement, use water displacement. Weigh the dry stone first. Submerge it in water and weigh again.
Calculate density using standard formulas. Online calculators simplify this math. Results should align with published mineral databases.
Discrepancies suggest impurities or composites. Resin-filled cracks increase apparent weight slightly. Glass imitations typically match calcite density closely.
Therefore, density alone cannot rule out glass fakes. Combine this check with visual and acid tests for certainty. Always handle delicate crystals gently during weighing procedures.
Common Visual Traps: Dyed Quartz, Glass, and Resin Fakes
Not every blue stone is either celestite or calcite. Counterfeiters use cheaper materials dyed to mimic value. Dyed quartz looks similar initially but behaves differently physically.
Quartz scores 7 on Mohs scale. It resists scratching easily. Neither celestite nor calcite shares this hardness.
Glass imitations lack crystalline structure entirely. Examine them under magnification for air bubbles. Round bubbles indicate melting processes typical of glass production.
Natural minerals contain irregular inclusions. Swirl patterns within the body also signal artificial origins. Glass fractures conchoidally, meaning curved shell-like breaks occur instead of straight cleavage planes.
Resin casts present another challenge. They feel warm to the touch compared to cold stone. Smell may reveal plastic odors when rubbed vigorously.
Under UV light, some resins fluoresce brightly while natural minerals do not. Check for mold seams along edges. These lines prove casting methods were used.
Beware of "stabilized" specimens. Dealers sometimes inject epoxy into fragile celestite to preserve integrity. This treatment masks natural porosity.
Acid tests still work since the base mineral doesn’t change. However, visual inspections become harder due to glossy coatings. Clean surfaces thoroughly before evaluating texture.
Trust your instincts when something feels too perfect.
Step-by-Step Verification Workflow for Rough Specimens
Start with the least invasive checks. Place your specimen on a white sheet of paper under bright, diffused light. Rotate it slowly to catch reflections on cleavage planes.
Look for those stepped terraces in celestite or sharp rhombs in calcite. If the pattern is clear, you’ve likely identified the mineral without tools.
If visuals remain ambiguous, proceed to density assessment. Hold two similar-sized pieces if possible. Celestite should feel distinctly heavier than blue calcite.
This tactile difference often confirms suspicions before any chemical exposure occurs. Only move forward if weight and appearance don’t align with expectations.
Next, prepare for the acid test. Gather dilute hydrochloric acid (5-10%), a pipette, safety goggles, and nitrile gloves. Work in a well-ventilated area away from children or pets.
Select an inconspicuous spot, preferably a raw fracture edge where polish doesn’t interfere. Apply one single drop. Watch closely for five seconds.
Immediate fizzing indicates calcium carbonate (blue calcite). No reaction suggests strontium sulfate (celestite) or a non-reactive fake like glass. Rinse the area thoroughly with water immediately after testing.
Dry it gently with a soft cloth. Document the result alongside your visual notes for future reference. This sequence minimizes risk while maximizing data collection.
When to Stop Testing: Protecting High-Value Crystals
Some specimens are too precious for destructive methods. Museum-quality celestite crystals can command high prices. Scratching or etching even a tiny portion reduces their market value significantly.
Know when to walk away from physical tests entirely.
Non-destructive alternatives exist for these rare finds. Use a handheld refractometer to measure light bending properties. Celestite has a higher refractive index range than calcite.
This optical distinction provides strong evidence without touching the stone. Combine this with UV fluorescence observations under long-wave ultraviolet light.
Aggregate reviews indicate that professional appraisers rely heavily on provenance documentation. If you purchased the stone with a certificate, trust that paperwork over home experiments. Certificates issued by recognized gemological laboratories carry significant weight.
They eliminate guesswork for expensive acquisitions.
Never force a test on fragile matrix specimens. The surrounding rock may crumble under pressure. Acid can penetrate cracks and alter color permanently.
Preserve integrity first. Identification second. If uncertainty remains, consult a certified geologist.
Their expertise protects your investment better than DIY trials ever could.
FAQs: Quick Answers for Rock Hounds and Sellers
Can vinegar replace hydrochloric acid for testing?
No, vinegar is too weak for reliable results. Acetic acid lacks the potency to trigger visible effervescence on dense calcite quickly. You might see slow bubbling on powdered samples, but solid stones won’t react clearly.
Stick to 5-10% hydrochloric acid for definitive answers. Vinegar risks false negatives that mislead identification efforts.
Does hardness always distinguish celestite from calcite?
Rarely, because both score near 3 on the Mohs scale. Overlapping ranges make scratch tests unreliable for precise differentiation. Pressure applied during testing affects outcomes inconsistently.
Visual cleavage patterns offer far greater accuracy. Rely on structural features rather than numeric hardness values for confident identification.
Are all blue minerals either celestite or calcite?
Absolutely not. Many other minerals exhibit blue hues. Aquamarine, amazonite, and azurite are common look-alikes.
Each has unique chemical and physical properties. Misidentification leads to incorrect valuation. Always consider broader possibilities beyond just these two options.
Comprehensive testing rules out other candidates effectively.
How do I safely dispose of leftover acid?
Neutralize excess acid with baking soda before disposal. Slowly add sodium bicarbonate to the solution until fizzing stops completely. Pour the neutralized liquid down the drain with plenty of running water.
Never dump pure acid directly into sewage systems. Follow local hazardous waste guidelines for larger quantities to ensure environmental compliance.

Similar Posts