How to Draw a Gift Box: Step-by-Step Guide for Beginners
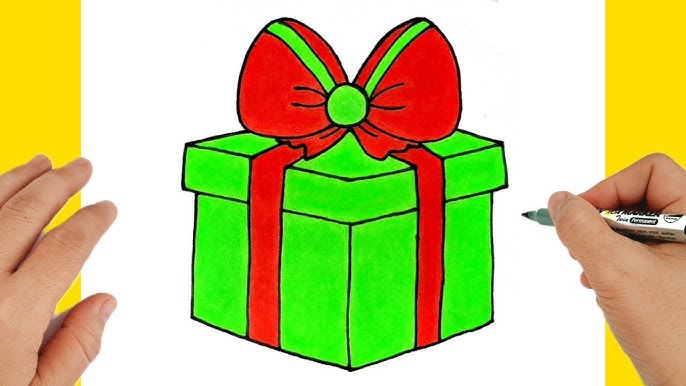
Have you ever wanted to create a perfect gift box drawing that looks simple yet impressive? Whether you’re decorating a card, making a scrapbook, or just practicing your art skills, knowing how to draw a gift box can make your work stand out.
In this guide, you’ll discover easy steps that anyone can follow—even if you’re not an expert. By the end, you’ll have a clear, beautiful gift box drawing that you’ll be proud to show off. Ready to surprise yourself with what you can create?
Let’s get started!
Materials Needed
Gathering the right materials is the first step to drawing a gift box. Having the correct tools makes the process easier and more enjoyable. You do not need many items to start.
Start with basic drawing tools. These are essential and found in most art kits. They help create clean lines and shapes for your gift box.
Basic Drawing Tools
- Pencil – Use a sharp pencil for clear lines and easy corrections.
- Eraser – A soft eraser helps remove mistakes without damaging paper.
- Ruler – This ensures straight edges and precise measurements.
- Paper – Choose smooth, white drawing paper for best results.
- Sharpener – Keep your pencil sharp for detailed work.
Optional coloring supplies can bring your gift box to life. These add color and texture, making your drawing more vibrant and fun.
Optional Coloring Supplies
- Colored pencils – Great for shading and adding soft colors.
- Markers – Use for bright, bold colors and clean edges.
- Crayons – Perfect for a textured and playful look.
- Watercolors – Add a light, artistic touch with gentle washes.
- Blending tools – Such as blending stumps, to smooth colors.
Starting With The Shape
Starting a drawing with a strong shape makes the whole process easier. The shape is the foundation of the gift box. Clear lines and simple forms help keep the drawing neat. Focus on basic shapes before adding details. This approach keeps the drawing balanced and visually pleasing.
Drawing The Box Base
Begin by drawing a square or rectangle for the base. Use light lines to outline the shape. This will allow easy corrections later. Ensure the sides are even and straight. The base should look like a solid block. Add slight perspective by drawing parallel lines that angle slightly inward. This makes the box appear three-dimensional. Keep shapes simple and clean.
Creating The Box Lid
Next, draw the lid above the base. The lid is usually a smaller rectangle or square. Align it with the edges of the base. Leave a small gap to show the lid is separate. Draw the lid’s sides using lines that match the box’s perspective. Make the lid slightly taller or thicker for realism. Use soft lines at first. This helps adjust proportions easily. The lid should sit naturally on top of the base.
Adding Details
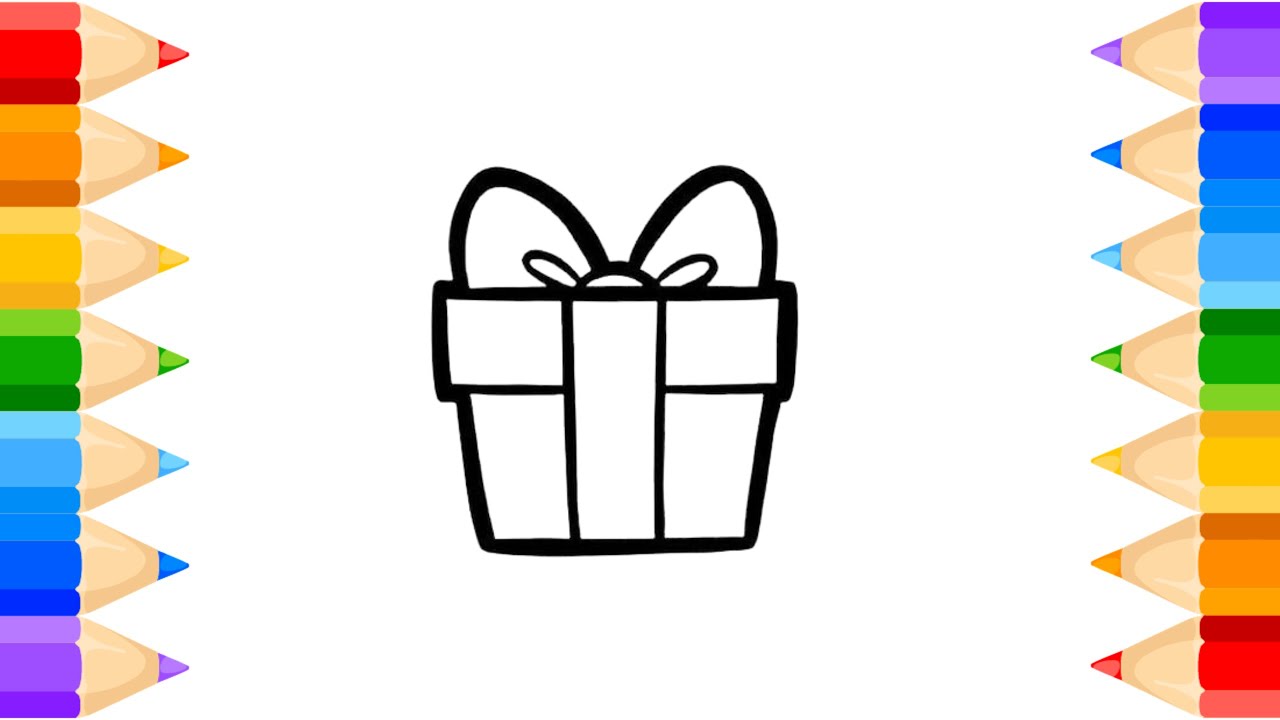
Adding details gives your gift box drawing a lively and finished look. Simple shapes start to look special with small touches. These details bring out the charm and make the box stand out. Focus on the ribbon and bow. They make the box look festive and attractive. Small lines and shapes create depth and texture. These details make your drawing more interesting and fun to create.
Drawing The Ribbon
Begin by sketching two straight lines across the box. One line runs horizontally, the other vertically. These lines form the ribbon wrapping around the box. Make sure the lines meet at the corners, but do not connect completely. Use light strokes to keep it flexible for adjustments.
Add a thin strip inside the ribbon lines. This creates a sense of thickness and texture. Draw small curves at the edges for a soft fabric look. You can add tiny folds or shadows on the ribbon for more realism. Keep these details subtle to avoid clutter.
Sketching The Bow
Start the bow at the ribbon’s crossing point. Draw two large loops on each side. These loops should look round and soft. Add small curves inside the loops to show folds in the fabric.
Draw tails hanging down from the bow. Make the ends slightly pointed or cut at an angle. Add small lines on the bow and tails to suggest texture and light. Keep the strokes gentle for a delicate appearance.
Use shading lightly to give depth. Shade where the bow overlaps the ribbon. This creates a natural, layered look. The bow’s details bring life and joy to your gift box drawing.

Credit: www.youtube.com
Shading And Texture
Shading and texture bring your gift box drawing to life. They add depth and make the image feel real and touchable. Without these details, your drawing might look flat and less interesting.
Adding Shadows
Start by deciding where the light source is coming from. Shadows appear on the opposite side of the light, so darken those areas carefully.
Use soft, gradual shading to show where the box curves or folds. Hard edges can show sharp corners or creases.
Try layering your pencil strokes to build up darker shadows. This creates a stronger contrast and makes the box stand out better.
Highlighting Surfaces
Highlights show where light hits the box directly. Leave these areas lighter or even white to make the surface look shiny or smooth.
Think about the material of your gift box—glossy paper reflects more light, while matte paper has softer highlights.
Adding small, bright spots or gentle gradients can make ribbons and bows appear more realistic and three-dimensional.
Coloring The Gift Box
Coloring the gift box brings your drawing to life. It adds depth and makes the box look real and attractive. Choosing the right colors and using good techniques can make your gift box stand out. Let’s explore how to pick colors and apply them effectively.
Choosing Colors
Pick colors that match the mood of your gift box. Bright colors like red, yellow, and blue make the box look cheerful. Soft colors like pastels give a gentle and sweet feel. Think about the occasion. For birthdays, use fun and lively colors. For Christmas, red and green are classic choices.
Try to use two or three colors. One color for the main box, another for the ribbon, and a third for highlights or shadows. This balance makes your drawing more interesting. Avoid too many colors, as it can look messy.
Applying Color Techniques
Start coloring with light strokes. Build up the color slowly to avoid dark spots. Use smooth, even strokes to cover the box surface. For the ribbon, color in small, neat lines to show texture.
Create shadows by pressing a little harder with your pencil or marker on one side of the box. This adds depth. Use a lighter shade next to the shadow to blend colors smoothly. Highlights are small white or light areas where light hits the box. Leave these parts uncolored or use a white pencil to add shine.
- Color the main box first.
- Add shadows on one side.
- Color the ribbon with a different shade.
- Blend colors softly for smooth look.
- Finish with highlights to make it pop.

Credit: www.youtube.com
Common Mistakes To Avoid
Drawing a gift box can be simple and fun. Avoid common mistakes to improve your drawing. These errors often make the drawing look odd or messy. Learning what to watch out for helps create a neat and balanced gift box.
Proportion Errors
One common mistake is wrong proportions. The box should look balanced and even. Avoid making one side too big or too small. Keep the lines straight and the edges aligned. Uneven sides make the gift box appear distorted. Use light pencil marks first to check size and shape.
Overcomplicating Details
Many try to add too many details. Small decorations can crowd the drawing. Keep ribbons and bows simple and clear. Too many lines confuse the eye and reduce clarity. Focus on basic shapes and clean lines. Simple details make the gift box look neat and appealing.
Practice Tips
Practice is the key to drawing a gift box well. It helps you build confidence and improve your skills. Try different ways to draw and explore new ideas. This will make your drawings more interesting and fun.
Drawing From Different Angles
Try sketching the gift box from many sides. Draw it from the top, front, or even at a corner. Changing the angle helps you see the box better. It also trains your eyes to understand shapes and depth. Use light lines first to adjust your drawing easily.
Experimenting With Styles
Play with different drawing styles. Use simple lines or add shading to make it look real. Try cartoon style for a fun look. Or draw it with patterns and decorations. Changing styles keeps practice exciting and helps you find your favorite way to draw.
Credit: www.youtube.com
Frequently Asked Questions
How Do I Start Drawing A Gift Box?
Begin by sketching a simple square for the box’s front face. Add parallel lines for depth. This forms the basic 3D shape to build on.
What Tools Are Best For Drawing A Gift Box?
Use pencils for initial sketches and fine liners for outlines. Colored pencils or markers help add vibrant colors and details.
How Can I Make My Gift Box Drawing Look Realistic?
Add shading on the box’s sides and under the bow. Use highlights to show light reflection for a 3D effect.
What Are Easy Tips For Drawing A Gift Box Bow?
Start with simple loops and add ribbon tails. Use curved lines to create a soft, flowing look for the bow.
Conclusion
Drawing a gift box is simple and fun. Start with basic shapes and add details step by step. Practice helps you improve your skills fast. Use this guide anytime you want to create a nice gift box drawing. Keep trying different styles and colors.
Soon, you will enjoy making beautiful drawings easily. Drawing can be a relaxing and creative activity for everyone. So, pick up your pencil and start drawing today!

Similar Posts