How to Tie a Christmas Gift Bow: Perfect Holiday Flair
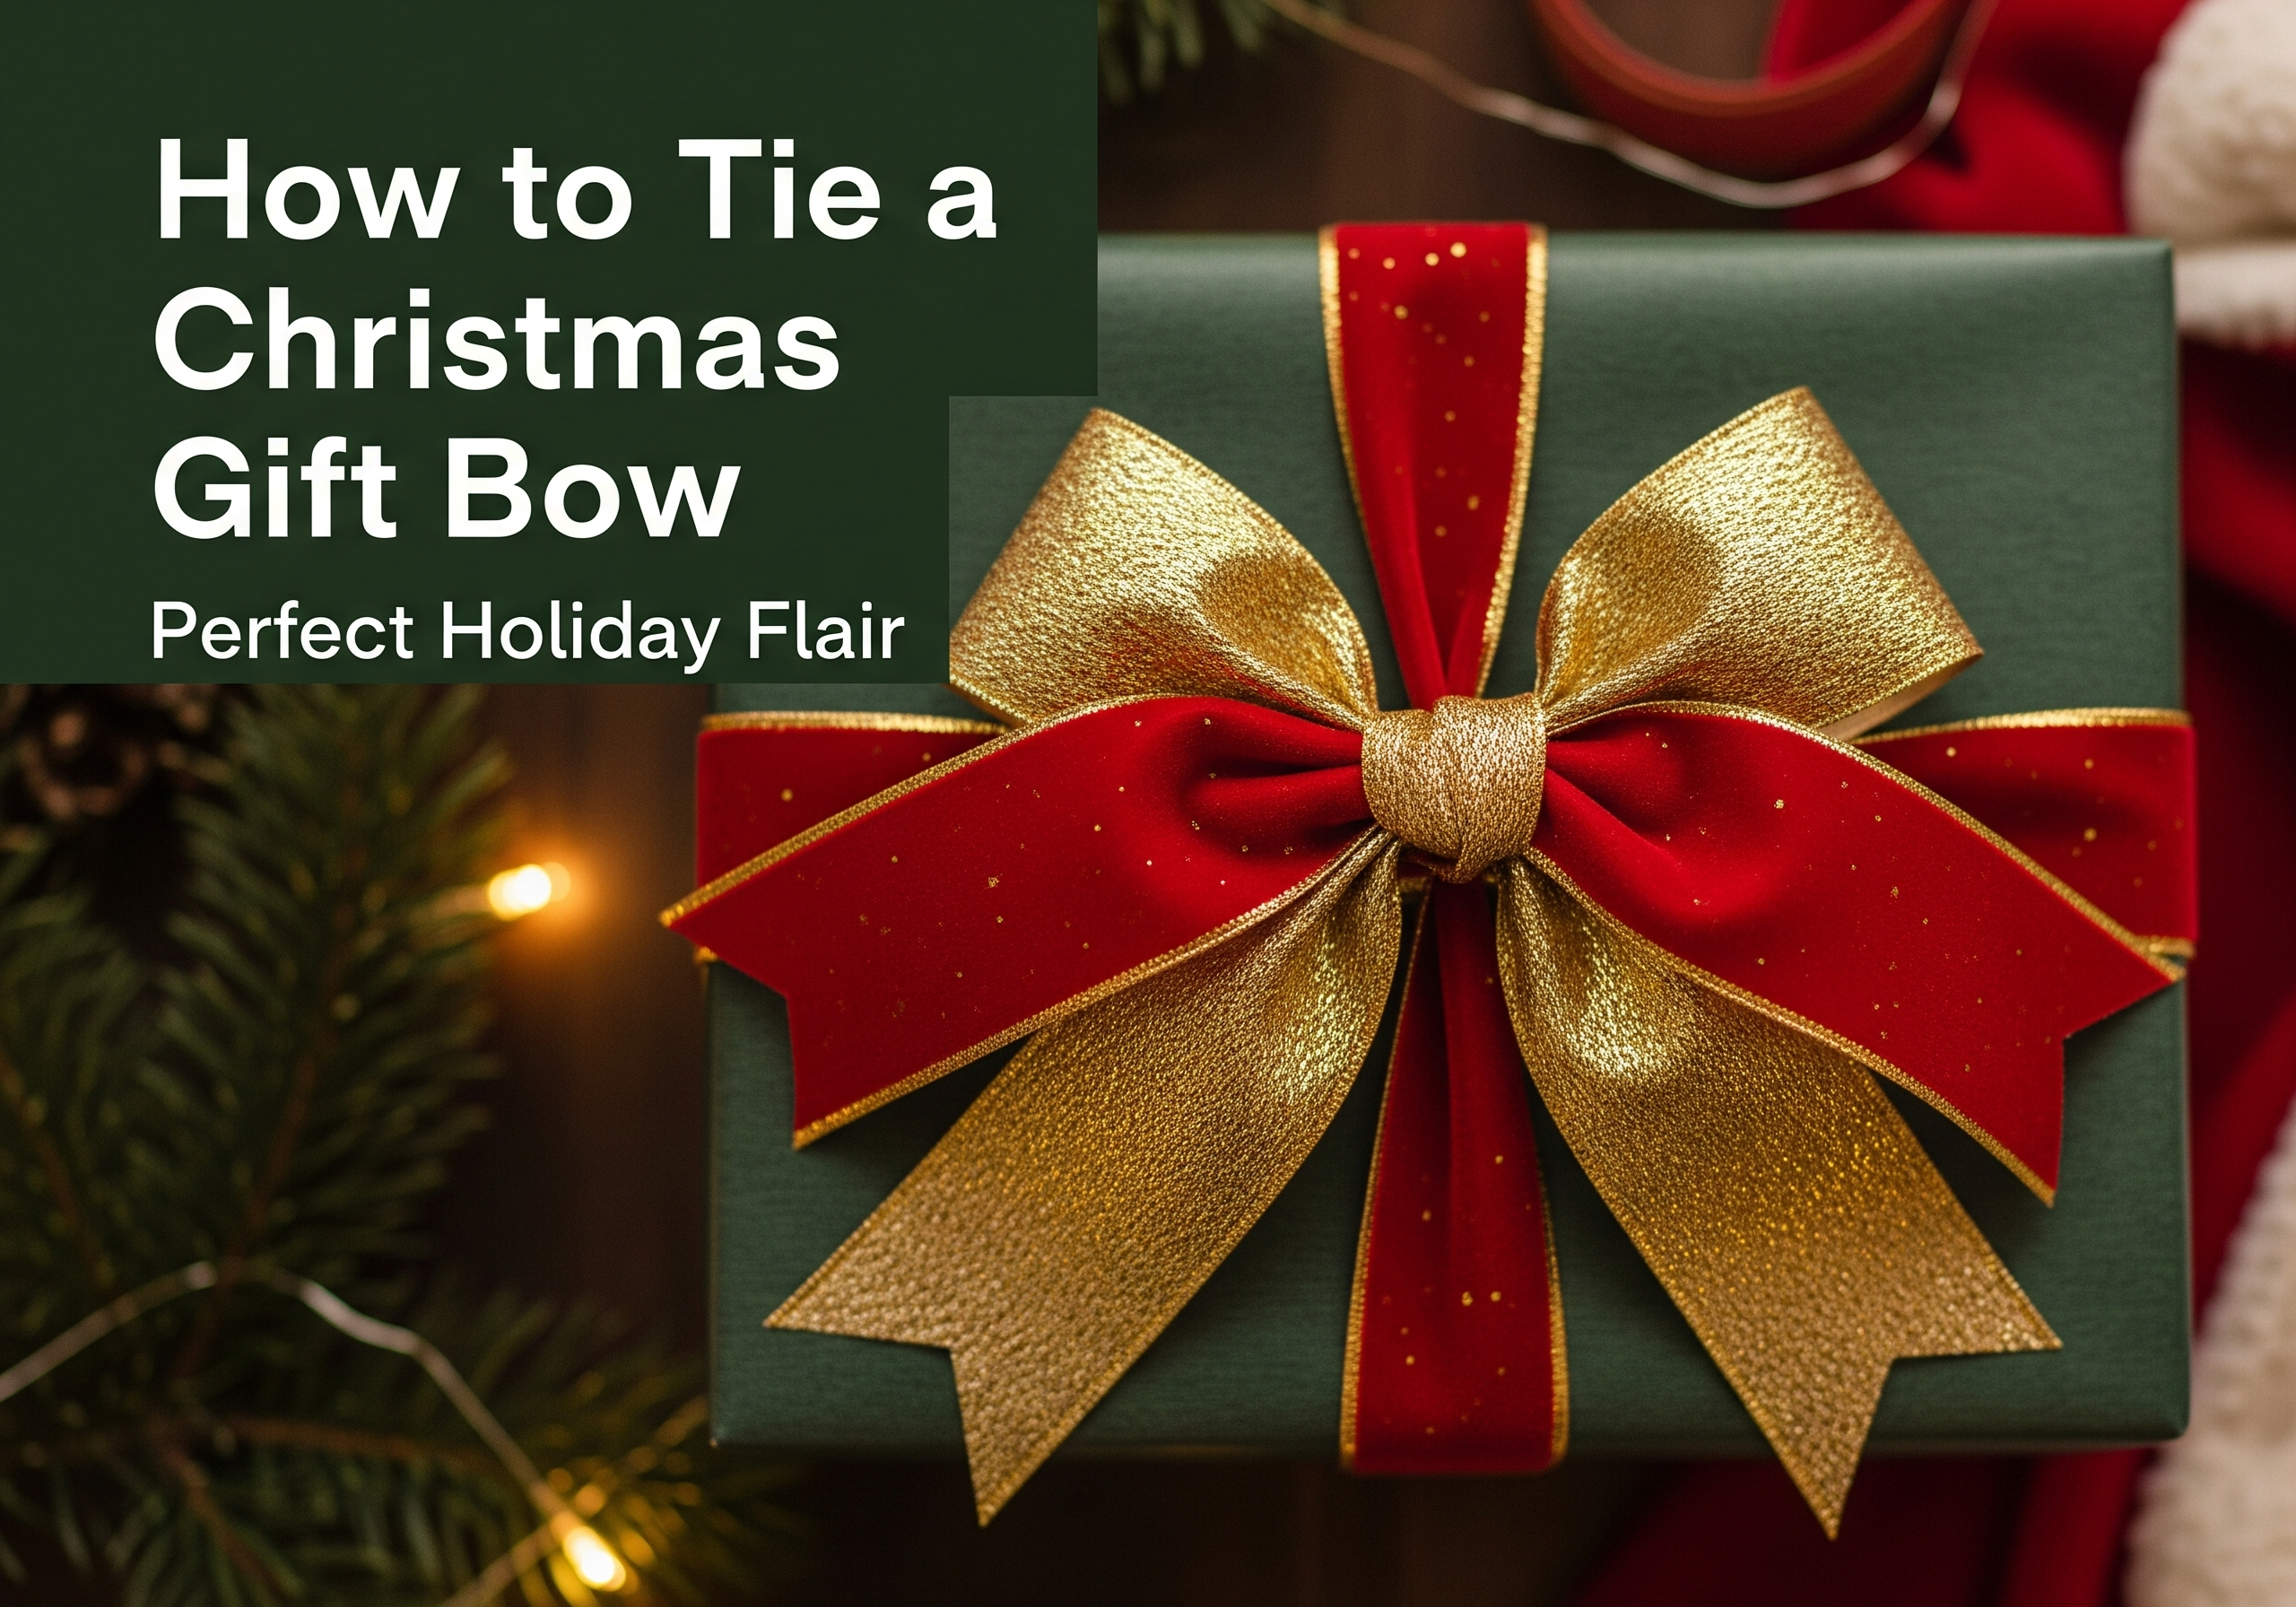
Want to make your Christmas gifts look extra special this year? Learning how to tie a Christmas gift bow can turn a simple present into something magical.
Imagine your loved ones’ faces lighting up when they see your beautifully wrapped gift, complete with a perfect bow on top. It’s easier than you think, and you don’t need fancy tools or skills. Keep reading, and you’ll discover simple steps to create stunning bows that add a personal touch and make your gifts unforgettable.
Your holiday wrapping game is about to level up!
Choosing The Right Ribbon
Choosing the right ribbon is a key step in creating a beautiful Christmas gift bow. The ribbon sets the tone and style for your present, making it look polished and festive. But with so many options available, how do you pick the perfect one that complements your gift and adds that wow factor?
Types Of Ribbons
Ribbons come in various materials, each giving a different feel and look to your gift.
- Satin:Smooth and shiny, satin ribbons add elegance and work well for formal gifts.
- Grosgrain:With a ribbed texture, grosgrain ribbons are sturdy and hold shapes nicely, ideal for big bows.
- Organza:Sheer and lightweight, organza ribbons create a delicate, airy effect perfect for subtle decorations.
- Velvet:Soft and rich, velvet ribbons bring warmth and luxury, great for cozy holiday vibes.
- Wire-edged:These ribbons have flexible edges that help maintain the bow’s shape, making them easier to work with.
Think about the style you want to achieve and the ease of tying. Have you tried mixing ribbon types for a unique look?
Colors And Patterns
The color and pattern of your ribbon can make or break your gift’s presentation.
Classic red and green are traditional favorites, but don’t hesitate to try metallics like gold or silver for extra sparkle. Patterns like stripes, polka dots, or festive prints can add personality and cheer.
Consider the wrapping paper’s design—do you want the ribbon to blend in or stand out boldly? Choosing complementary colors can create harmony, while contrasting shades draw the eye immediately.
Ribbon Width And Length
Size matters when it comes to ribbon width and length.
Thicker ribbons (2 inches or more) are great for large, statement bows, while narrow ribbons (under 1 inch) suit smaller, delicate gifts. The length should be generous enough to allow multiple loops and tails without struggling to tie.
Overestimating ribbon length is better than cutting it too short. How much ribbon do you usually buy, and do you find yourself running out or having leftovers?
Tools You Will Need
Tying a Christmas gift bow is easier and more enjoyable when you have the right tools at hand. Having a simple set of supplies ready can save you time and make your bows look professionally made. Let’s look at the essentials you need to get started.
Scissors
Sharp scissors are a must-have for cutting ribbon cleanly and precisely. Dull blades can fray the ribbon ends, making your bow look messy. I always keep a small pair of craft scissors nearby to snip off excess ribbon and create neat edges.
Wire Or Twist Ties
To secure your bow firmly, wire or twist ties work wonders. They hold the loops together tightly without damaging the ribbon. I find that using green floral wire blends well with most ribbons and is easy to twist without slipping.
Optional Decorations
Adding extra touches can make your bow stand out. You might want to include small bells, pinecones, or even glittery picks for a festive look. Have a few decorative items ready to personalize each gift and surprise your loved ones.
Basic Bow Tying Steps
Tying a Christmas gift bow may seem tricky at first, but breaking it down into simple steps makes the process easy and enjoyable. Understanding the basics helps you create a neat, festive bow that adds a personal touch to your gifts. Let’s look at how you can prepare your ribbon, form perfect loops, and secure the center effectively.
Preparing The Ribbon
Start with a ribbon that suits the size of your gift. Too short, and your bow will look small; too long, and it can get tangled or bulky. Cut a length that’s about three times the width of your package to give you enough material to work with.
Flatten the ribbon out to remove any creases or twists. This ensures your bow looks smooth and polished. Have scissors nearby to trim any frayed edges for a clean finish.
Forming Loops
Hold the ribbon in your hands and create a loop by folding one side towards the center. Make the loop about two to three inches wide for a balanced bow. Then, fold the opposite side to create a matching loop on the other side.
Keep the loops symmetrical for the best look. The more loops you add, the fuller your bow will be, but starting with two or three loops keeps it simple and elegant. You can experiment with different loop sizes once you get comfortable.
Securing The Center
Pinch the center of the loops tightly to hold them together. Use a thin piece of wire, a twist tie, or an extra strip of ribbon to wrap around the middle. Twist or tie it securely so the loops don’t unravel.
Once secured, fluff the loops by gently pulling and shaping them outward. This step gives your bow volume and a professional look. Have you noticed how a well-secured center makes all the difference in keeping the bow intact?

Credit: www.pinterest.com
Creating Different Bow Styles
Creating different bow styles can make your Christmas gifts stand out beautifully. Each style adds a unique touch to your wrapping. Simple techniques can change a plain ribbon into a festive decoration. Experimenting with various bows can be fun and rewarding. You can choose a style that fits the gift’s size and shape.
Classic Bow
The classic bow is timeless and elegant. Start by forming two loops with the ribbon. Cross the loops over each other and pull tight. Adjust the loops to make them even. Trim the ribbon ends at an angle for a neat finish. This bow works well on small to medium gifts. It adds a clean, polished look to any package.
Layered Bow
The layered bow looks full and rich. Use several lengths of ribbon in different sizes. Stack the ribbons on top of each other. Tie the stack in the center with a small piece of ribbon. Fluff the loops by pulling them apart gently. Spread the layers evenly to show each ribbon. This style adds depth and texture to your gift.
Fluffy Pom Bow
The fluffy pom bow is soft and festive. Cut multiple ribbon strips of the same length. Tie all strips tightly in the middle. Pull and separate each ribbon loop to create volume. Fluff until the bow looks round and full. Trim the ends to your preferred length. This bow is perfect for large gifts and adds a playful touch.
Attaching The Bow To Your Gift
Attaching the bow securely to your Christmas gift is just as important as tying it perfectly. A well-fixed bow not only enhances the gift’s appearance but also ensures it stays in place until the moment of unwrapping. Choosing the right method depends on the materials you have and the look you want to achieve.
Using Tape
Tape is the easiest and quickest way to attach a bow. Cut a small piece of double-sided tape and press it firmly onto the back of the bow. Then, stick the bow onto the wrapped gift where you want it to sit.
If you want the bow to stay put without shifting, place the tape under the bow’s knot or center. This method works best with lightweight bows and smooth wrapping paper. Have you ever noticed how a loose bow can make a gift look unfinished? Tape prevents that.
Using Wire
Wire offers a stronger hold and works well with thicker ribbons or bows that have wire edges. Twist a thin piece of floral wire or craft wire around the bow’s center tightly. Then, wrap the wire around the gift or the ribbon holding the wrapping paper.
This technique lets you adjust the bow’s position easily and keeps it very secure. It’s perfect if your gift has a bulky shape or if you want the bow to stand out prominently. Do you have spare floral wire from last year’s decorations? It’s a great tool for this job.
Using Ribbon Wrap
Using the same ribbon you wrapped around the gift to attach the bow creates a neat, cohesive look. Thread the bow’s tail or wire through the ribbon around the gift and tie it firmly into place. This way, the bow becomes part of the ribbon wrap itself.
This method adds extra stability and looks elegant, especially with satin or velvet ribbons. It also means you don’t need extra materials like tape or wire. Have you tried matching the bow to your wrapping ribbon for a seamless finish? It’s a simple trick that upgrades your wrapping style instantly.
Tips For A Polished Look
A polished Christmas gift bow gives a present a neat and festive touch. Small details make a big difference. Simple tricks can help a bow look more professional and beautiful. Follow these tips to make your gift stand out with style.
Trimming Ribbon Ends
Cut ribbon ends cleanly for a sharp look. Use sharp scissors to avoid fraying. Angle the cuts to create a V-shape or a diagonal edge. This small change adds elegance and neatness. Keep ribbon ends even on both sides for balance.
Fluffing Loops
Gently pull and shape each loop of the bow. Separate loops to add volume and fullness. Fluffing makes the bow appear larger and more eye-catching. Adjust loops until the bow looks symmetrical and soft. Avoid flattening loops to keep a lively shape.
Adding Embellishments
Enhance your bow with simple decorations. Add small pinecones, berries, or sprigs of greenery. Use a hot glue gun or thin wire to attach them securely. Embellishments create a festive and personalized touch. Keep decorations balanced to avoid a cluttered look.
Common Mistakes To Avoid
Creating a beautiful Christmas gift bow can be tricky if you don’t watch out for some common mistakes. These small errors can make your bow look sloppy, even if you spent time making it. Knowing what to avoid helps you save time and get a perfect bow every time.
Loose Bows
A bow that’s too loose will quickly lose its shape and fall apart. If you don’t pull the ribbon tight enough when tying, the loops won’t hold, and the bow will look messy.
Try to keep tension consistent as you tie. Imagine you’re securing a package—too loose, and it’s unstable. Too tight, and it might tear the ribbon.
Have you noticed your bow drooping after a few hours? That’s a sign you need to tighten the knot more firmly.
Uneven Loops
Uneven loops make the bow look unbalanced and unprofessional. If one loop is bigger than the other, the gift loses that polished, festive look.
Take your time to measure the loops before tying. Hold the ribbon in place and adjust the size so both sides match.
Ask yourself, would you feel excited to open a gift wrapped with this bow? If the loops seem off, pause and fix them.
Ribbon Fraying
Frayed ribbon edges can ruin the clean look of your bow. This often happens when ribbon ends aren’t cut properly or are handled roughly.
Use sharp scissors to cut the ribbon at a slight angle. This prevents the fibers from unraveling and keeps the edges neat.
If you notice fraying, try sealing the edges with a small amount of clear nail polish or heat them lightly with a flame—just be careful not to burn the ribbon.

Credit: www.youtube.com

Credit: www.youtube.com
Frequently Asked Questions
How Do You Start Tying A Christmas Gift Bow?
Begin by cutting a long ribbon strip. Make loops on both sides to form the bow shape. Secure the center tightly with a knot or wire. Adjust loops evenly for a balanced look.
What Type Of Ribbon Is Best For Gift Bows?
Choose wired ribbons for easy shaping and durability. Satin or velvet ribbons add a festive, luxurious feel. Avoid thin or flimsy ribbons as they don’t hold shape well.
How Can I Make My Christmas Bow Look Fuller?
Create multiple loops on each side of the bow. Fluff the loops by gently pulling and arranging them. Use wired ribbon for better volume and hold.
Is It Better To Tie Or Glue A Gift Bow?
Tying is traditional and reusable but takes practice. Gluing is quick and secure but permanent. For a polished look, tie first, then add a dab of glue to fix.
Conclusion
Tying a Christmas gift bow adds charm to any present. Practice a few times to get it right. Use the right ribbon for a neat look. Simple steps make wrapping fun and easy. Your gifts will stand out under the tree.
Everyone will notice the extra effort you made. Enjoy the holiday spirit with beautifully wrapped gifts. Keep these tips handy for every festive season. Wrapping with care shows love and thoughtfulness too. Try it today and brighten someone’s special day.

Similar Posts