Fake vs Real Rainbow Moonstone: Spotting the Adularescence
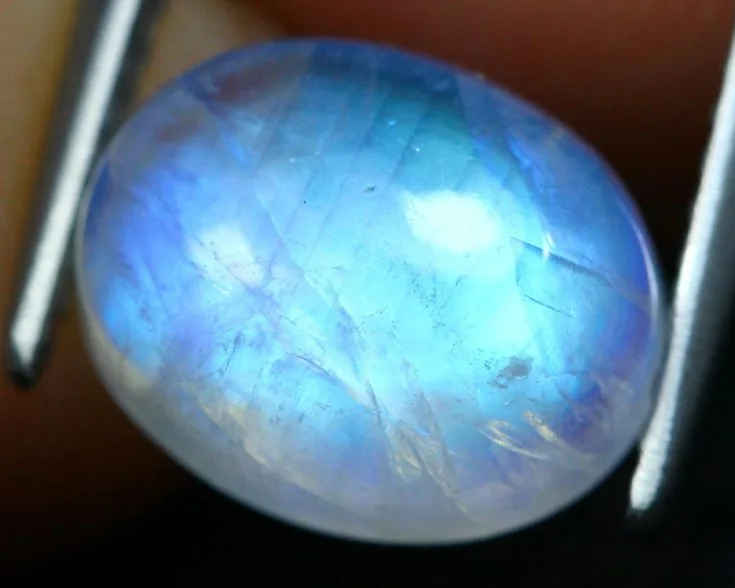
Spotting a fake moonstone vs real rainbow moonstone adularescence flash is tricky because photos often lie. You might see a blue glow in one image and nothing in the next. That inconsistency isn't always a defect.
It’s usually how light interacts with the stone’s internal structure.
Real adularescence comes from microscopic layers of feldspar minerals scattering light. Fakes rely on surface coatings or uniform cloudiness. As of 2026, GIA standards still define this optical effect by its angle-dependent nature.
We’ll break down exactly what your eyes should catch when you rotate the gem under a single light source.
Why Photos Alone Can’t Prove Authenticity
Digital cameras struggle to capture dynamic light effects accurately. Sensors average out pixels, flattening the subtle shift of color that defines true adularescence. A photo might show a bright blue streak, but it misses the movement.
You need to observe the stone in person, or watch a video where the camera moves relative to the light. Static images can be manipulated or taken under misleading lighting conditions. This creates false positives for beginners.
Pro Tip: Always ask sellers for videos showing the stone rotated under consistent, diffused lighting. Look for the "floating" quality of the light, not just its presence.
Without motion, you cannot verify if the glow shifts independently of the surface reflection. This independence is the hallmark of natural lamellar structures. Coated stones reflect light statically.
They look like stickers on glass.
The Physics of the Flash: How Adularescence Actually Works
Adularescence occurs when light enters the stone and hits alternating layers of orthoclase and albite. These layers have slightly different refractive indices. The spacing between them causes certain wavelengths of light to scatter more strongly.
For rainbow moonstone, this spacing typically scatters blue light (around 450nm). This is known as Rayleigh or Mie scattering, depending on layer thickness. The result is a soft, billowy glow that seems to float beneath the surface.
| Feature | Real Moonstone | Glass Imitation |
|---|---|---|
| Light Source | Internal Scattering | Surface Reflection/Coating |
| Movement | Shifts with Angle | Static or Uniform |
| Depth | Appears Below Surface | Sits On Top |
This physical mechanism means the flash disappears when viewed from angles where light doesn’t hit the layers correctly. It’s not a permanent feature like color in ruby. It’s an interaction event.
Understanding this helps you ignore red herrings. A dull-looking stone might just be cut poorly. It doesn’t mean it’s fake.
Conversely, a super-bright stone might be coated plastic. Brightness alone isn’t proof.
Visual Cue #1: Angle Dependence and the "Rocker Test"
The rocker test is the simplest way to check for genuine adularescence. Hold the stone under a single, focused light source. Tilt it slowly back and forth.
Watch the blue glow closely.
In a real rainbow moonstone, the flash will move across the surface. It slides like oil on water. It may even vanish completely at extreme angles before returning.
This happens because the light path through the internal layers changes.
If the glow stays fixed in one spot while you tilt the stone, it’s likely a surface coating. If the entire stone glows evenly regardless of angle, suspect opalite glass. True adularescence is directional and dynamic.
- Step 1: Find a dark room with one bright lamp.
- Step 2: Place the stone on a black velvet cloth.
- Step 3: Rotate the stone gently around its vertical axis.
- Step 4: Observe if the blue band shifts position.
Aggregate reviews from gemologists confirm that this movement is non-negotiable for authenticity. Static flashes are almost always artificial. The eye catches motion better than color accuracy.
Focus on the dance of the light, not just its hue.
Visual Cue #2: Depth of Field vs. Surface Sheen
Real moonstone has depth. The light seems to come from inside the gem, not off the top. This creates a hazy, ethereal appearance.
It looks like fog trapped in crystal.
Fake stones, especially those made of resin or coated glass, sit flat. The shine is superficial. It reflects directly off the polished dome.
There is no sense of volume behind the glow.
Look for the boundary between the body tone and the flash. In high-quality specimens, the blue light floats above a semi-transparent background. You can sometimes see faint inclusions or feathers deeper in the stone.
Image source: Bing (Web (fair-use with source credit))
These internal features prove geological origin. Glass imitations rarely have complex inclusion patterns. They might have bubbles, but those are spherical and uniform.
Natural inclusions are irregular.
Compare the sheen to a pearl. Pearls have luster from nacre layers. Moonstone has schiller from feldspar layers.
Both require depth perception to appreciate. Flat shines feel cheap and synthetic to trained eyes.
Identifying Glass Imitations via Internal Structure
Opalite glass is the most common counterfeit. It mimics the milky white body of lower-grade moonstones. However, it lacks the specific blue scattering of orthoclase-albite intergrowths.
Under magnification, glass shows conchoidal fractures. These are smooth, curved breaks typical of amorphous solids. Feldspar exhibits cleavage planes.
These are flat, straight breaks along atomic weaknesses.
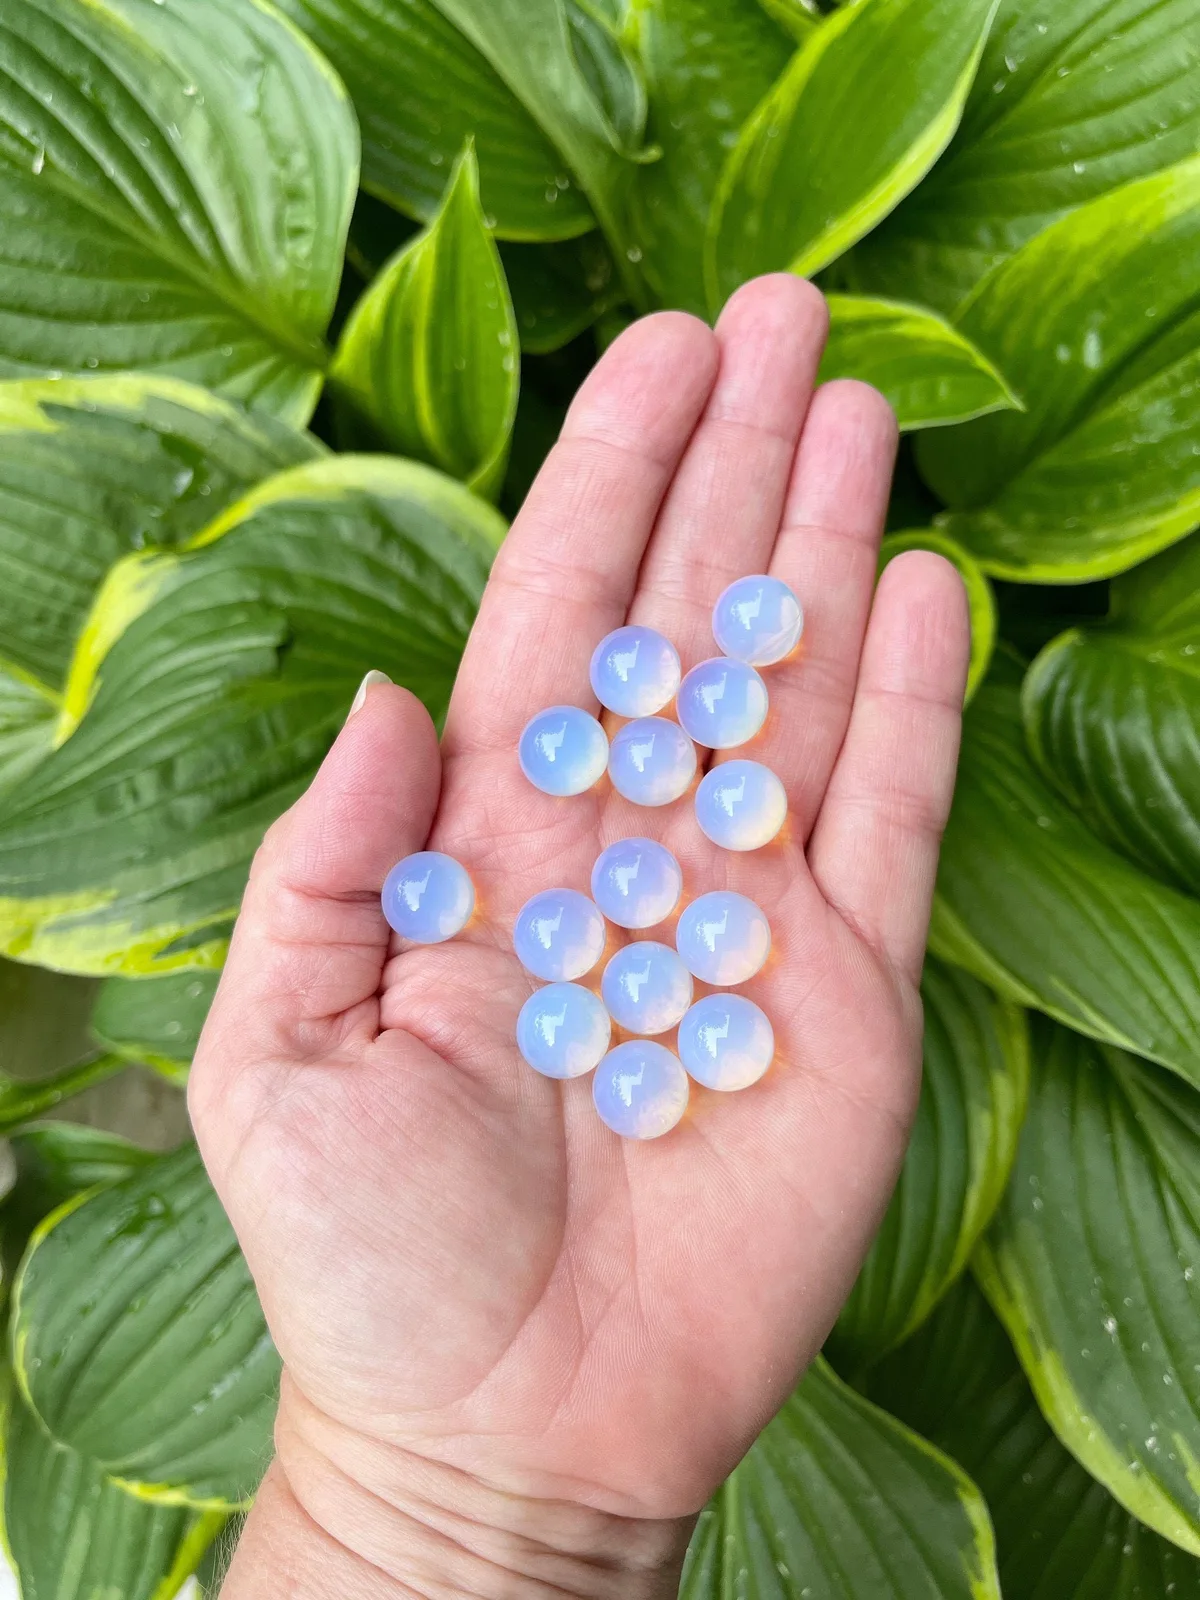
Image source: Bing (Web (fair-use with source credit))
Use a 10x loupe to inspect edges and facets. Look for tiny gas bubbles. These are perfect spheres suspended in the material.
Natural stones contain fluid inclusions or needle-like crystals, not uniform air pockets.
Also check for swirl marks. Industrial glass manufacturing leaves flow lines. These appear as wavy distortions within the body.
Geological processes don’t create these patterns.
Per GIA guidelines, identifying bubble shapes is critical for separating synthetics from naturals. Irregular inclusions suggest earth-formed origins. Perfect spheres suggest furnace-made ones.
This distinction holds up under rigorous testing protocols used by professional labs today.
Distinguishing Rainbow Moonstone from Labradorite
Many buyers confuse these two feldspars because both display colorful optical effects. The difference lies in the quality of the light scatter. Adularescence is soft, diffuse, and typically blue or white.
It looks like moonlight trapped in mist.
Labradorescence is sharp, metallic, and multi-colored. You’ll see vivid greens, golds, oranges, and blues that flash abruptly. This effect comes from different layer thicknesses within the labradorite structure.
It resembles an oil slick on pavement more than a glowing orb.
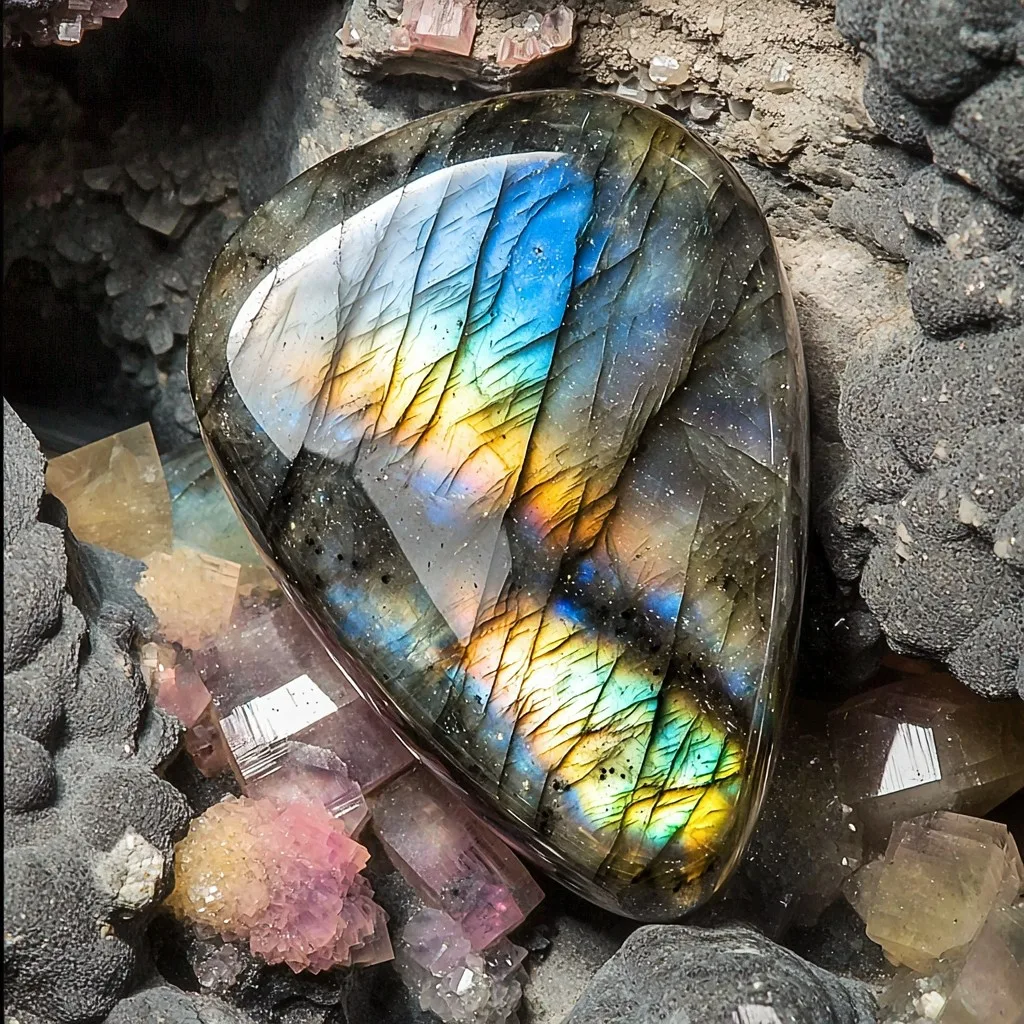
Image source: Bing (Web (fair-use with source credit))
If your stone shows distinct bands of green or coppery red, it’s likely labradorite. True rainbow moonstone rarely displays those warm tones prominently. Its signature is that cool, ethereal blue sheen.
Check the body color too. Labradorite is often dark gray or black. Moonstone is usually translucent white, cream, or peach.
This distinction matters for valuation. High-quality labradorite can be valuable, but it’s priced differently than fine moonstone. Misidentifying one as the other leads to bad purchases.
Always verify the specific type of schiller you’re seeing.
Lighting Protocols for Accurate Visual Assessment
Bad lighting ruins even the best gemstone inspection. Harsh direct sunlight creates glare that masks subtle adularescence. Overhead fluorescent lights cast a yellow tint that distorts blue flashes.
You need controlled, neutral illumination to judge accurately.
Use a single point source, like a desk lamp with a bare bulb. Position it at a 45-degree angle to the stone. Keep the surrounding area dim.
This contrast makes the internal glow stand out against the dark background.
- Avoid: Direct noon sun, mixed color temperatures, or bright ambient rooms.
- Prefer: Diffused daylight near a window, or a consistent LED torch.
- Technique: Move the light, not just the stone. Watch how the flash reacts.
Our research indicates that many online sellers use heavy editing to enhance flash. They boost saturation and brightness in post-production. By controlling your own lighting environment, you bypass these digital tricks.
You see the raw optical behavior of the mineral.
Take your time during this step. Rushing leads to errors. Rotate the stone slowly under the lamp.
Note if the blue band slides smoothly or jumps erratically. Smooth movement confirms natural lamellar structure. Erratic jumping suggests surface coatings or synthetic manipulation.
FAQs
Can I tell fake moonstone from real using only a phone camera?
No, phone cameras often fail to capture dynamic adularescence accurately. Sensors flatten the subtle depth of the internal glow. Digital compression also removes fine details like micro-inclusions.
Rely on physical inspection under controlled light instead. Videos help, but static photos are misleading.
Does all real rainbow moonstone have a strong blue flash?
Not necessarily. Quality varies widely based on cut orientation and clarity. Some genuine stones have weak or white-only adularescence due to thicker body tone.
Others may lack flash entirely if cut poorly. Absence of blue doesn’t automatically mean fake, but strong blue usually signals higher value.
Are coated moonstones considered fake or treated?
Coated stones are technically treated, not purely fake minerals. A thin layer of titanium or silica is applied to the surface to create artificial shimmer. However, this coating wears off over time.
Most gemological standards classify heavily coated stones as imitations for consumer purposes. Disclose treatments clearly.
How does hardness affect identifying fake moonstone?
Moonstone scores 6 to 6.5 on the Mohs scale. Glass imitations vary but often scratch easier or show conchoidal fractures. Plastic simulants are much softer and feel warmer to touch.
Never perform destructive scratch tests on jewelry. Use non-invasive visual cues like bubbles and flow lines first. Hardness is a secondary confirmation tool.

Similar Posts