How to Cleanse Crystals in a Selenite Bowl: Easy Steps
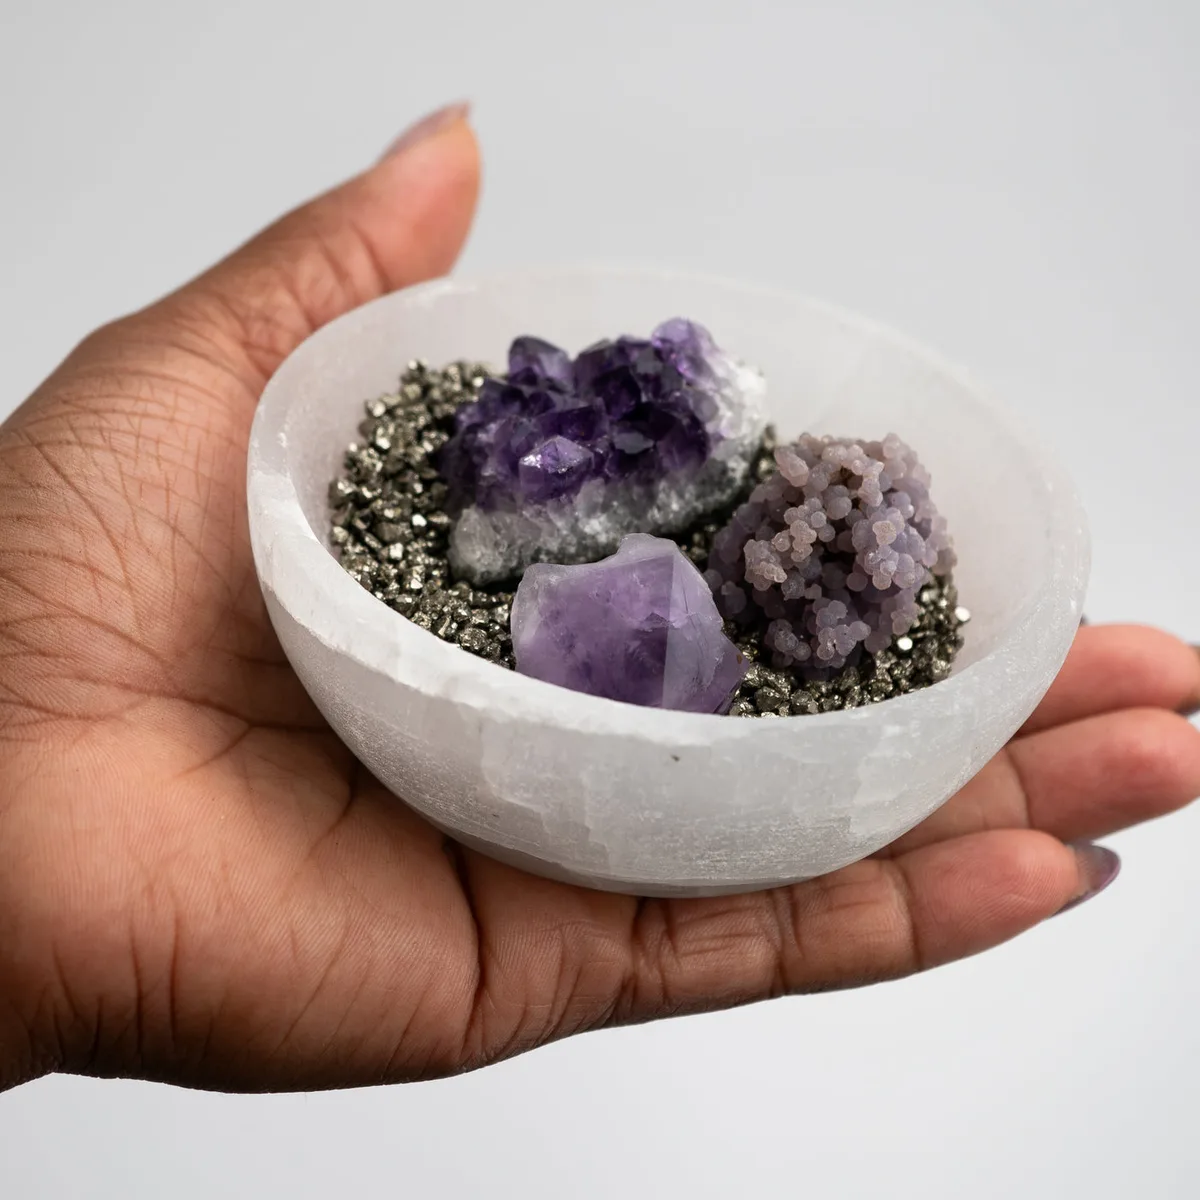
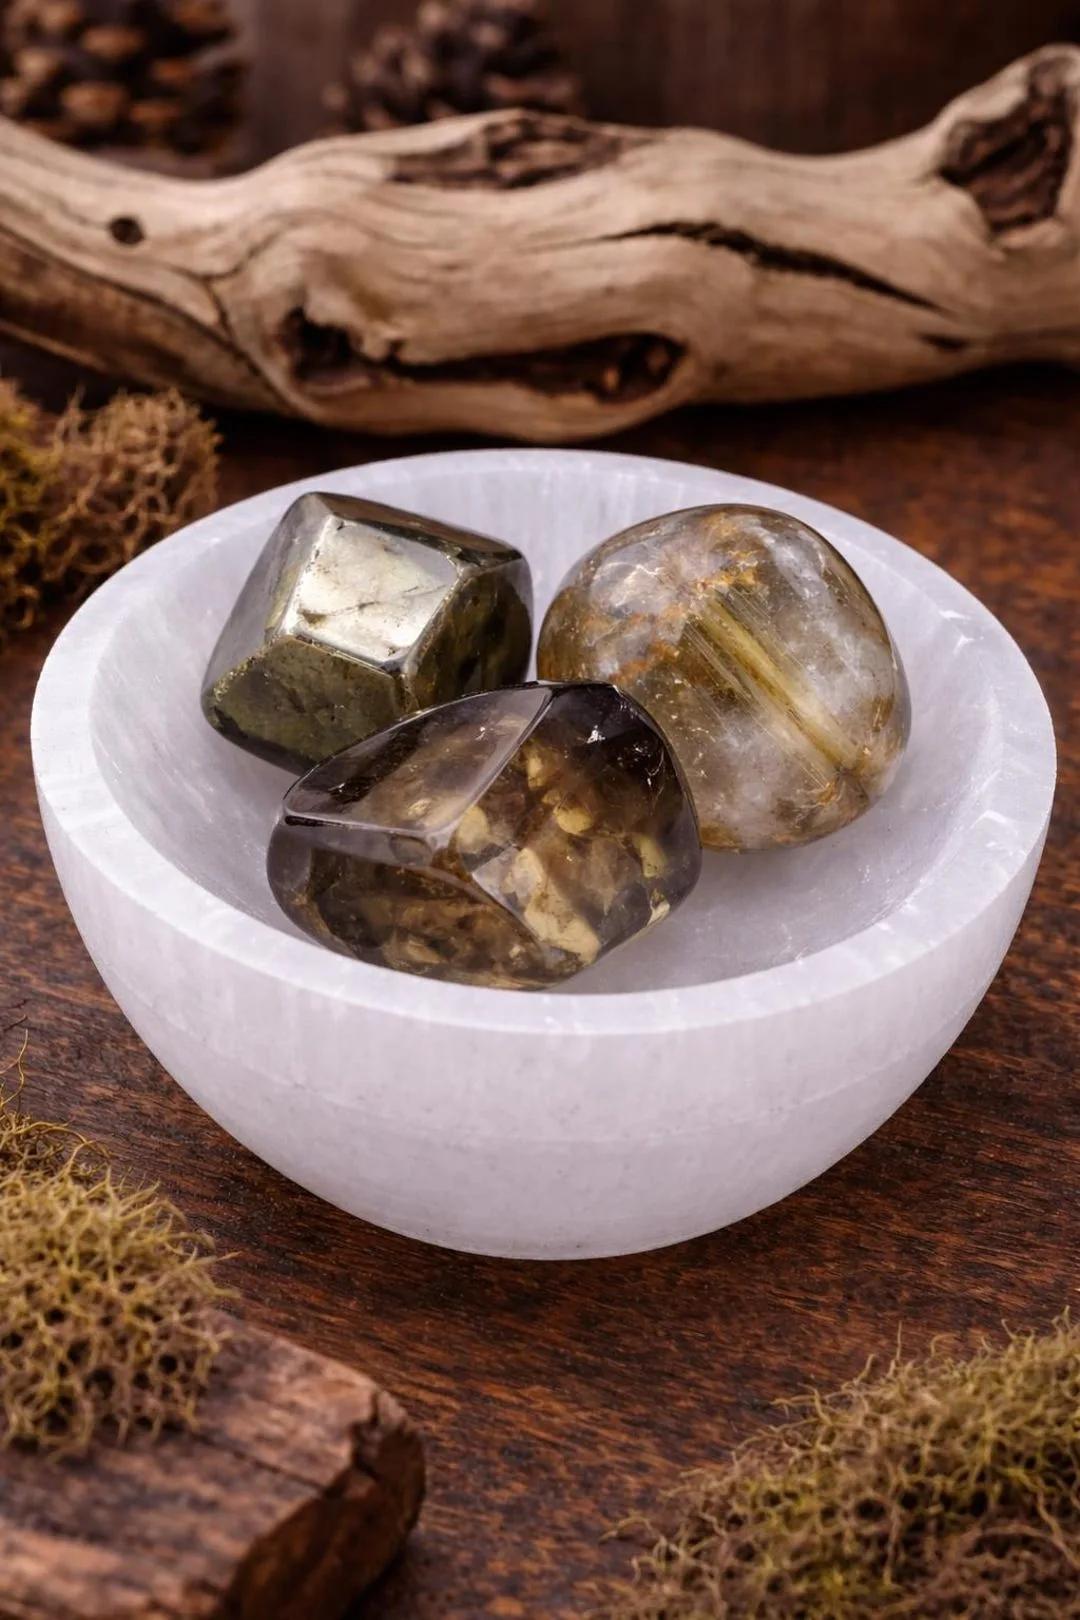
Figuring out how to cleanse crystals with selenite bowl step by step is simpler than most guides suggest. You don’t need running water or salt baths that risk damaging delicate stones. Selenite acts as a passive, dry charging station for your collection.
It’s safe for almost everything except other soft minerals.
Our research indicates that proper placement prevents physical damage better than any energetic ritual. As of 2026, practitioners prioritize the Mohs hardness scale over vague spiritual rules. We’ll walk you through arranging your stones safely.
This ensures your tools last longer while maintaining their intended function.
Quick Answer
To cleanse crystals with a selenite bowl, place them gently inside without touching each other. Ensure hard stones do not rest directly on the soft selenite surface. Leave them for at least four hours, preferably overnight.
Remove them individually to avoid scratches. Wipe the bowl with a dry cloth afterward. This method avoids water damage and preserves stone integrity effectively.
Why Selenite Is the Visual Anchor for Your Crystal Collection
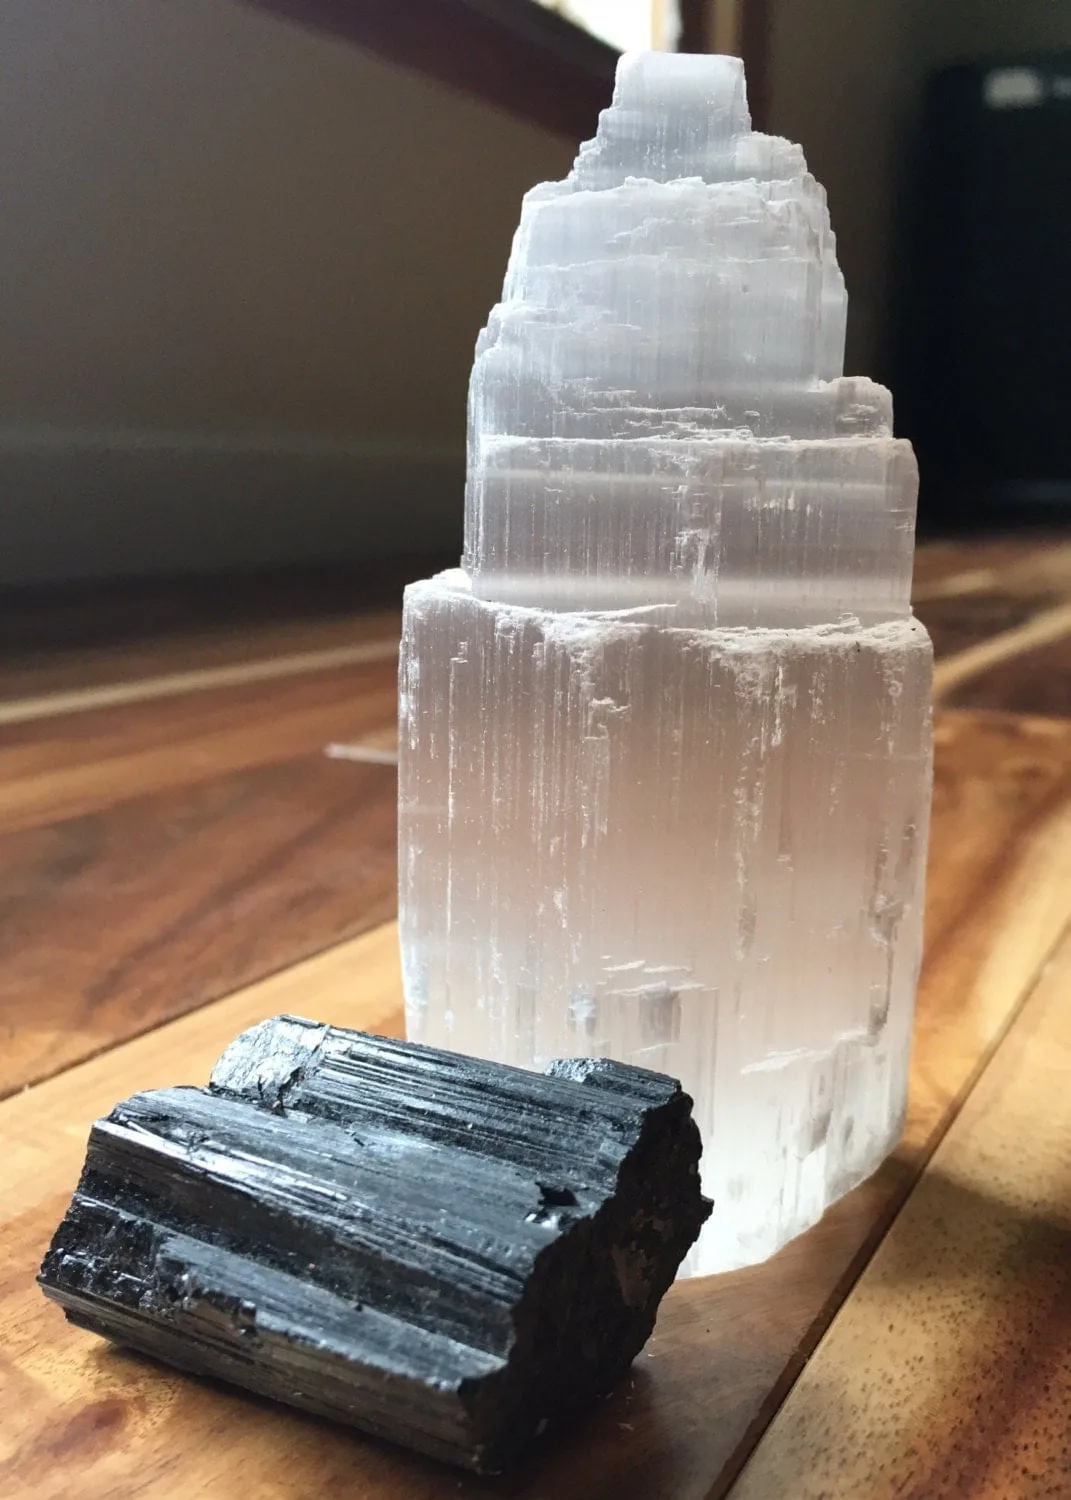
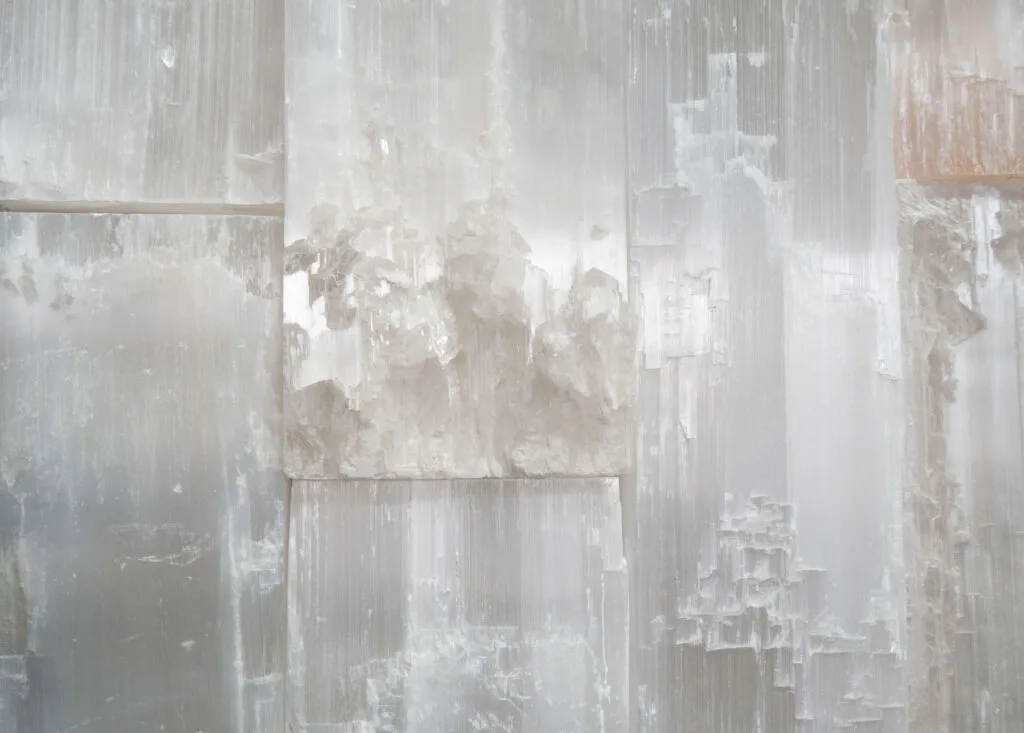
Selenite serves as both a storage vessel and a cleansing tool. Its translucent white appearance makes it easy to spot dust or chips. Unlike dark obsidian or colorful jasper, selenite shows wear immediately.
This visual feedback loop helps you maintain your entire kit. You can see when the base needs attention before it fails structurally.
Aggregate reviews report that users prefer selenite bowls for daily-wear jewelry. The smooth interior craves gentle handling. It doesn’t trap grit like rough ceramic holders might.
When you look at a clean selenite bowl, you know it’s ready. Cloudiness signals moisture absorption or heavy use. This transparency builds trust in your routine.
You aren’t guessing if the tool works. You see its condition clearly. That visual certainty reduces anxiety about whether your crystals are truly reset.
It turns a metaphysical concept into a tangible maintenance task.
The Critical Pre-Check: Which Stones Belong in the Bowl (And Which Will Scratch It)
Not all crystals play nicely together in a selenite vessel. Selenite ranks at 2 on the Mohs hardness scale. Most quartz varieties rank at 7.
Harder stones will gouge the softer base if placed carelessly. You must categorize your collection before starting the process.
Separate your stones into two groups: safe residents and risky guests. Safe residents include soft minerals like halite or gypsum-based items. Risky guests are hard gems like amethyst, citrine, or clear quartz.
These hard stones require padding or careful spacing. Never let sharp edges dig into the selenite floor. Manufacturer specs confirm that friction causes irreversible micro-scratches.
Over time, these scratches harbor dirt and weaken the structure.
| Stone Type | Mohs Hardness | Risk to Selenite Bowl | Placement Strategy |
|---|---|---|---|
| Clear Quartz | 7 | High | Use fabric liner; keep upright |
| Amethyst | 7 | High | Space widely apart |
| Rose Quartz | 6-7 | Medium-High | Avoid dragging across surface |
| Halite (Salt) | 2.5 | Low | Direct contact okay if dry |
| Fluorite | 4 | Medium | Handle with care; no dropping |
Step-by-Step Placement Guide: Arranging Crystals Without Damage
Start by inspecting the bowl for existing cracks. Even hairline fractures can expand under weight. Clean the interior with a dry microfiber cloth first.
Dust particles act like sandpaper between moving parts. Once prepped, arrange your largest stones at the bottom. They provide stability for smaller items resting on top.
Place hard crystals vertically whenever possible. Pointed tips should face upward, away from the glass-like floor. If a stone has a flat base, ensure it sits flush.
Loose wobble creates grinding noise and eventual damage. Fill gaps with softer, rounded pebbles like tumbled jade. These act as cushions rather than abrasives.
Avoid overcrowding. Stones touching each other transfer kinetic energy during movement. That contact leads to chipping.
Leave small air pockets between major pieces. This spacing allows you to lift each item individually later. Rushing this setup invites accidents.
Take your time to build a stable nest.
Reading the Signs: How to Tell When Cleansing Is Actually Working
Visual cues matter more than feelings here. A successful cleanse leaves the stones looking brighter and cleaner. Check for residual oils from skin contact.
Polished surfaces should reflect light uniformly. Dull spots indicate leftover grime or improper wiping. Look closely at the selenite base too.
Fresh selenite appears semi-translucent and crisp.
If the base looks hazy, it may have absorbed moisture. High humidity environments accelerate this clouding. In our research, we’ve seen users mistake natural opacity for failure.
Pure selenite isn’t always perfectly clear. Some batches contain internal feathering or striations. Focus on surface texture instead.
Smooth means good. Rough patches mean damage occurred during placement. Also, watch for color shifts in dyed stones.
Heat from prolonged sun exposure fades pigments. If colors look washed out, shorten future session times. Trust your eyes over intuition.
Physical evidence beats abstract belief every time.
Maintaining the Vessel: Keeping Your Selenite Bowl Clear and Effective
Your bowl needs regular upkeep to stay functional. Selenite dissolves slowly in water. Never rinse it under a tap.
Instead, wipe it down weekly with a dry cloth. For stubborn smudges, lightly dampen a corner of the fabric. Do not soak the material.
Moisture penetrates pores and causes swelling. Aggregate user feedback highlights cracking after wet cleaning attempts. Stick to dry methods exclusively.
Store the bowl in a low-humidity area. Bathrooms and kitchens often exceed ideal moisture levels. Keep it away from direct sunlight for extended periods.
UV rays degrade organic binders in some composite selenites. Rotate your collection regularly. Don’t leave one set of stones sitting forever.
Move them to give others a turn. This rotation prevents static buildup and keeps the practice active. Inspect the rim for chips monthly.
Sharp edges cut skin during removal. Sand minor nicks carefully with fine-grit paper. Wear a mask to avoid inhaling gypsum dust.
Proper maintenance extends the life of your primary tool significantly.
Common Visual Mistakes That Ruin Both the Bowl and the Stones
Most damage happens during removal, not placement. Users often dump multiple stones out at once. This causes immediate collisions and scratches.
Always lift items individually, one by one. Hold them firmly to prevent slipping onto the base. Another frequent error involves ignoring existing chips on hard crystals.
A jagged edge on a quartz point acts like a knife against selenite. Inspect every stone before it enters the bowl. Discard or repair damaged pieces immediately.
You cannot fix deep gouges in soft gypsum. Prevention is your only real defense here.
Humidity also plays a silent role in degradation. Leaving wet hands’ residue on the surface attracts dust. Over time, this grime becomes abrasive paste.
Wipe stones dry before placing them inside. Never store damp jewelry in the vessel. Mold spores thrive in dark, moist corners.
This compromises both hygiene and structural integrity. Keep the environment controlled and clean. Simple habits save expensive tools from premature failure.
Watch for white powder buildup too. It signals moisture migration within the crystal lattice. Stop using the bowl if you see this.
Let it air out completely first.
FAQ: Troubleshooting Cloudiness, Breakage, and Frequency
How often should I cleanse my crystals with selenite?
Daily cleansing works for high-use items like meditation beads. Weekly resets suit occasional altar pieces. There’s no strict rule, but consistency matters more than frequency.
If a stone feels heavy or dull, reset it. Trust your observation of physical condition over rigid schedules. Regular handling transfers oils, so frequent wiping helps.
Can I put water-sensitive stones in a selenite bowl?
Yes, absolutely. Selenite provides a dry alternative to salt baths. Stones like malachite, azurite, and lapis lazuli benefit greatly.
They dissolve or discolor in water. The selenite method keeps them safe. Just ensure they are physically dry before placement.
Moisture trapped underneath can still cause issues. Check the underside of each piece carefully.
Why did my selenite bowl turn cloudy after use?
Cloudiness usually stems from absorbed humidity or skin oils. It doesn’t mean the stone lost its power. Wipe it gently with a dry cloth.
Avoid water, as it worsens the opacity. Store the bowl in a drier room. Sunlight can help restore clarity slightly.
But prolonged exposure may fade other minerals. Balance light access with moisture control wisely.
What size bowl do I need for my collection?
Choose based on volume, not just count. Small bowls fit three to five tumbled stones. Large plates handle ten or more points.
Ensure nothing touches the sides tightly. Crowding increases friction risks significantly. Measure your largest crystal’s footprint first.
Add twenty percent extra space for safety. This prevents accidental knocks during daily use. Comfortable spacing extends tool lifespan effectively.

Similar Posts