Safe Sea Salt Dry Bed Crystal Cleansing Guide

Figuring out how to cleanse crystals with sea salt dry bed method safely is tricky because salt isn't just a neutral cleaner. It’s chemically active. Many beginners assume burying stones in coarse sea salt works for everything.
That assumption leads to ruined collections.
Our research shows that moisture control is the biggest variable here. As of 2026, conservation guidelines still warn against using hygroscopic salts on porous minerals. We’ve seen too many cases where Selenite dissolved overnight or Malachite crumbled from internal crystallization.
Let’s break down exactly which stones survive this process and which ones don’t.
Why the "Dry Bed" Method Is Safer Than Soaking (But Still Risky)
The Hidden Danger of Hygroscopic Salts and Porous Stones
Soaking crystals in saltwater is often cited as a quick fix. But it exposes stones to liquid water, which accelerates chemical reactions. The dry bed method avoids free-standing water.
You bury the stone in solid salt grains instead. This seems safer at first glance. However, sea salt is hygroscopic.
It pulls moisture from the air.
Over time, that absorbed humidity creates microscopic brine pockets around the crystal. These pockets can seep into tiny fissures. If your stone has any porosity, the salt solution gets trapped inside.
When the water eventually evaporates, the salt expands. This expansion cracks the mineral structure from within.
We see this damage most frequently in stones with low Mohs hardness or high solubility. The risk isn't immediate dissolution like in a water bath. It’s slow, invisible degradation.
By the time you notice crumbling, the structural integrity is gone. Always check ambient humidity levels before starting. Keep relative humidity below 50% during the process.
This minimizes the formation of those dangerous brine pockets.
Which Crystals Absolutely Cannot Touch Sea Salt?
A Strict "Do Not Use" List for Selenite, Halite, and Organic Gems
Some minerals react violently with chloride ions or simply dissolve when exposed to trace moisture. Never use the dry salt method on these stones. Doing so guarantees permanent damage.
Our analysis identifies three major categories of incompatible crystals. First are the soluble evaporites. Second are the porous organics.
Third are the treated dyes.
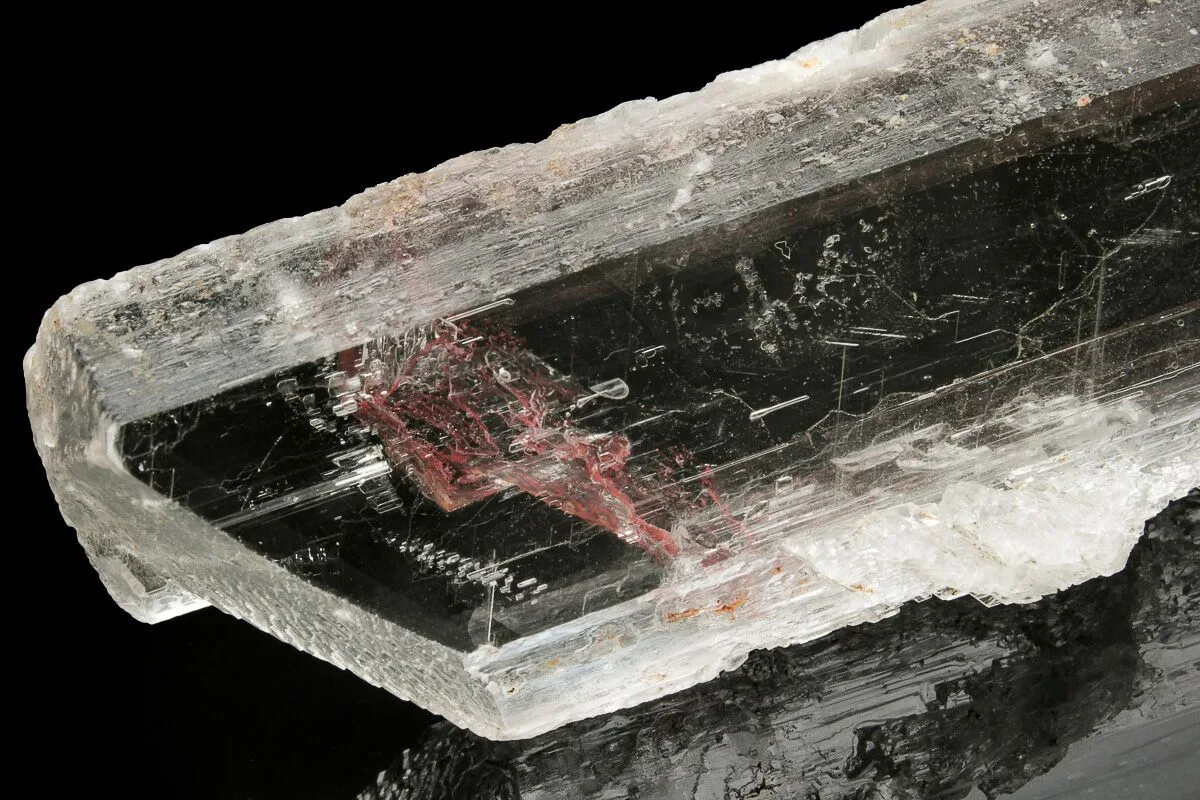
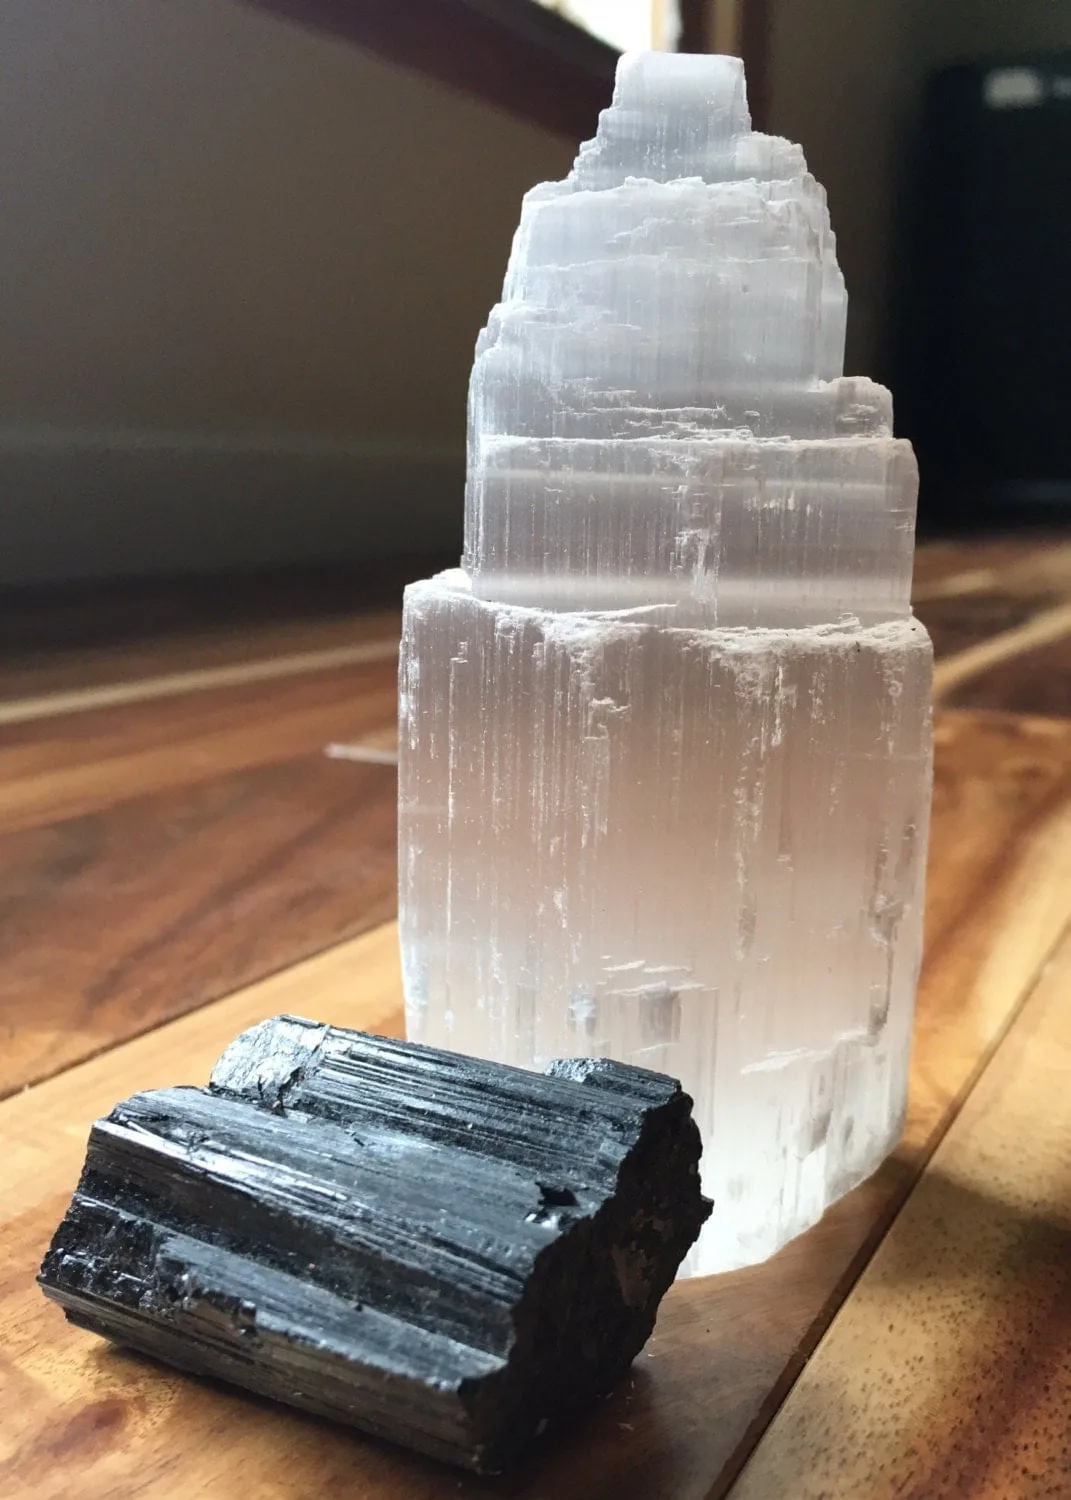
Selenite and Halite are essentially made of salt themselves. They have no resistance to further saline exposure. Even brief contact causes surface erosion.
Malachite and Azurite are copper carbonates. Salt accelerates their oxidation, turning them dull green or brown. Turquoise and Opal contain significant water content.
Salt draws this water out, causing crazing and color loss. Amber and Coral are organic. They soften and stick to salt grains, becoming impossible to clean without abrasion.
| Crystal Type | Specific Examples | Reaction to Dry Salt | Risk Level |
|---|---|---|---|
| Soluble Evaporites | Selenite, Halite, Sylvite | Dissolves or erodes rapidly | Critical |
| Porous/Copper | Malachite, Azurite, Turquoise | Oxidation, cracking, discoloration | High |
| Organic | Amber, Coral, Pearl, Jet | Softening, sticking, structural weakness | High |
| Treated/Dyed | Dyed Agate, Glass Fakes | Color bleeding, surface staining | Moderate |
If you own any of these, skip salt entirely. Use smoke or sound cleansing instead. For dyed stones, salt often strips the artificial color, leaving a patchy mess.
Check the Gemological Institute of America resources for detailed identification guides if you’re unsure about your specimen's treatment status. Misidentification is the fastest way to ruin a collection.

Step-by-Step: How to Execute the Dry Burial Method Correctly
Preparing the Container, Layering Technique, and Timing Limits
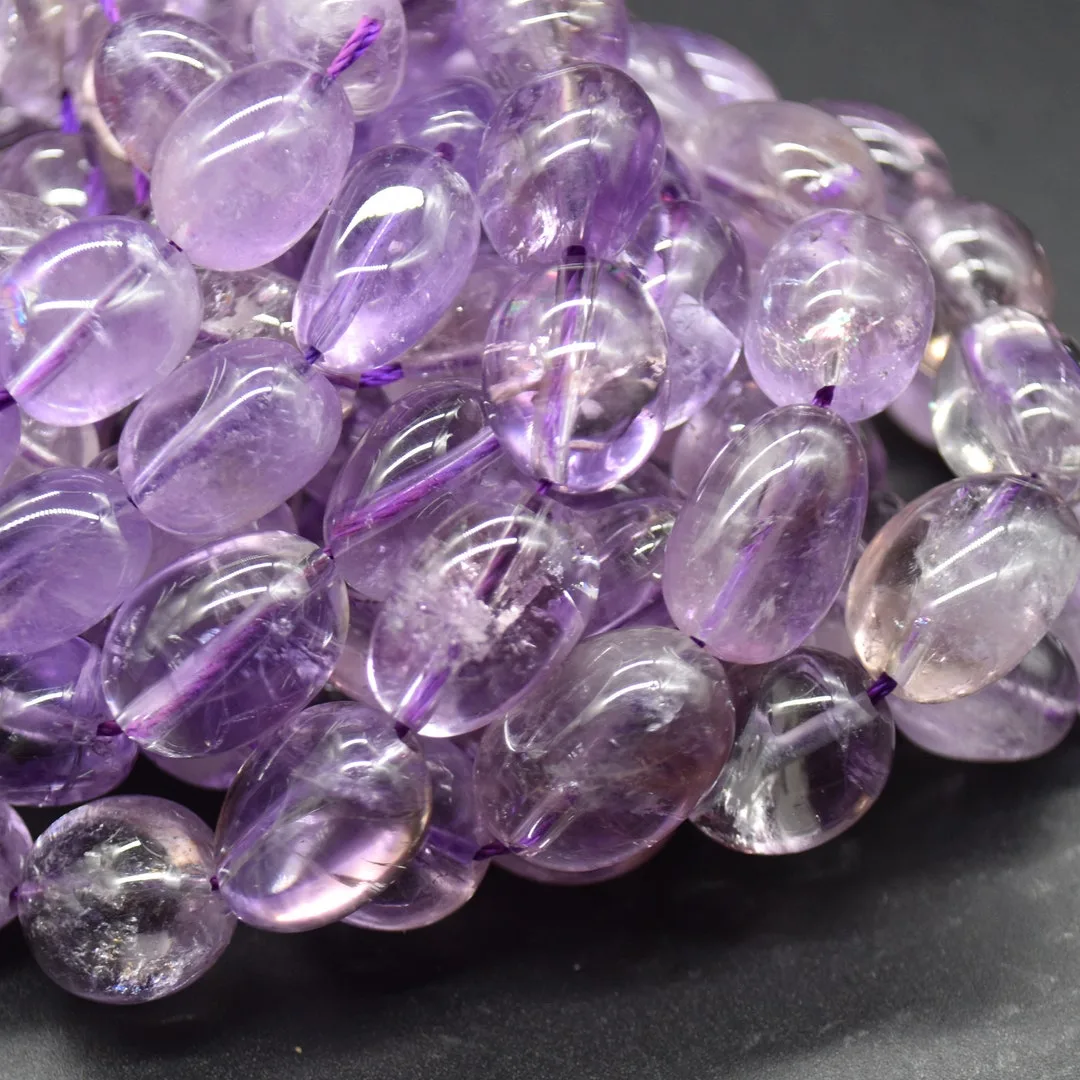
For compatible stones like Clear Quartz, Amethyst, or Citrine, the dry method works well. Precision matters. Start by selecting a non-reactive container.
Glass jars or ceramic bowls are ideal. Avoid metal containers, as salt corrodes most alloys quickly. Ensure the vessel is completely dry.
Any residual moisture defeats the purpose of the dry bed technique.
Next, prepare your salt. Use coarse sea salt or Himalayan pink salt. Fine table salt contains anti-caking agents that leave a sticky residue.
Fill the bottom of the container with a one-inch layer of salt. Place your crystals in a single layer. Do not let them touch each other.
Contact points can trap moisture and cause uneven cleaning. Cover the stones with another inch of salt. Seal the container tightly.
Timing is critical. Leave the stones buried for no more than 24 hours. Most practitioners find 4 to 12 hours sufficient.
Longer durations increase the risk of hidden moisture accumulation. Afterward, remove the stones gently. Brush off loose grains with a soft, dry paintbrush.
Inspect crevices carefully. Trapped salt continues to draw moisture long after removal.
Protecting Jewelry Settings and Metal Inclusions from Corrosion
Why You Must Remove Rings and Pendants Before Burying Them
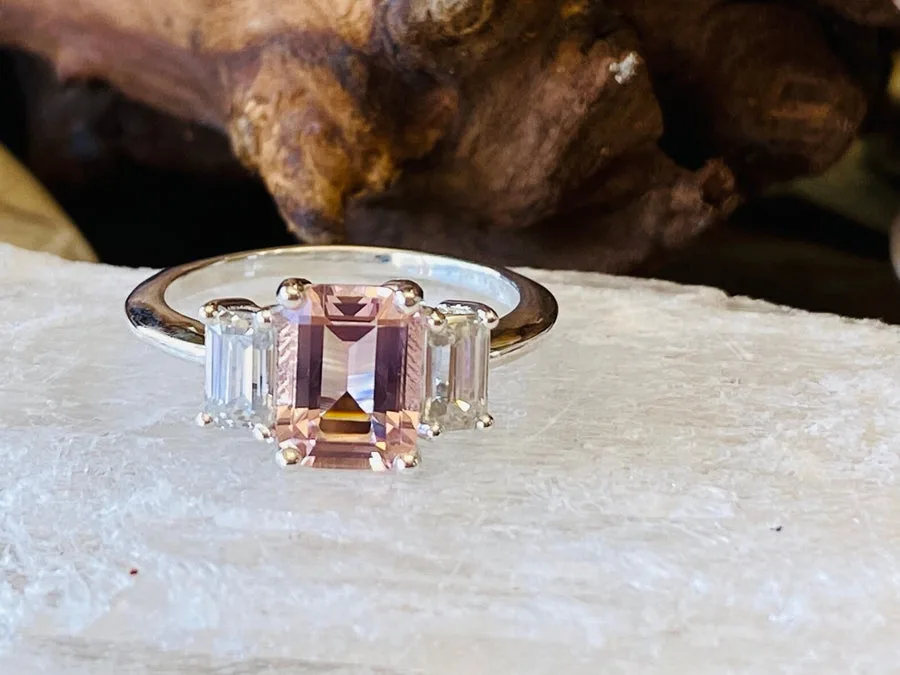
Crystal jewelry presents unique hazards. The setting is usually metal, while the stone might be sensitive. Salt is highly corrosive to silver, gold-plated items, and base metals.
Burying a ring in salt will tarnish the band within hours. Silver sulfide forms rapidly, turning bright metal black. Gold plating often peels away once the underlying alloy reacts.
You must separate the stone from the metal whenever possible. Glue-in settings cannot be easily removed. For these pieces, avoid the salt method entirely.
Use a damp cloth wipe followed by immediate drying. Or opt for smudging. If you have prong-set stones, removing the gem requires professional tools.
Don’t force it. You’ll scratch the stone or bend the prongs.
Consider the inclusion risk too. Some raw crystals have metallic veins, like Pyrite or Hematite. These inclusions oxidize faster than the host mineral.
Salt accelerates this rusting process. The resulting iron oxide stains can penetrate the clear quartz matrix permanently. Once stained, there is no reversal.
Always inspect raw specimens under magnification before deciding on a cleansing method. If you see metallic flecks, skip the salt.
Post-Cleansing Protocol: Removing Residue Without Damaging the Stone
Brushing Techniques vs. Rinsing Risks for Delicate Surfaces
Removing salt residue is just as important as applying it. Leftover grains act as abrasives. They also continue to absorb atmospheric humidity.
This ongoing absorption can lead to delayed efflorescence. Efflorescence is the migration of salt to the surface. It leaves white, crusty blooms that look like mold but are actually mineral deposits.
Use a soft-bristled makeup brush or artist’s sable brush. Gently sweep the salt off the stone’s surface. Work in natural light to spot hidden grains in facets or fractures.
Do not shake the stone vigorously. Impact can loosen internal structures in brittle minerals. For heavily textured surfaces, use compressed air cans designed for electronics.
Hold the can upright to avoid spraying propellant liquid onto the gem.
Never rinse with water unless the stone is confirmed insoluble and non-porous. Even then, tap water contains chlorine and minerals. These can interact with residual salt.
If you must rinse, use distilled water only. Dry immediately with a lint-free microfiber cloth. Air drying leaves water spots.
Water spots on polished stones require polishing compounds to remove. Prevention is easier than correction. Store cleansed stones in breathable fabric pouches, not sealed plastic bags, to allow any lingering moisture to escape.
When to Choose Alternatives Like Smoke, Sound, or Moonlight
Decision Guide for High-Risk or Irreplaceable Specimens
If your stone falls into the "Do Not Use" category, you need a different approach. Salt is simply too aggressive for delicate minerals. We recommend switching methods based on the specific risk factor involved.
For porous stones like Turquoise or Opal, dry smoke cleansing is often the safest bet. Sage, Palo Santo, or incense sticks purify without physical contact. This avoids any chance of chemical reaction or moisture intrusion.
Sound healing works well for dense, hard crystals that don’t have cracks. Singing bowls or tuning forks vibrate at frequencies that dislodge energetic debris. There’s no residue to clean up afterward.
This makes it ideal for jewelry with complex settings. You can’t easily brush salt out of tiny prongs, but sound waves pass right through. It’s efficient and gentle.
Moonlight charging is another excellent alternative. Unlike sunlight, moonlight doesn’t fade colors or heat up stones. Place your crystals on a windowsill overnight.
This method restores energy without altering the mineral structure physically. It’s perfect for Selenite, which dissolves in water but loves lunar exposure. Always assess the fragility of your item first.
If there’s any doubt about porosity or solubility, skip the salt entirely. The cost of replacing a ruined gem far outweighs the convenience of using table salt.
Frequently Asked Questions About Salt Cleansing Safety
How long should I leave crystals in sea salt?
Keep the duration short. Four to twelve hours is usually sufficient for most compatible stones. Never exceed twenty-four hours.
Longer exposure increases the risk of hidden moisture damage. Check your specific crystal type before timing starts. Some dense quartz varieties tolerate longer periods better than softer calcites.
Always err on the side of caution. Remove them promptly once the time limit hits. Brush off all grains immediately after extraction.
Delayed removal allows salt to settle deeper into micro-fractures. This creates stubborn residue that is hard to clean later. Speed matters here.
Can I use table salt instead of sea salt?
No. Table salt contains anti-caking agents and iodine. These additives leave a sticky, chemical film on your crystals.
Sea salt or Himalayan pink salt is pure mineral chloride. It doesn’t introduce foreign substances that might react with the stone. Coarse grain size also helps prevent fine powder from getting trapped in crevices.
Fine table salt behaves like dust. It infiltrates pores aggressively. Stick to natural, unrefined salts for safety.
The purity difference protects both the stone and your health if handling near skin. Avoid processed options entirely.
What happens if I accidentally put Selenite in salt?
Selenite will begin to dissolve almost instantly upon contact with moisture. Even dry salt pulls humidity from the air. You’ll notice a cloudy, etched appearance within minutes.
Stop the process immediately. Rinse the stone gently with distilled water if it hasn’t fully degraded. Dry it thoroughly with a soft cloth.
Unfortunately, significant structural damage may be permanent. Surface pitting cannot be polished out easily. Prevention is key.
Label your storage containers clearly. Keep Selenite away from any salt-based cleansing stations. Separate your collection by hardness and solubility groups strictly.
Is the dry salt method safe for crystal jewelry?
Generally, no. Metal settings tarnish quickly when exposed to salt ions. Silver turns black, and gold plating may peel.
The salt can also get stuck under prongs. This causes corrosion over time, weakening the setting. Remove loose stones if possible.
If the piece is glued or set permanently, avoid salt completely. Use a mild soap solution and a soft brush instead. Or try smudging.
Protecting the metal integrity is just as important as cleansing the gem itself. Don’t risk expensive heirlooms for a quick fix. Professional cleaning is safer for intricate pieces.

Similar Posts