Herkimer Diamond vs Clear Quartz: How to Spot the Real Deal
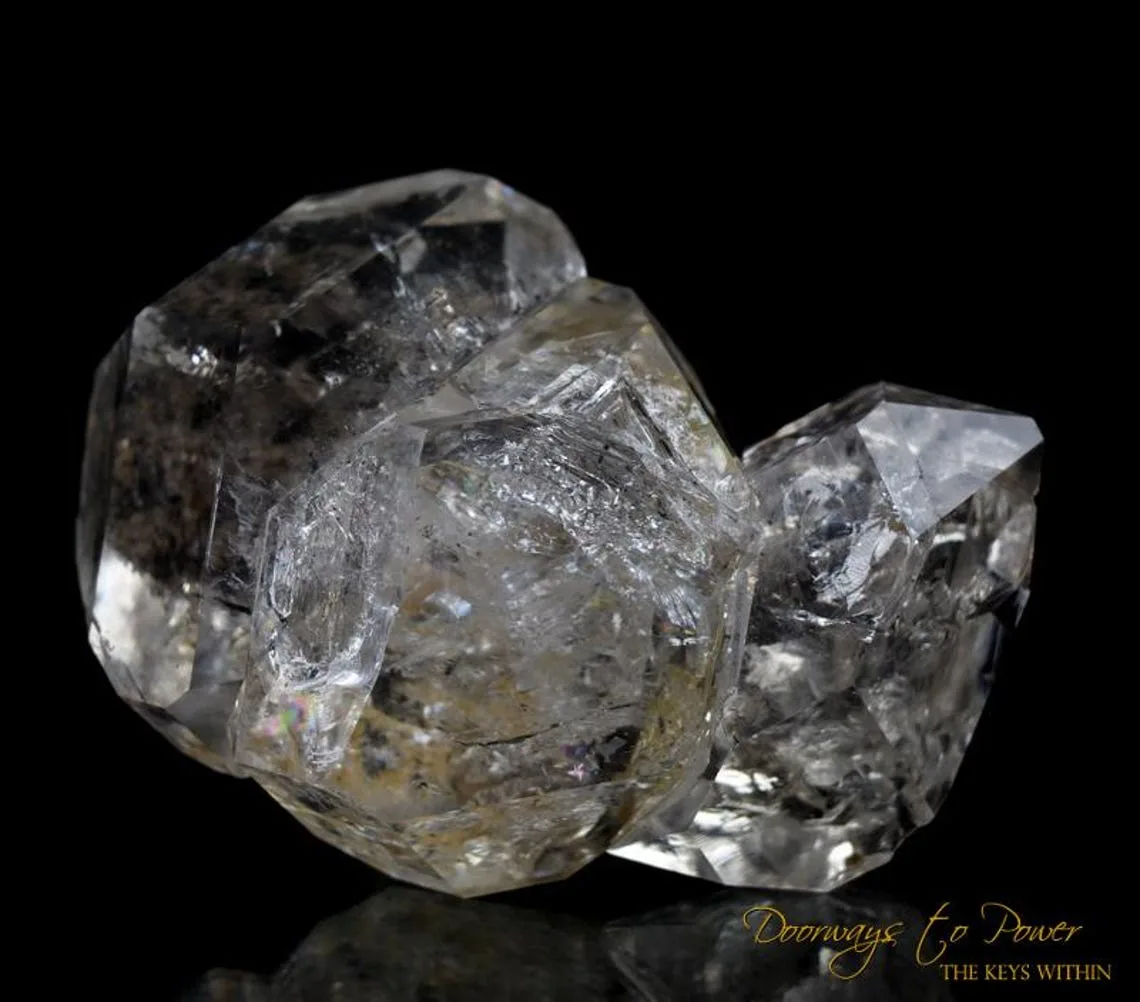
Figuring out how to identify real Herkimer diamond vs regular clear quartz can feel like trying to spot a needle in a haystack. You’re looking at two stones that share the same chemical makeup, hardness, and refractive index. The difference isn’t in what they’re made of, but in how they grew.
A genuine Herkimer is defined by its unique geometry and specific internal flaws that tell a story of ancient vugs in dolomite rock.
Most sellers rely on vague descriptions, leaving you guessing whether you paid for a rare double-terminated crystal or just a polished chunk of common quartz. As of 2026, the market remains flooded with mislabeled specimens. We’ve compiled the visual cues geologists use to separate the wheat from the chaff.
Here’s what you need to look for before handing over your cash.
Quick Answer
Real Herkimer diamonds are double-terminated quartz crystals from New York. They feature sharp pyramidal points on both ends. Regular clear quartz usually has only one termination point.
Look for natural surface etching and fluid inclusions. Avoid stones with flat saw cuts or uniform bubbles. True Herkimers grow in open spaces, creating symmetrical shapes.
This symmetry is the primary visual identifier.
Why Photos Are Non-Negotiable for Herkimer Identification
Text descriptions often fail because mineralogy is inherently visual. You can read about "double termination" all day, but seeing it clarifies the concept instantly. Aggregate reviews indicate that buyers frequently mistake cut quartz for natural formations simply because they haven’t seen enough examples.
Lighting plays a massive role here too. Studio shots with heavy diffusion can hide surface imperfections that reveal a stone’s true origin.
We recommend always requesting unedited photos taken in natural light. Ask the seller to rotate the crystal slowly while filming. This reveals the consistency of the facets.
A static photo might show a nice front face, but hiding the back allows sellers to conceal saw marks or matrix residue. Visual verification is your first line of defense against fraud. Without high-resolution imagery, you’re essentially buying blind.
Trust your eyes, not just the label.
Image source: Bing (Web (fair-use with source credit))
The Double-Termination Test: Spotting Natural Growth vs. Saw Cuts
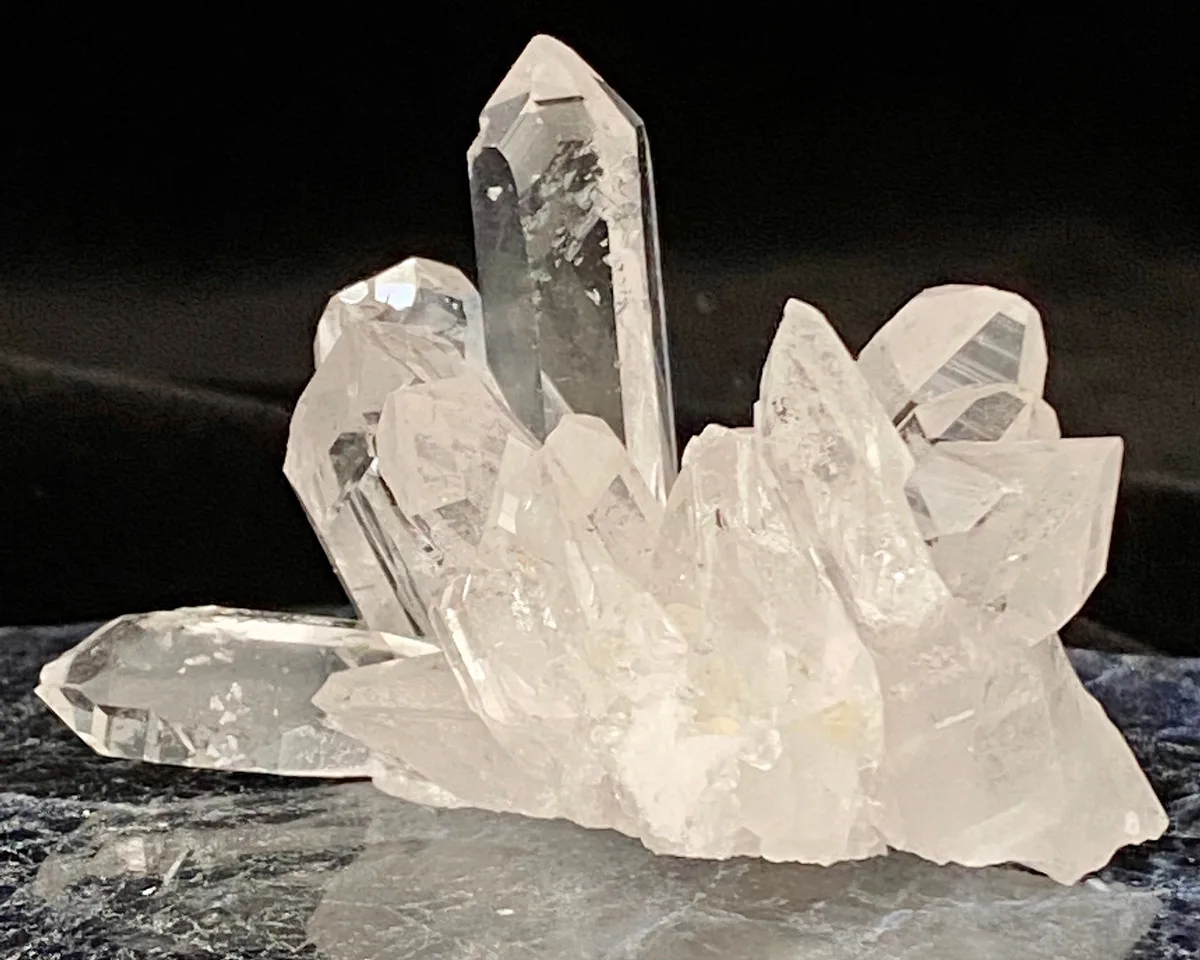
The defining feature of a Herkimer diamond is its double termination. This means the crystal tapers to a point at both ends. Regular clear quartz typically grows attached to a bedrock, resulting in a single point and a flat or irregular base.
However, scammers often take single-ended quartz and slice off the bottom to create a fake double end.
How do you spot the difference? Look closely at the tip. A natural termination will have three distinct faces meeting at a sharp apex.
These faces should align perfectly with the prism faces running down the sides of the crystal. If the top looks rounded, uneven, or lacks those three clean planes, it’s likely cut. Also, check the angle.
Natural Herkimers have steep, well-defined angles. Cut versions often look blunt or asymmetrical.
Another clue is the transition zone. Where the pyramid meets the prism body, there should be a smooth continuation. A saw cut leaves a flat plane that disrupts this flow.
You might even see tiny chips along the edge where the blade exited. Per GIA guidelines on distinguishing natural features, these mechanical marks are red flags. Always inspect both ends under bright light.
If one end looks manufactured, walk away.
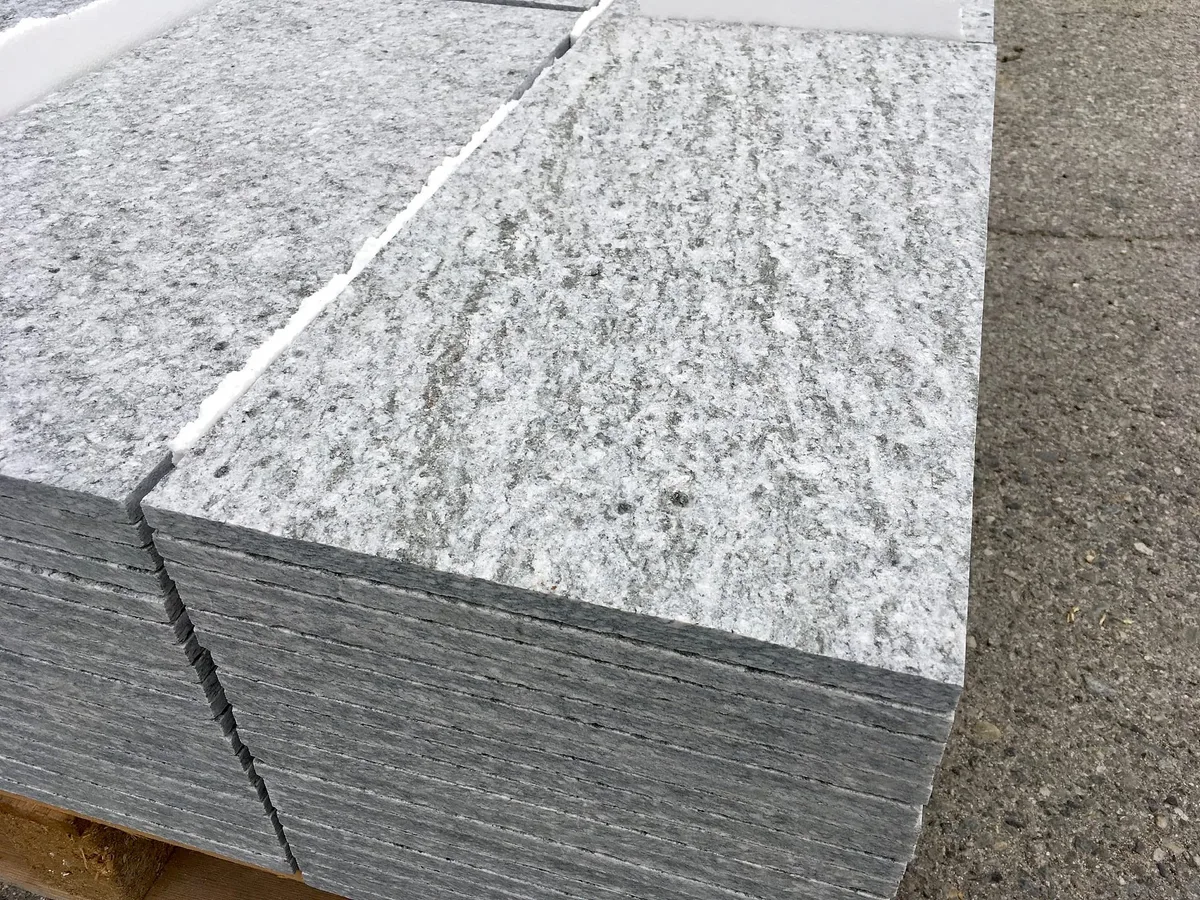
Image source: Bing (Web (fair-use with source credit))
Decoding Internal Clues: Rainbows, Phantoms, and Fluid Inclusions
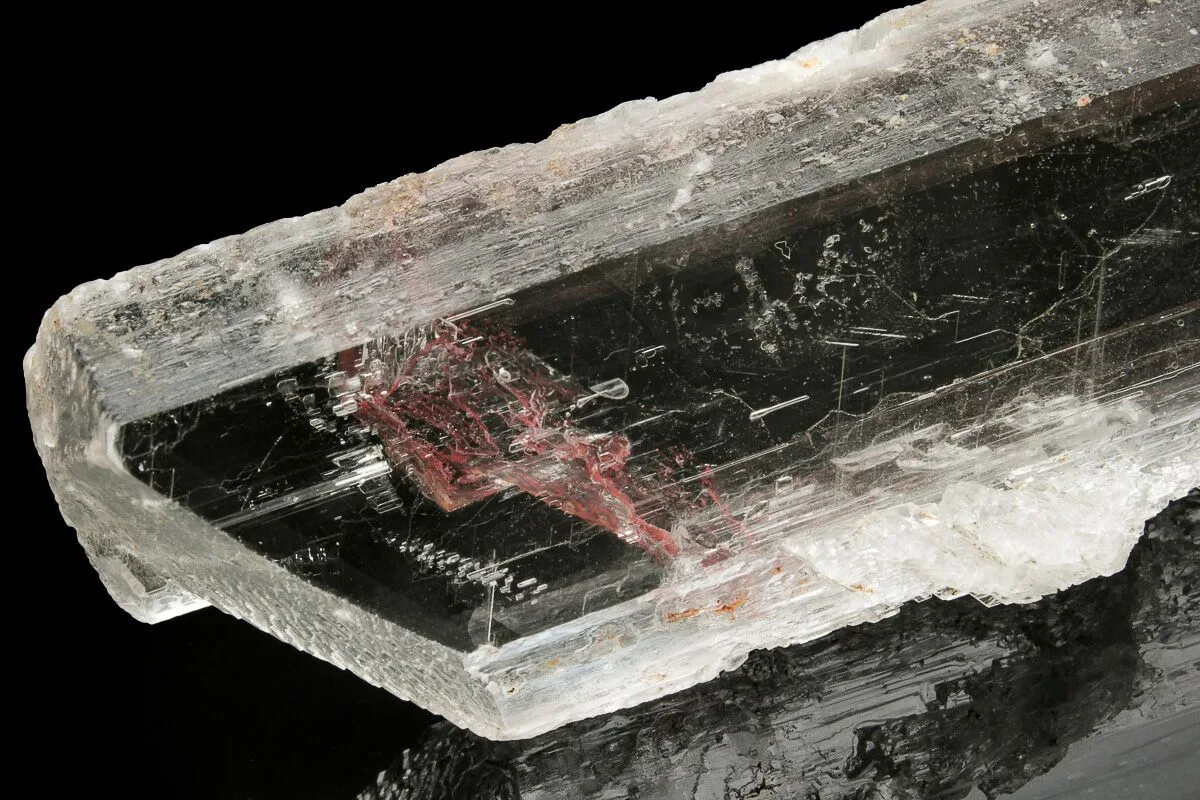
Once you’ve confirmed the shape, dive inside. Herkimer diamonds are famous for their internal characteristics, which differ significantly from commercial-grade clear quartz. One standout feature is the "rainbow." This isn't a pigment; it's an optical effect caused by light diffracting through microscopic internal fractures.
These fractures occur when the crystal cools rapidly or shifts within its host rock.
Regular quartz can have cracks, but they rarely produce this vibrant iridescence. When you tilt a genuine Herkimer, you’ll see flashes of spectral colors dancing across the interior. Another key indicator is fluid inclusions.
These are tiny pockets of liquid and gas trapped during formation. Under magnification, they look like small bubbles or cloudy spots. Synthetic quartz, often sold as high-end Herkimers, tends to be flawlessly clear or contains uniform spherical gas bubbles left from manufacturing.
Phantoms are also common. These appear as ghostly inner shapes where growth paused and resumed. They indicate a complex history in a vug environment.
Common quartz lacks this layered complexity. Use a jeweler’s loupe (10x power) to examine these details. If the interior is perfectly sterile or filled with identical round bubbles, suspect lab-grown material.
Real stones have chaotic, beautiful imperfections.
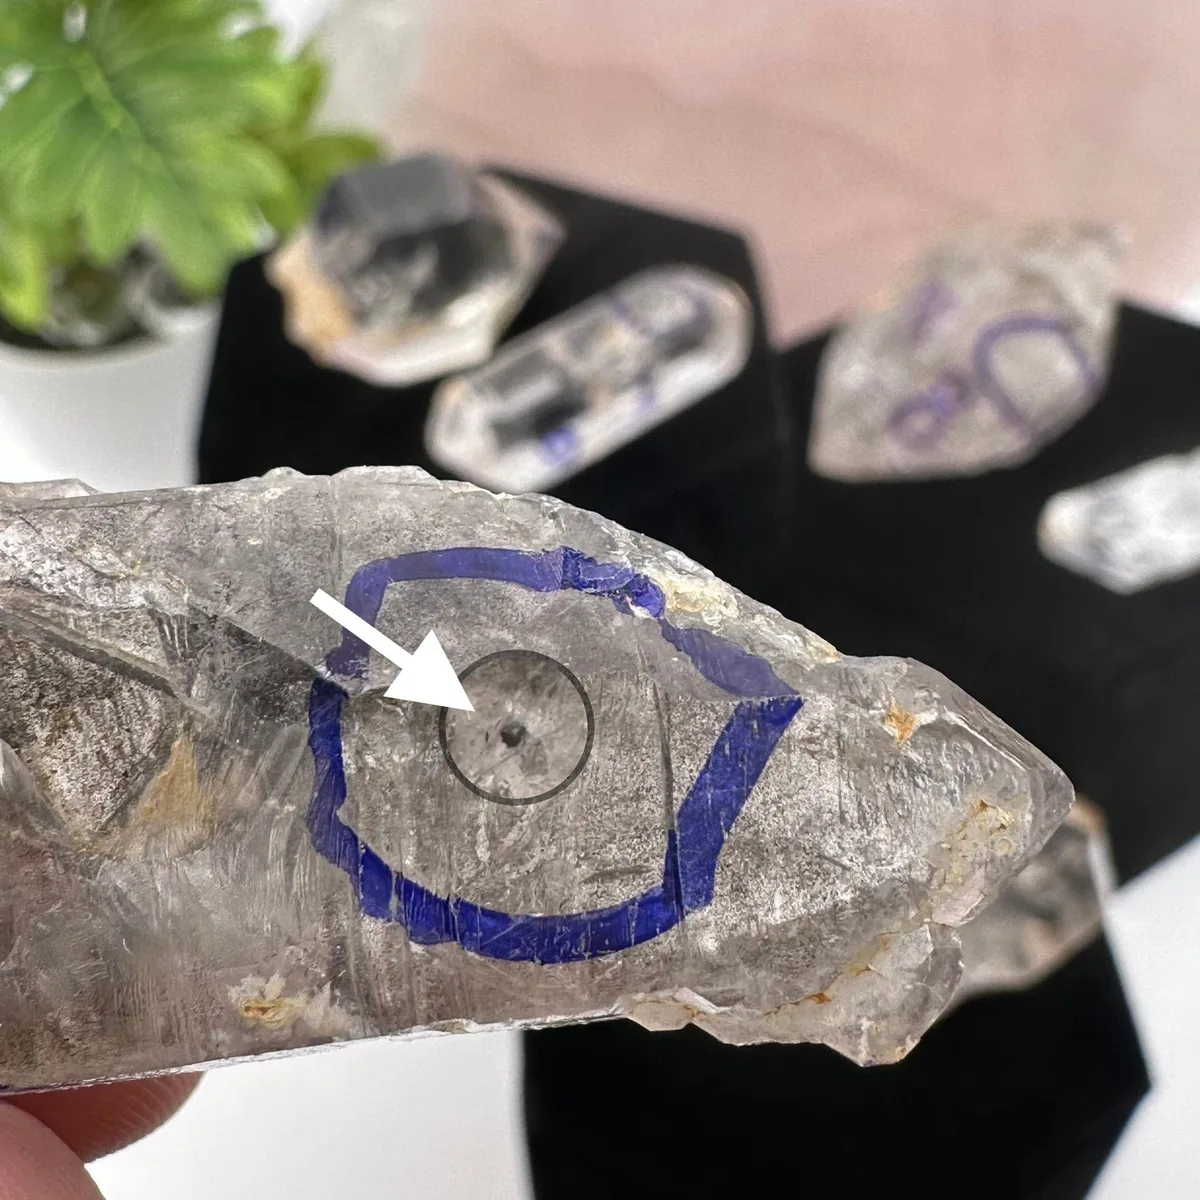
Image source: Bing (Web (fair-use with source credit))
Surface Texture Analysis: Etching, Luster, and the "Glassy" Look
The exterior skin of the crystal tells another part of the story. Genuine Herkimer diamonds often exhibit surface etching. These are tiny pits, grooves, or stair-step patterns on the prism faces.
They form when acidic groundwater dissolves parts of the crystal after it stops growing. Not every Herkimer has heavy etching, but most raw specimens show some degree of weathering.
In contrast, many "clear quartz" points sold online are heavily polished or tumbled. This process removes all natural texture, leaving a smooth, glass-like finish. While polished stones aren't necessarily fake, they lack the diagnostic features needed for identification.
If a stone feels slick and shows no signs of dissolution pits, ask questions. It may be a processed piece of common quartz marketed as a premium specimen.
Also, consider the luster. Natural quartz has a vitreous (glassy) shine, but Herkimers often possess a deeper, more resonant clarity due to their gem-quality nature. Compare the reflection quality.
Poorly formed quartz might look cloudy or milky. High-grade Herkimers are transparent. However, transparency alone isn't proof.
Combine surface inspection with shape analysis. A smooth, single-ended stone is definitely not a Herkimer. A rough, double-ended stone with etching is a strong candidate.
Check Mindat.org for reference images of typical Habits.
Common Visual Traps: Synthetic Quartz and Faked Doubles
The market is rife with imitations designed to fool inexperienced buyers. One major trap is synthetic quartz. Grown in labs using hydrothermal methods, these crystals can achieve perfect clarity and geometric precision.
But they often lack the natural imperfections found in mined stones. Look for seed plates. Sometimes, a faint horizontal line or inclusion cluster appears near the center, marking where the growth started.
Natural crystals don't have these artificial boundaries.
Another trick involves laser-cutting. Sellers take low-quality single-ended quartz and use lasers to carve new tips. These cuts are precise but unnatural.
The resulting facets may be too sharp or angular compared to organic growth. Inspect the junction between the prism and pyramid. Laser cuts often leave burn marks or discoloration.
Natural terminations blend seamlessly into the body.
Beware of "enhanced" stones too. Some vendors dye ordinary quartz blue or purple and label them as exotic varieties. Others fill cracks with resin to improve appearance.
Resin-filled fractures often reflect light differently than air-filled ones. Hold the stone up to a strong light. If the crack glows or looks waxy, it’s been treated.
Stick to raw, untreated specimens whenever possible. They offer the best chance for accurate identification without hidden manipulations.
Step-by-Step Inspection Workflow with Loupe Settings
Start with the naked eye in diffuse daylight. Rotate the crystal slowly to check for symmetry. Both ends should taper naturally without flat spots.
If you see a blunt end, it’s likely cut or single-terminated. Next, bring out your 10x jeweler’s loupe. Focus on the junction where the pyramid meets the prism body.
Look for smooth transitions rather than abrupt edges.
Move to internal features next. Hold the stone up to a light source. Scan for rainbows or fluid inclusions.
Use a higher magnification (30x) if available. This helps distinguish natural fractures from synthetic bubbles. Natural cracks often look jagged or feathery.
Synthetic defects tend to be round and uniform. Document any findings with photos before purchasing.
Finally, assess surface texture under raking light. Shine a flashlight at a low angle across the faces. This highlights etching pits and growth lines.
Smooth, polished surfaces suggest processing or tumbling. Rough, textured surfaces indicate raw extraction. Combine these observations to form a complete picture.
No single test is definitive on its own. Context matters most when evaluating mineral specimens.
Quick Reference Table: Herkimer Diamond vs. Regular Clear Quartz
Use this table to quickly compare key visual traits. It summarizes the distinctions discussed earlier. Keep it handy when shopping online or in person.
The left column describes genuine Herkimers. The right column outlines typical clear quartz. Notice how geometry drives the primary difference.
| Feature | Real Herkimer Diamond | Regular Clear Quartz |
|---|---|---|
| Terminations | Double-terminated (points on both ends) | Single-terminated (one point, flat base) |
| Facet Quality | Sharp, well-defined pyramidal faces | Often rounded or less distinct |
| Internal Clarity | High clarity with occasional rainbows | Variable; often cloudy or milky |
| Surface Texture | Natural etching, pitting, or roughness | Usually polished, tumbled, or smooth |
| Origin Marker | Dolomite matrix residue sometimes present | Attached to granite or pegmatite veins |
| Inclusion Type | Fluid pockets, phantoms, irregular cracks | Uniform bubbles (if synthetic), simple fractures |
This side-by-side view clarifies why mislabeling happens. Sellers exploit the similarity in chemical composition. They hope buyers won’t check the geometry closely.
Always verify the double termination first. It’s the most obvious visual cue. Then confirm internal characteristics.
A mismatch in either area raises red flags. Trust the table over marketing copy. Visual evidence outweighs textual claims every time.
FAQs
Can a regular quartz crystal be cut into a Herkimer shape?
Yes, sellers often saw single-ended quartz to create fake double terminations. These cuts leave flat planes instead of natural pyramidal faces. Inspect the tips closely for sharpness and alignment.
Natural growth shows seamless transitions between facets. Cut versions reveal mechanical marks or uneven angles. Avoid stones with blunt or asymmetrical ends.
Authenticity relies on organic formation, not manual shaping.
Do all Herkimer diamonds have rainbow inclusions?
No, not every specimen displays visible rainbows. These optical effects depend on specific internal fracture patterns. Many high-grade Herkimers are exceptionally clear without iridescence.
Lack of rainbows doesn’t prove a stone is fake. However, their presence strongly supports natural origin. Focus primarily on double termination and surface etching.
Use inclusions as secondary confirmation only. Geometry remains the primary identifier for most collectors.
How does lighting affect identification accuracy?
Poor lighting hides critical surface details and internal flaws. Studio lights can exaggerate clarity while masking saw marks. Always request videos rotated under natural sunlight.
Diffuse daylight reveals true color and transparency. Harsh spotlights create glare that obscures etching pits. Shadows help define facet edges and depth.
Verify the stone in multiple lighting conditions. Consistency across environments indicates genuine material. Beware of photos edited for maximum brightness.
Are synthetic quartz crystals easy to spot visually?
Not always, especially to untrained eyes. Lab-grown quartz mimics natural perfection very well. Look for seed plates or uniform gas bubbles.
These artifacts rarely appear in mined stones. Natural crystals show chaotic inclusion patterns. Synthetic versions often lack surface etching.
Check for regulatory markings if applicable. When in doubt, consult a gemologist. Visual inspection has limits with advanced synthetics.
Professional testing provides definitive answers.

Similar Posts