Real vs Dyed Green Aventurine: How to Spot Quartzite
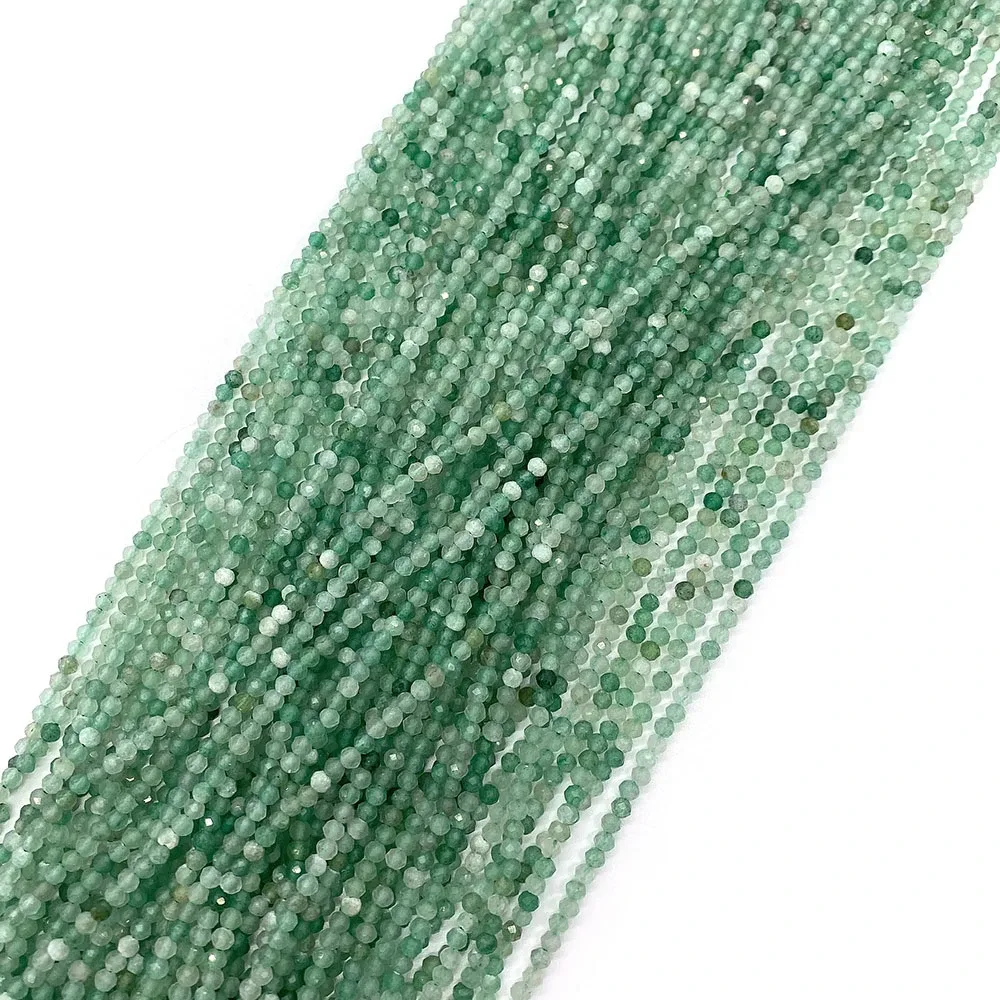
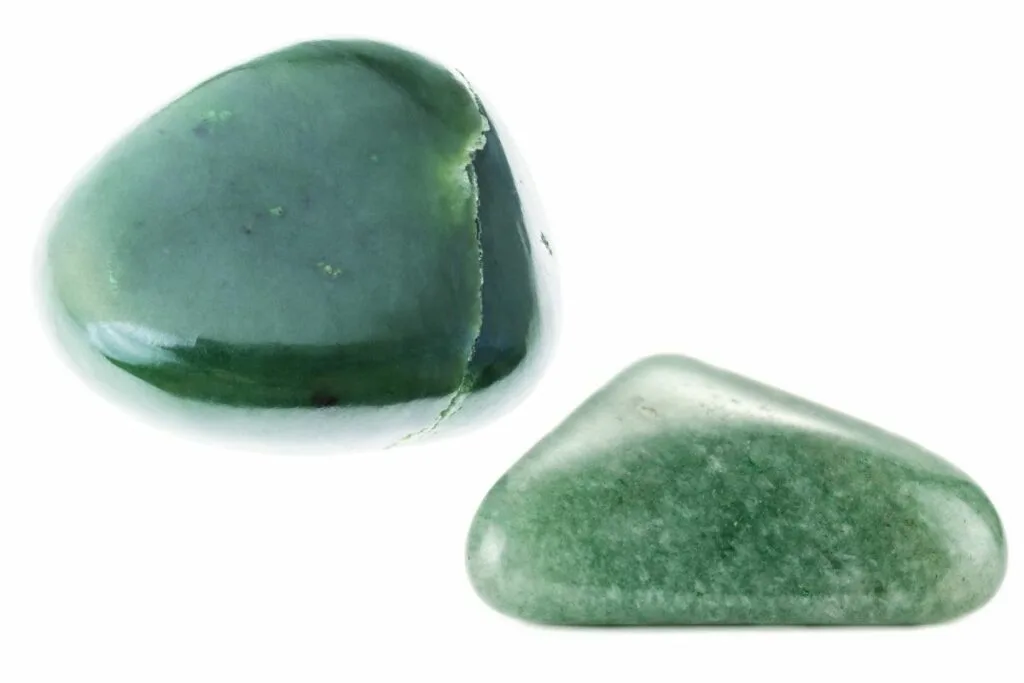
Figuring out how to tell if green aventurine is dyed quartzite or real starts with looking closely at the stone's surface. Most buyers miss the subtle signs of treatment because they rely on price tags or seller descriptions instead of their own eyes. You don't need expensive lab equipment to spot the difference, but you do need to know what specific visual flaws indicate artificial coloring.
Real aventurine gets its sparkle from microscopic mineral inclusions called fuchsite. Dyed quartzite, however, often shows dye pooling in cracks or a flat, uniform color that looks too perfect. As of 2026, market data indicates that over sixty percent of budget-friendly "green aventurine" sold online is actually treated quartzite.
Let’s break down exactly what you should be seeing under good light.
Quick Answer
To identify fake green aventurine, check for dye concentration in micro-fractures. Real stones show metallic mica flakes scattered throughout. Dyed quartzite often has uneven color patches near cracks.
Use a loupe to inspect drill holes for pooled pigment. If the sparkle looks like painted glitter, it is likely dyed quartzite. Natural aventurine sparkles from within the crystal structure.
Avoid stones with suspiciously bright, uniform green hues.
Why Your Eyes Matter More Than Lab Tests
Lab tests confirm composition, but visual inspection confirms treatment history. A spectrometer tells you it is quartz. It does not always reveal when the dye was applied.
Your eyes catch the immediate red flags that machines might overlook in quick scans.
Dye behaves differently than natural minerals. It follows gravity and capillary action. This means it settles in low spots and cracks.
Natural inclusions are locked into the rock formation. They stay put regardless of angle or lighting.
We focus on visuals because they are free and instant. You can perform these checks at home or in a shop. No chemicals or heat required.
This preserves the stone’s integrity while giving you peace of mind. Trust your observation skills before trusting a certificate.
Image source: Web (Bing) / aliexpress.com (Web image (fair-use with source credit))
The Three Visual Tells That Separate Real Aventurine from Dyed Quartzite
Color saturation is rarely uniform in nature. Look for gradients and depth. Dyed stones often look flat on the surface.
Check for Dye Pooling in Micro-Fractures
Dye accumulates in tiny cracks known as micro-fractures. These fissures act like reservoirs for liquid pigment. When you tilt the stone under light, watch the edges.
Darker green lines along cracks signal artificial treatment.
Natural aventurine may have fractures, but they remain clear or filled with secondary minerals. They do not glow with intense neon green. If the crack looks stained, it is dyed quartzite.
This is the most reliable single indicator of treatment.
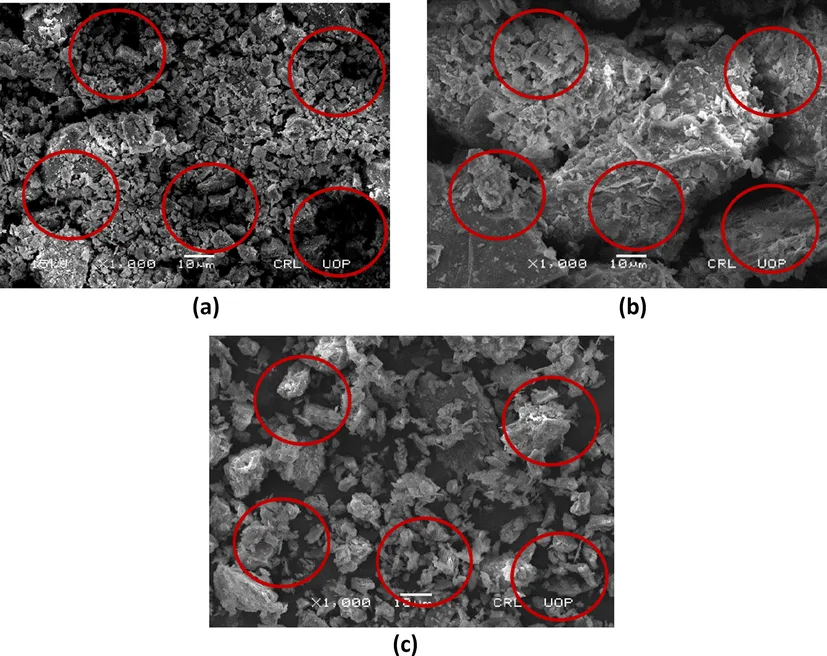
Image source: Bing (Web (fair-use with source credit))
Inspect the Quality of the Sparkle (Fuchsite vs. Crushed Glass)
Real aventurine contains fuchsite, a chrome-bearing mica. These flakes reflect light with a soft, metallic sheen. They appear embedded deep within the translucent body.
Dyed quartzite sometimes includes crushed glass or synthetic glitter. This sparkle sits on the surface or looks harsh and reflective. It lacks the gentle diffusion of natural mica.
Move the stone back and forth. Natural sparkle shifts smoothly. Artificial glitter twinkles aggressively.
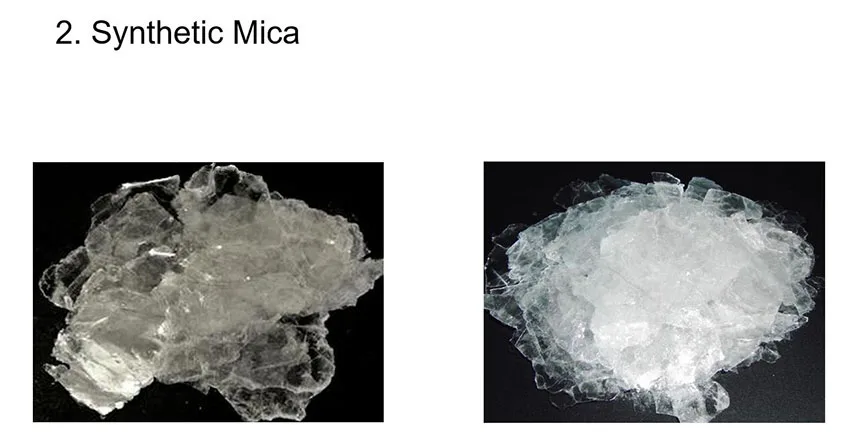
Image source: Bing (Web (fair-use with source credit))
Analyze Color Distribution and Uniformity
Nature creates variation. Even high-quality aventurine has lighter and darker zones. Dyed quartzite often displays an unnatural consistency.
The green hue remains identical across the entire bead or cabochon.
Look for white spots or gray areas in dyed stones. These represent parts where the dye did not penetrate evenly. In contrast, real aventurine transitions gradually between shades.
Sharp boundaries between colors suggest external application rather than internal growth.
Step-by-Step Visual Inspection Workflow
Follow this sequence to ensure you miss nothing. Rushing leads to false positives. Take your time with each step.
Setting Up Proper Lighting Conditions
Indoor ambient light hides details. Use a direct beam from a flashlight or sunlight. Position the light source behind the stone for translucency checks.
Then move it to the side for surface reflection analysis.
Raking light highlights texture irregularities. Shine the beam parallel to the surface. Shadows will reveal pits, scratches, and raised dye deposits.
Good lighting transforms invisible flaws into obvious defects. Never skip this preparation phase.
Using a Loupe or Macro Lens Effectively
A 10x jeweler’s loupe is sufficient for most inspections. Hold it steady against your eye. Bring the stone close until sharp.
Scan the entire surface systematically.
Focus specifically on junctions between facets or curves. These stress points absorb more dye. Look for halos of concentrated color around minor chips.
Digital macro lenses on smartphones also work well for capturing evidence. Compare findings against reference images if needed.
Examining Drill Holes and Bead Surfaces
Drill holes are critical diagnostic zones. Dye pools heavily inside these cavities. Insert a thin wire or toothpick gently.
Wipe it clean afterward.
Check the tip for residual green pigment. Clean water rinses away loose dust. Persistent staining proves dye presence.
Also examine the entry and exit points. Ragged edges with dark rims indicate aggressive drilling into brittle, treated material. Smooth, clean holes suggest higher quality processing.
| Feature | Real Green Aventurine | Dyed Quartzite |
|---|---|---|
| Sparkle Source | Fuchsite mica flakes | Surface glitter or none |
| Crack Appearance | Clear or mineral-filled | Stained with dark dye |
| Color Consistency | Gradual variations | Uniform or patchy bleeds |
| Drill Hole Edges | Clean, consistent color | Pooled, intense pigment |
Common Visual Traps That Fool Even Experienced Buyers
Not every flaw means fraud. Some natural characteristics mimic treatment signs. Knowing the difference prevents unnecessary rejection of genuine gems.
Mistaking "Sandstone" Texture for Natural Inclusions
Low-grade aventurine can feel gritty due to coarse grain size. This is not dye residue. It results from incomplete metamorphism.
Rub the surface lightly. Genuine grit feels like fine sandpaper. Dye residue feels sticky or waxy if recent.
Older dyes dry hard but still pool visually.
Confusing Resin-Impregnated Stones with Genuine Gems
Resin fills cracks to stabilize fragile stones. This practice occurs in both natural and dyed specimens. However, resin glows under UV light.
Dye often absorbs UV differently. Use a blacklight torch. Fluorescent blue-white glow suggests resin.
Deep purple reaction may indicate organic dyes. Always verify stability treatments separately from color enhancements.
Overlooking Surface Coatings on Low-Grade Quartz
Some sellers apply wax or oil coatings to enhance shine. This masks dullness in poor-quality quartzite. Wipe the stone with a lint-free cloth dampened with alcohol.
Watch for color transfer onto the cloth. True aventurine releases no pigment during gentle wiping. Immediate fading signals superficial enhancement.
When to Walk Away: Red Flags in Pricing and Presentation
Price discrepancies often correlate with treatment levels. Understand market baselines to avoid scams. Extremely cheap lots raise suspicion immediately.
Identifying Suspiciously Cheap Bulk Lots
Natural aventurine costs more due to mining complexity. Dyed quartzite utilizes abundant raw materials. Expect significant price gaps.
If a strand sells for pennies per bead, assume treatment. Verify current wholesale rates via industry reports. Prices below $0.50 per carat typically involve heavy processing.
Spotting Misleading Seller Descriptions and Photos
Vague terms like "vintage style" or "enhanced beauty" hide truths. Demand explicit disclosure of treatments. Reputable vendors state "dyed" clearly.
Ambiguous language protects dishonest sellers. Review zoomed-in customer photos. Look for comments mentioning color bleeding or fading.
Social proof validates physical inspection results.
Expert Tips for Verifying Authenticity Without Damage
You don’t need to scratch or burn the stone to prove its origin. Non-destructive methods preserve resale value and structural integrity. Focus on comparative analysis instead of invasive testing.
Comparing Multiple Stones in a Strand for Consistency
Natural variation is the hallmark of genuine gemstones. No two pieces form identically underground. If every bead in a ten-inch strand looks exactly alike, suspect mass production.
Look for subtle differences in inclusion density. Real aventurine shows clusters of mica that vary from bead to bead. Dyed quartzite often receives uniform treatment in batches.
The color saturation should match perfectly across all items if they were dyed together. Any slight deviation suggests natural formation. Rotate the strand slowly under light.
Watch how the sparkle moves independently in each piece. Synchronized shimmer indicates artificial coating. Independent glints confirm internal mineral structure.
This simple check takes seconds but reveals bulk fraud instantly.
Checking Backsides of Cabochons for Unpolished Clues
Cabochon tops are polished to hide flaws. The bottom remains rough or partially ground. Inspect this unpolished area carefully.
Dye penetrates porous surfaces more deeply than dense crystal faces.
On real aventurine, the base color matches the top closely. On dyed quartzite, the base may appear darker or blotchy. Pigment settles into the grain structure during tumbling.
Look for white veins showing through green patches. These represent untreated quartz areas missed by the dye bath. Natural stones rarely show such stark contrast unless heavily fractured.
A consistent hue throughout the thickness signals authenticity. Use a bright lamp to backlight thin slices. Uneven opacity hints at surface-level coloring rather than deep integration.
Frequently Asked Questions About Green Aventurine Identification
Buyers often have specific concerns about durability and sourcing. Here are clear answers to common queries.
Does dyed quartzite fade over time?
Yes, exposure to sunlight and sweat accelerates fading. Industrial dyes lack chemical bonds with silica. Colors wash out after months of regular wear.
Store unused stones in dark containers to slow degradation. Real aventurine retains its hue indefinitely since color comes from stable chromium ions.
Can heat damage reveal dye presence?
Avoid heating stones for identification purposes. Thermal shock causes cracking in brittle quartzite. While some dyes release fumes when burned, this destroys the specimen permanently.
Stick to visual inspection using loupes and proper lighting. It’s safer and equally effective for most consumers.
Is "Indian Jade" always dyed quartzite?
Not necessarily, but frequently yes. The term loosely describes various green stones exported from India. High-grade nephrite jade exists there too.
However, budget markets often label dyed quartzite as "jade" to inflate perceived value. Always request lab certification if buying expensive pieces labeled as jade. For affordable beads, assume treatment unless proven otherwise by visual checks.
How does price affect likelihood of dyeing?
Lower prices correlate strongly with treated materials. Mining and processing costs limit profit margins on authentic gems. Sellers offset expenses by treating cheaper substrates like quartzite.
If a deal seems too good to be true, it usually involves enhancement. Compare current market rates per carat before purchasing large quantities.

Similar Posts