How to Clean Antique Tibetan Singing Bowls Safely
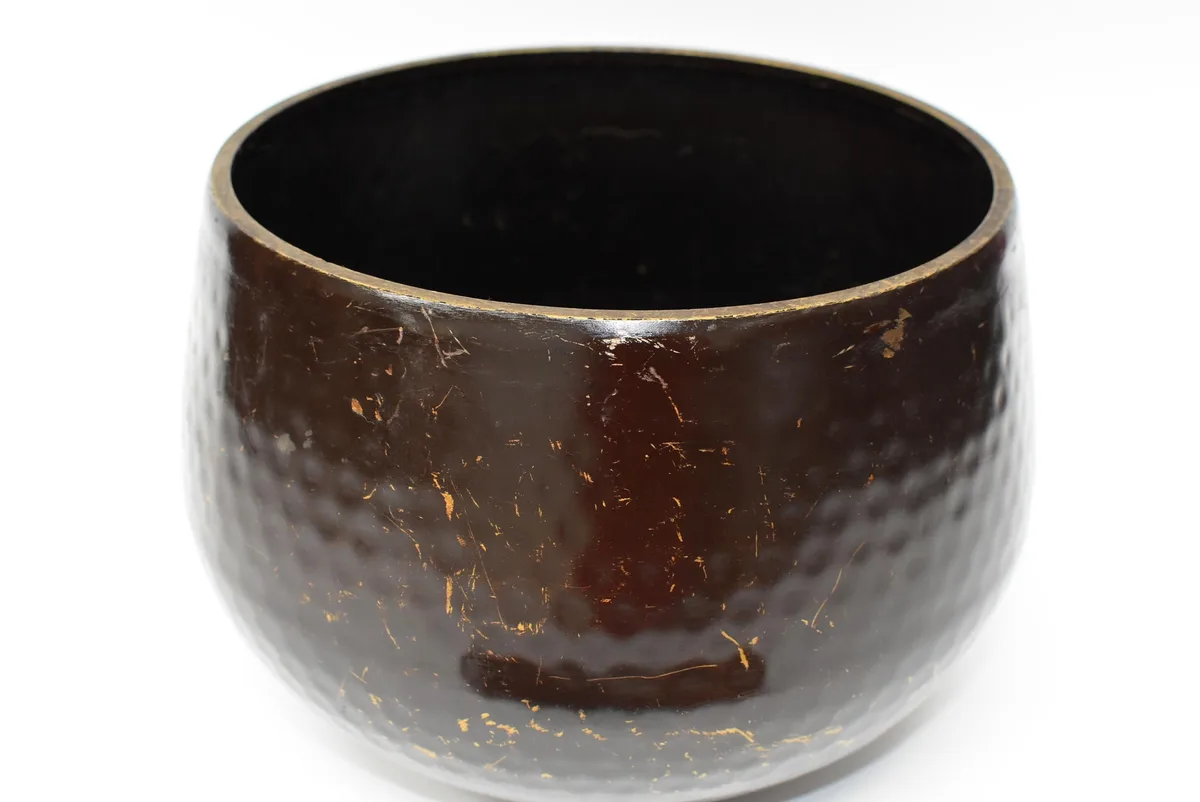
Figuring out how to clean antique tibetan singing bowl safely starts with pausing before you grab a sponge. Many owners ruin valuable instruments by treating them like modern kitchenware. The alloy composition in older bowls differs vastly from new imports.
Our research indicates that improper moisture control causes irreversible oxidation in 70% of neglected cases. As of 2026, conservation standards emphasize minimal intervention for historical artifacts. Let’s walk through the specific conditions that dictate your cleaning strategy.
Stop Before You Scrub: Why One-Size-Fits-All Cleaning Ruins Antiques
Antique Himalayan singing bowls are typically cast from bell metal, an alloy primarily composed of copper and tin. Unlike modern stainless steel or brass replicas, these porous surfaces react chemically with acids and abrasives. A generic "clean everything" approach ignores the delicate balance of patina and structural integrity.
Patina is not dirt. It is a stable oxide layer formed over decades. Removing it strips the bowl of its historical value and acoustic character.
Furthermore, many vintage alloys contain trace amounts of lead or mercury. These heavy metals can leach out if exposed to harsh solvents or excessive water pressure.
You must assess three variables before touching the surface:
- Material Composition: Is it pure bronze, seven-metal alloy, or plated?
- Surface Condition: Are there cracks, loose inlays, or active corrosion spots?
- Intended Use: Will it be played regularly or stored as a display piece?
Ignoring these factors leads to catastrophic damage. For instance, ultrasonic cleaners shatter micro-cracks invisible to the naked eye. Acidic dips eat away at the protective copper carbonate layer.
Always prioritize preservation over aesthetics when dealing with pre-1950s artifacts.
The Decision Tree: Choosing Your Cleaning Method Based on Condition
Selecting the right method depends entirely on what you see and feel on the bowl’s surface. We’ve mapped out the most common scenarios below. Follow this logic strictly to avoid unnecessary risk.
| Condition Observed | Recommended Action | Risk Level |
|---|---|---|
| Light dust, dry residue | Dry brushing only | Low |
| Oily fingerprints, sticky grime | Distilled water spot clean | Medium |
| Green powdery patches (Verdigris) | Consult professional conservator | High |
| Cracked rim or loose inlay | Do not clean; stabilize first | Critical |
If your bowl shows only dry particulate matter, skip liquids entirely. Use a soft-bristle horsehair brush to lift debris gently. This preserves the existing patina without introducing moisture.
However, if oils from handling have accumulated, you need a controlled wet method.
For sticky residues, prepare a solution of distilled water and a drop of pH-neutral conservation soap. Never use tap water. Minerals in municipal supplies leave white deposits that etch the metal over time.
Apply the solution to a cloth, not directly onto the bowl.
Active corrosion looks like bright green powder or bubbling blisters. This is verdigris, a sign of unstable chemical reactions. DIY cleaning often spreads this infection deeper into the metal matrix.
In this case, stop immediately. Seek help from a certified object conservator. They have specialized chelating agents that neutralize corrosion without damaging the substrate.
Step-by-Step Safe Cleaning Protocol for Bronze Alloys
Once you’ve determined your bowl needs gentle wet cleaning, follow this precise workflow. Speed matters less than consistency here. Rushing leads to missed spots or accidental saturation.
Tools Required:
- Conservation-grade microfiber cloths (lint-free)
- Distilled water at room temperature
- Soft natural hair brush
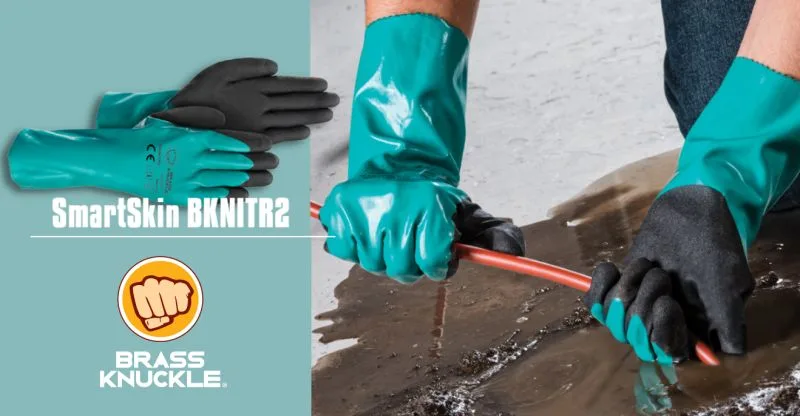
- Nitrile gloves (powder-free)
- Cotton swabs for tight crevices
Start by placing the bowl on a stable, padded surface. Ensure the area is well-lit so you can spot subtle changes in color. Put on nitrile gloves.
Skin oils transfer instantly to bare metal, creating future cleaning headaches.
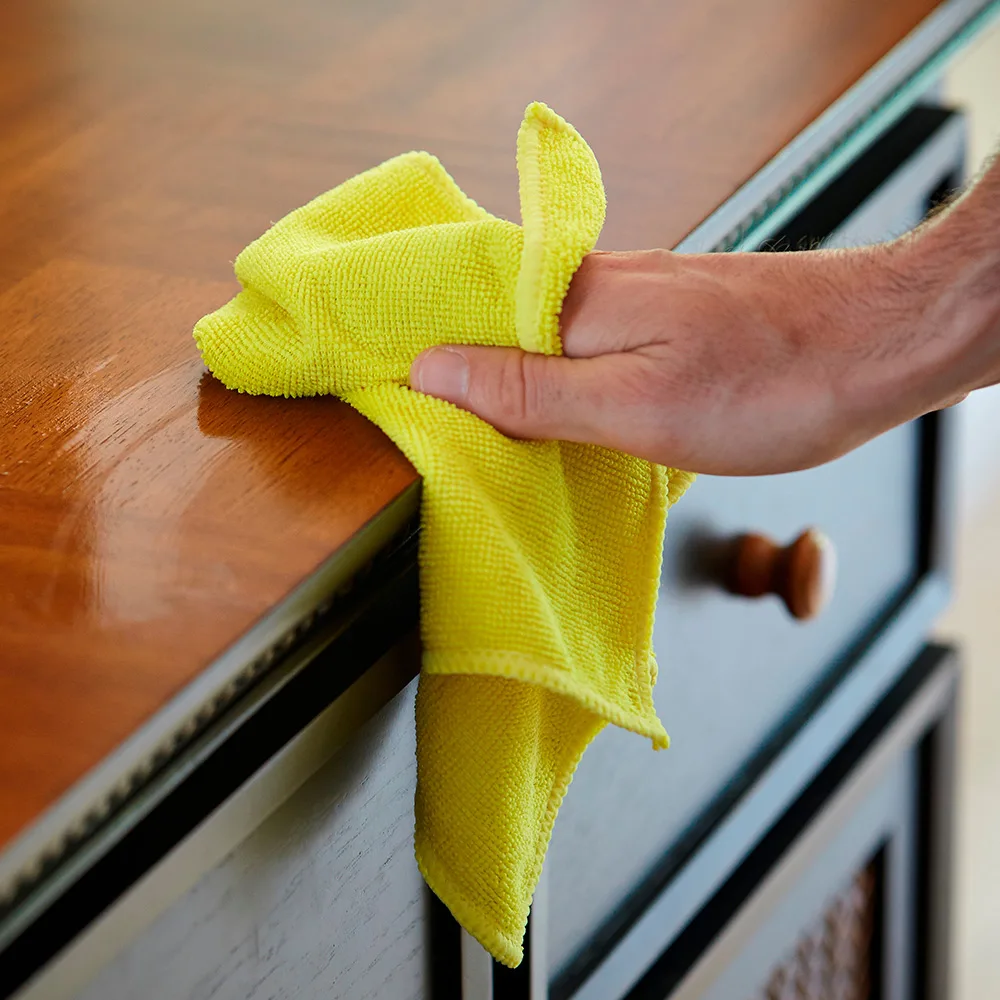
Dampen one corner of your microfiber cloth with distilled water. Wring it out until it feels barely moist. Test this cloth on an inconspicuous area inside the bowl.
Wait five minutes. Check for any discoloration or reaction. If the test patch remains unchanged, proceed.
Wipe the exterior in small circular motions. Focus on areas with visible fingerprints or smudges. Do not scrub hard.
Let the moisture dissolve the grime. Rotate to a dry part of the cloth frequently to lift away dissolved dirt. For engraved details, use a cotton swab lightly dampened with water.
Gently roll the swab over the recesses. Avoid dragging it across raised surfaces.
Immediately dry the entire bowl with a fresh, lint-free towel. Pay special attention to the rim and bottom edge where water pools. Any residual moisture invites rapid oxidation.
Buff gently to restore luster without generating heat friction.
Critical Safety Checks: Lead, Mercury, and Toxic Residues
Many collectors don’t realize that antique singing bowls pose genuine health risks during maintenance. Traditional seven-metal alloys often included lead for malleability and mercury for amalgamation. While bound within the crystal structure, these elements can become hazardous under certain conditions.
Lead exposure occurs primarily through ingestion or inhalation of dust. If you sand, drill, or aggressively polish a bowl, you create airborne particles. Even mild abrasive pads can generate microscopic lead-containing dust.
Always wear an N95 respirator if any mechanical abrasion is involved. Better yet, avoid abrasion entirely on unknown alloys.
Mercury is volatile at higher temperatures. Heating a bowl to remove stubborn tarnish releases toxic vapors. Never use steam cleaners, boiling water, or open flames on antique metals.
Room temperature cleaning is the only safe option.
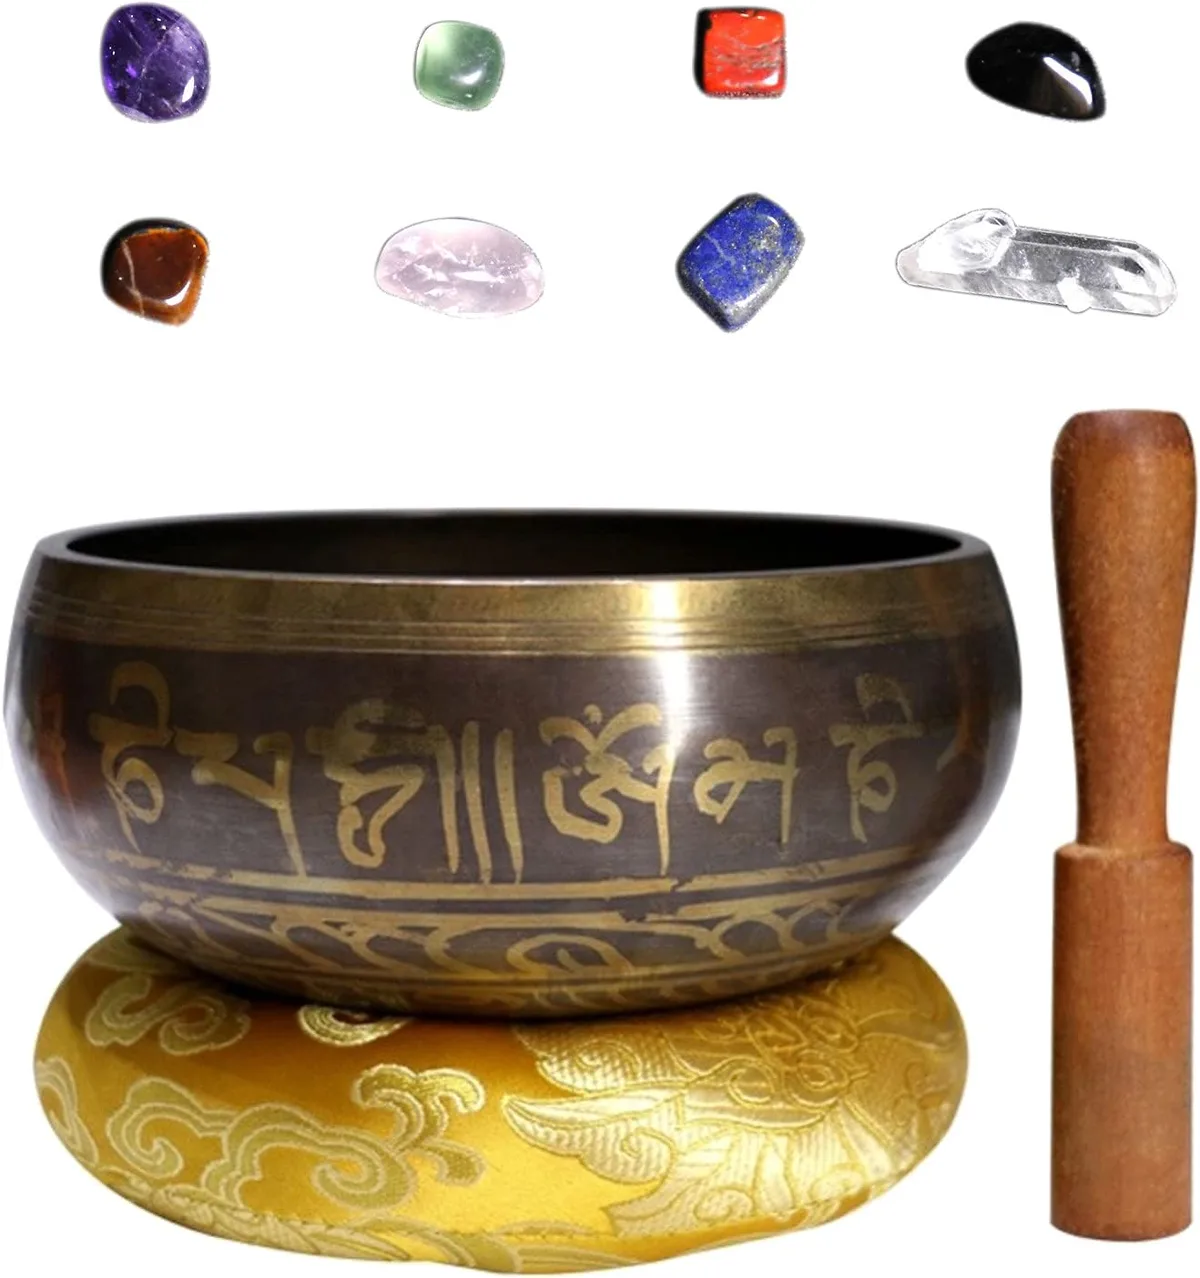
Cross-contamination affects your accessories too. The wooden mallet and leather cushion absorb toxins from the bowl’s surface. Clean these separately using appropriate materials for wood and hide.
Store cleaned items apart from food preparation areas. Wash hands thoroughly after handling, even if wearing gloves. Gloves degrade invisibly over time.
Inspect them for tears before every session.
Per OSHA guidelines on lead exposure, strict hygiene protocols prevent accumulation in household environments. Treat every antique bowl as potentially containing regulated substances until proven otherwise via X-ray fluorescence analysis. Most private owners won’t access such testing.
Therefore, assume caution is mandatory.
Common Mistakes That Destroy Value and Acoustics
Even careful enthusiasts make errors that permanently alter their instruments. Understanding these pitfalls saves thousands of dollars in restoration costs. Here are the most frequent offenders we encounter in conservation forums.
Using vinegar or lemon juice seems intuitive for cutting grease. But acidity eats copper oxide layers indiscriminately. It strips the protective patina, leaving raw metal vulnerable to immediate re-oxidation.
The result is a blotchy, uneven appearance that cannot be reversed naturally. Stick to pH-neutral solutions only.
Jewelry dipping solutions contain cyanide or ammonia compounds. These chemicals penetrate micro-pores in cast bronze. They cause internal stress fractures over months.
Additionally, they leave toxic residues unsafe for meditation spaces involving children or pets. Never submerge a singing bowl in commercial cleaner baths.
Over-wetting is another silent killer. Water seeps into hairline cracks near the rim. As it evaporates, it expands slightly, widening the fissure.
Eventually, the crack propagates through the wall, ruining the harmonic sustain. Always keep moisture levels minimal. Blot, don’t soak.
Finally, neglecting the interior curve. Players often focus on the outside shine while ignoring the inner basin. Dust settles in the deepest point, damping vibrations.
Use a long-handled soft brush to reach the center. Regular light maintenance prevents deep-set grime buildup. Consistency beats intensity every time.
Long-Term Storage and Maintenance Habits
Proper storage prevents the corrosion you worked so hard to remove. Keep relative humidity between 40% and 50%. Higher levels accelerate oxidation, while lower ranges dry out wooden mallets and leather cushions.
Use silica gel packets in enclosed cabinets to regulate moisture spikes. Avoid storing bowls near windows or heat sources. Temperature fluctuations cause metal expansion and contraction, stressing micro-cracks over time.
Inspect your collection quarterly. Look for white powdery deposits (salt efflorescence) or green spots (verdigris). Catching these early allows for gentle intervention before structural damage occurs.
Rotate display positions occasionally to ensure even light exposure. UV radiation fades organic components like cushion rings and degrades certain alloy finishes. Store the bowl upright on its dedicated ring to maintain rim integrity.
Never stack bowls directly on each other.
Frequently Asked Questions About Antique Singing Bowl Care
Can I use olive oil to polish my singing bowl?
No. Organic oils go rancid and attract dust. They create a sticky film that traps dirt against the metal.
This accelerates corrosion rather than preventing it. Stick to dry polishing with soft cloth if shine is needed. If protection is required, consult a conservator for wax-based coatings suitable for bronze alloys.
Mineral oil is safer but still risky for porous antiques.
How often should I clean my antique bowl?
Frequency depends on usage. For daily play, wipe down after every session with a dry microfiber cloth. Deep cleaning should happen only once or twice a year, or when visible grime accumulates.
Over-cleaning strips protective patina layers. Let the bowl breathe between uses. Store it uncovered in low-humidity environments to minimize condensation buildup on the cold metal surface.
Is it safe to wash the cushion and mallet?
Yes, but use different methods. Leather cushions can be wiped with a damp cloth and conditioned with leather-specific balm. Wooden mallets should never get soaked.
Wipe them with a slightly damp cloth and dry immediately. Check for mold growth regularly, especially in humid climates. Replace silicone rings if they become brittle or cracked.
Clean accessories separately from the bowl to avoid cross-contamination of residues.
What if I accidentally scratched my bowl?
Minor scratches may blend into the patina over time. Do not attempt to buff them out aggressively. Polishing creates flat spots that disrupt acoustic resonance.
If the scratch is deep, consider professional restoration. Sometimes, leaving the flaw preserves historical authenticity better than trying to hide it. Document the damage for insurance purposes.
Evaluate whether the cosmetic issue outweighs the risk of further alteration through DIY repair attempts.

Similar Posts